How To Remove Overspray From Car


Preparation for removing overspray from car
To prepare for removing overspray from your car with the sub-sections of inspecting your car’s surface and gathering necessary tools and materials, there are a few things you need to keep in mind. By following these steps, you’ll be able to tackle the job effectively and efficiently.
Inspect the car’s surface and determine the type of overspray
When removing overspray from a car, it is important to first analyse the surface area and classify the type of overspray. By examining the vehicle’s exterior, one can identify whether the overspray is dry or wet. Determining the thickness of the coating will also help determine what removal method should be used. It’s crucial to properly classify before beginning any overspray remediation work.
To properly remove overspray from a car, it is essential to determine the nature of the overspray on the vehicle’s surface. Analysing each particle and its properties contributes significantly to understanding how each will influence paint quality. To accommodate this, certain techniques must be employed for successful results.
Examining carefully for potential abnormalities in post-repair clean-up procedures is required after removing all identified coatings. Darker pigments may display better performance in determining wet or dry states, while others may require specialised assistance.
One true story relates to a regular customer who brought his 2015 Audi R8 for routine maintenance service but endured severe damage due to a factory floor painting procedure in the dealership across town that drifted from strong winds onto their car, which settled as tiny debris all over its bodywork. Determining and analysing these particles minimised wasted efforts during removal and thus presented satisfactory client results.
You won’t need an industrial vacuum or a rocket launcher, but a few simple tools will do the trick in removing that overspray mess from your car.
Gather the necessary tools and materials needed for the job
To effectively remove overspray from a car, one must obtain the required tools and materials for the job.
- 1. Gather cleaning products such as clay bars, polishing compounds, lubricants, and microfiber towels.
- Next, acquire protective gear, including gloves and safety glasses, to ensure personal safety during the process.
- Finally, obtaining specialised equipment like sandpaper or abrasive discs may be necessary, depending on the severity of the overspray.
It is essential to have all these tools and materials readily available before starting to remove the overspray.
Additionally, professional auto detailing experts recommend using paint thickness gauges to determine how much paint needs to be removed without damaging the car’s original finish.
According to an article in Car Care News Magazine, overspray can result from airborne contaminants like construction materials or accidental spray booth leakage during painting operations.
Say goodbye to your car’s spotted look and hello to a smooth ride with these tips for removing overspray—no razor blades required.
Removing overspray from the car’s surface
To remove overspray from your car surface, you can use multiple techniques depending on the severity of the overspray. If you’re dealing with light overspray, using a clay bar can do the job. For heavy overspray, you may need to use a rubbing compound and a cleaning solution. And for stubborn overspray, a clear-coat-safe solvent might be the only solution.
Using a clay bar to remove light overspray
To eliminate slight overspray from a car’s surface, one can effectively employ the clay bar technique. Here’s how to go about it:
- Ensure that the car exterior is dry, clean, and cool to the touch.
- Take a clay bar and knead it into the shape of a flat disc. Spray some detailing spray or lubricant onto the panel.
- Gently glide the clay bar over the oversprayed area, using moderate pressure. Move it in straight lines, or do not strictly adhere, but use your judgment with each pass.
- Inspect the surface for any residues. If there are any, repeat the procedure from step 2 until satisfied. Then cleanse any leftovers with water and dry them with a microfiber towel.
Claying should take place before waxing or polishing separately, as it freshens up paintwork by removing embedded pollutants but hasn’t added anything protective.
Make sure to use a branded, quality clay bar that won’t dissolve easily on usage.
To keep your vehicle looking fresh and appealing, don’t forget to inspect regularly for unsightly overspray and remedy it promptly.
Say goodbye to heavy overspray and hello to a shiny car with rubbing compound and cleaning solution—your car will be thanking you for the spa treatment!
Using rubbing compound and cleaning solution for heavy overspray
Removing heavy overspray from a car’s surface can be done using a combination of rubbing compound and cleaning solution. Here is a five-step guide to effectively remove heavy overspray without damaging your car’s finish:
- Wash the Car: Begin by washing the entire car with soap and water.
- Apply Rubbing Compound: Using a clean, soft cloth, apply rubbing compound to the affected area and rub in circular motions until the overspray is removed.
- Rinse and Dry: Rinse the area with water and then dry it with a clean towel.
- Use Cleaning Solution: Apply cleaning solution to the area to remove any remaining residue and polish the surface.
- Finish with Waxing: Finally, wax your car for extra protection.
It’s important to note that fine overspray can often be removed using less abrasive methods like detailing clay or a clay bar lubricant before resorting to rubbing compounds. Moreover, always test products on an inconspicuous area first and avoid using too much pressure, as it may damage your paintwork.
Using a clear-coat, safe solvent for stubborn overspray
To efficiently remove stubborn overspray from your car’s surface, employing a clear-coat-safe solvent is highly recommended. This solution guarantees that no damage or harm will be inflicted on the protective layer of your car’s paintwork while removing persistent stains.
Here are five steps to follow for using a clear-coat, safe solvent for stubborn overspray removal:
- Ensure safety precautions by wearing protective gloves and adequate clothing.
- Clean the affected areas gently with soap and water to eliminate any dirt or debris.
- Sprinkle some clear-coat, safe solvent on a clean cloth, and rub it onto the overspray area in circular motions.
- Wipe off the overspray residue using another clean cloth until there is no excess liquid left.
- Rinse the area thoroughly with water and dry with a microfiber towel.
This method ensures your vehicle maintains its immaculate appearance without abrasions or scratches.
When selecting a clear-coat-safe solvent, choose wisely, as each brand may have different chemical compositions that may react differently with your car’s paint. Take note of any special instructions on the label when using this product.
It is vital to inspect all areas of the car carefully after removing overspray because if not appropriately taken care of, it can lead to permanent discolouration on your vehicle.
Using a clear-coat, safe solvent for stubborn overspray removal traces back to the late 1930s, when manufacturers such as DuPont experimented with various solvents, creating the foundation leading to today’s modern cleaner formulations. Since then, consumers have enjoyed the many advanced cleaning solutions available in modern times.
Get ready to shine brighter than a new penny with these buffing and polishing techniques for your car’s surface.
Buffing and polishing the car’s surface
To buff and polish the car’s surface with the title “How to Remove Overspray from a Car,” you need to use a high-quality polishing compound that can restore the finish of the car. You also need to make sure that you properly buff the surface, which will enhance the overall appearance of your car.
Using a high-quality polishing compound to restore the finish of the car
To effectively restore the finish of your car, utilising a top-notch polishing compound is key. The compound removes scratches and swirls while simultaneously bringing out a deep shine in the paint.
Here’s a four-step guide to using a high-quality polishing compound on your car:
- Wash and thoroughly dry the car.
- Apply a small amount of the polishing compound to an applicator pad or foam pad.
- Rub the pad onto the car in circular motions, working on one small area at a time.
- After each area has been polished, wipe away any excess residue with a microfiber cloth.
In addition to providing a brilliant shine, using a polishing compound can extend the life of your car’s paint job by removing contaminants that could potentially cause damage over time.
Pro Tip: When applying the polishing compound, work in shaded areas or at cooler temperatures to prevent it from drying too quickly and becoming difficult to remove.
Properly buffing the surface to enhance the appearance of the car
Buffing and polishing the car’s surface can significantly enhance its appearance. Achieving a smooth, shiny finish requires proper technique and equipment. Here’s a guide to properly buffing the surface of your vehicle:
- Wash and dry the car thoroughly before proceeding.
- Apply a cutting compound to remove scratches, swirl marks, or other imperfections on the paint.
- Attach a foam pad or microfiber towel to your buffer machine and apply polish evenly across the surface.
- Buff in small sections, starting with slower speeds and gradually increasing as needed.
- Finish with a high-quality wax to protect the paint and give it an extra layer of shine.
To avoid damaging your car’s surface, be sure to use appropriate tools, materials, and techniques when buffing. A clean workspace, good lighting, and patience are also key factors for achieving desired results.
It’s important to note that different types of vehicles or surfaces may require specific products or methods for optimal results.
Source: CarCareNinja.com
Preventing future overspray
To prevent future overspray on your car’s surface after painting, you need to take some precautionary measures. In this section, “Preventing future overspray,” you will find some ways to avoid overspray on your car during future painting jobs. The sub-sections “Covering the car’s surface to prevent overspray during future painting jobs,” “Selecting a reputable auto body shop to prevent future overspray issues,” and “Properly washing and protecting the car’s surface to prevent overspray buildup” are the solutions to prevent future overspray.
Cover the car’s surface to prevent overspray during future painting jobs
To prevent overspray during future painting jobs, it is advisable to take precautionary measures. By taking the necessary precautions, one can avoid the hassle of correcting overspray mistakes, which can be time-consuming and costly. Here are some steps you can follow to protect your car’s surface during future painting jobs.
- Before starting any painting job, cover all areas that need protection with masking tape and paper sheets.
- Make sure to remove parts that could get damaged or paint drippings.
- Cover the car entirely with plastic wrap or drop cloth to avoid dust and debris sticking to surfaces.
- Use a well-ventilated spray booth or an open area away from other cars if there is a chance of overspray.
- If possible, use water-soluble paints since they tend to stick less on untargeted surfaces.
- Consider investing in a high-quality airbrush gun designed for precision work, as it is easier to use than traditional paint sprayers.
It is also essential to note that while covering up your vehicle before spraying, always double-check everything before proceeding with paintwork. Additionally, using quality masking tapes and papers should be a top priority since low-quality products may not shield your car’s surfaces correctly.
When it comes to achieving excellent results without any hassles, preventative measures such as covering up your car’s surface prove crucial. Remembering these steps will save you time and money in the long run by avoiding costly refinishing work.
Don’t trust your car to anyone unless you want it to look like an abstract painting.
Selecting a reputable auto body shop to prevent future overspray issues
When looking for a reliable solution to future overspray issues, finding the right auto body shop is crucial. Make sure to choose a reputable shop with qualified staff who use high-quality materials and equipment. Look for shops that have experience dealing with overspray and provide clear communication throughout the entire repair process.
In addition to selecting a reputable shop, do your research beforehand to ensure you’re making an informed decision. Check reviews, compare prices, and ask for references from other satisfied customers. Remember that prevention is key, so it’s better to take the time to find the right shop than risk future overspray issues.
When choosing an auto body shop, also consider their certification and accreditation. Shops that are certified by organizations such as I-CAR or ASE have met industry standards and demonstrate a commitment to quality service.
A true-history example of the importance of selecting a reputable auto body shop involves a customer who brought in their car for repairs but received subpar workmanship, resulting in overspray issues. The customer had to bring back their car multiple times for additional repairs, leading to additional expenses and time lost. By choosing a reputable auto body shop from the start, this issue could have been avoided altogether.
Properly washing and protecting the car’s surface to prevent overspray buildup.
Maintain an immaculate car surface to prevent the buildup of overspray, a common issue in paint booths. Follow these four steps:
- Rinse the vehicle with water.
- Use high-quality car soap and a wash mitt.
- Dry thoroughly with a microfiber towel.
- Finally, apply a protective wax or sealant to safeguard the paint finish against future sprays.
Moreover, ensure that you use dedicated products that are suitable for vehicle surfaces; avoid using dish soap or other household cleaners as they can be harsh and strip away wax protection. In addition, take precautions when parking near construction sites or industrial areas where exposure is higher.
A customer once reported overspray on her new paint job after leaving her car parked next to a freshly painted building. Fortunately, the cleaning process was successful only after closely following the steps outlined above.
How To Remove Overspray From Car – Frequently Asked Questions
Q: What is overspray on a car?
A: Overspray refers to the tiny particles of paint or other materials that settle on the vehicle’s finish while painting another surface nearby.
Q: How do I remove overspray from a car?
A: Removing overspray from a car requires careful attention and specialised products. Some of the most common methods used include clay bars, rubbing alcohol, and detailing solvents.
Q: Can you remove overspray yourself?
A: While it is possible to remove overspray from a car yourself, it can be challenging and time-consuming. It is best to seek professional help from a detailing or auto body shop to ensure that the job is done correctly without causing additional damage to the vehicle’s finish.
Q: Will removing overspray damage the car’s paint?
A: Removing overspray from a car should not damage the paint if done correctly, using the appropriate products and techniques. However, if the overspray has been left on the car’s finish for a long time, it may require more aggressive methods that could potentially damage the paint.
Q: How much does it cost to remove overspray from a car?
A: The cost of removing overspray from a car can vary depending on the severity of the overspray, the type of paint used, and the size of the affected area. The cost can range from a few hundred dollars to several thousand dollars.
Q: Can insurance cover the cost of removing overspray from a car?
A: If the overspray was caused by another party, their insurance may be required to cover the cost of removal. However, if it was caused by a DIY project or an unprofessional paint job, insurance may not cover the costs. It’s essential to check with your insurance provider to determine if overspray removal is covered under your policy.
Leave a Comment
More in News
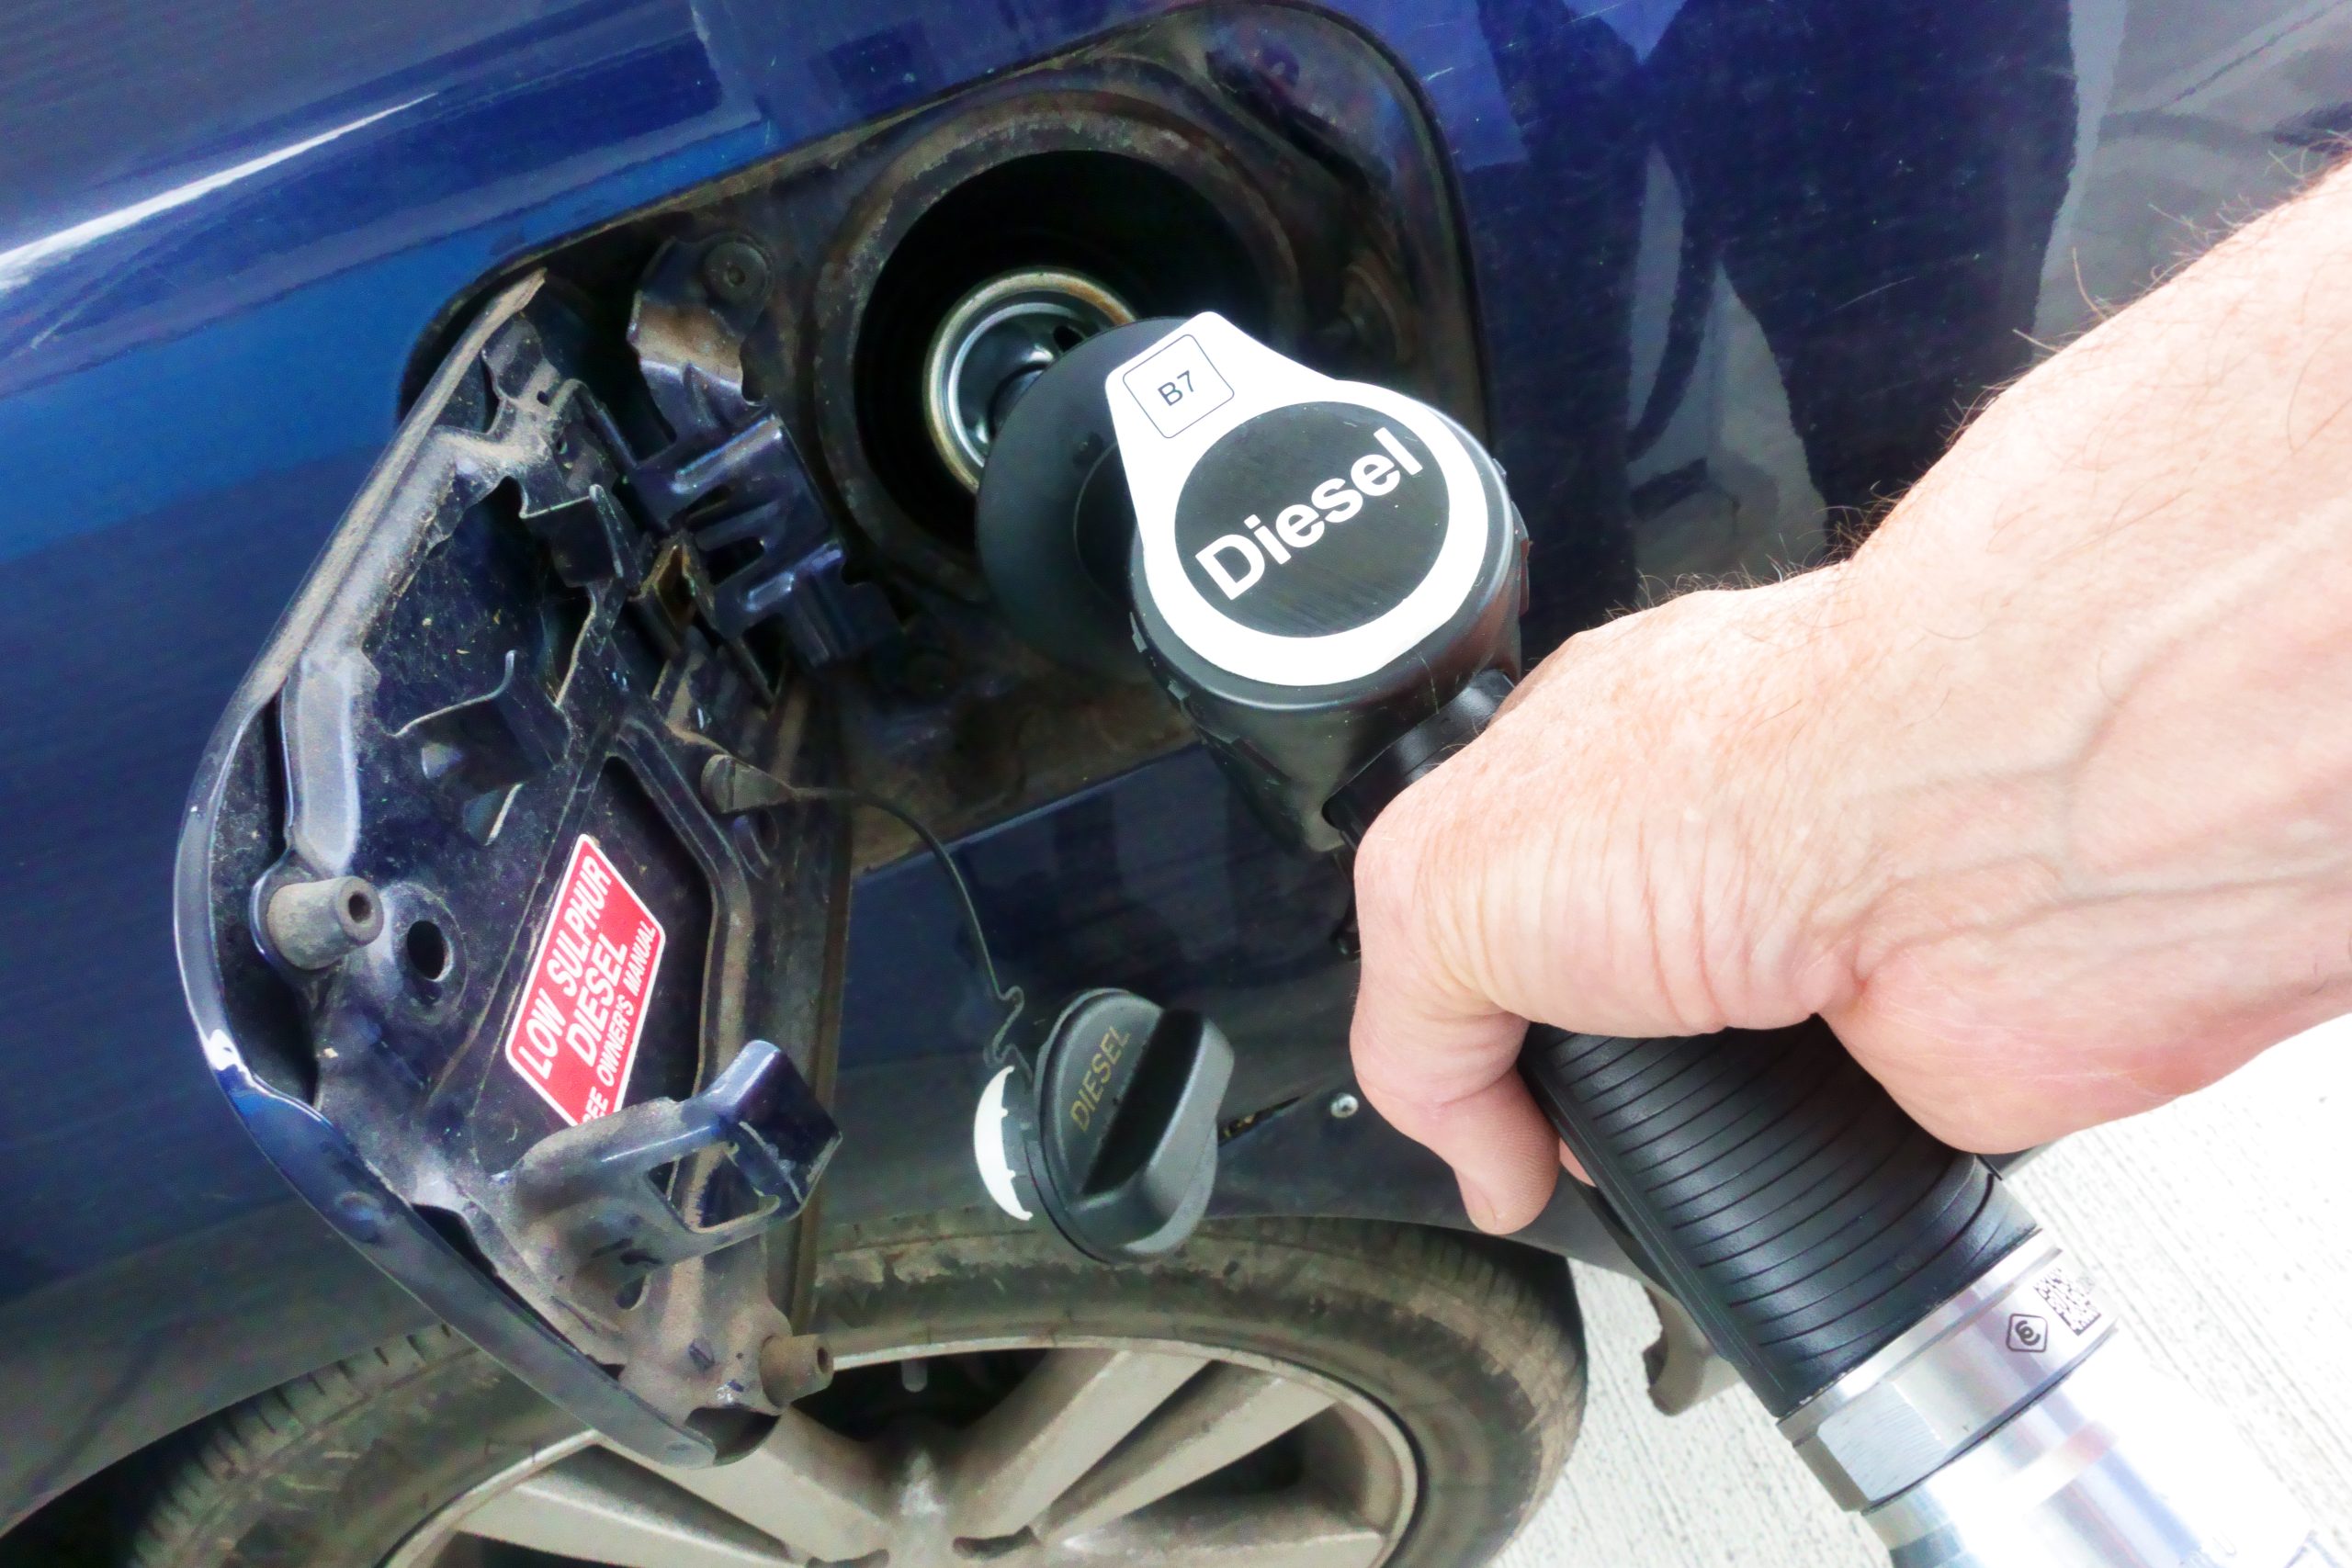
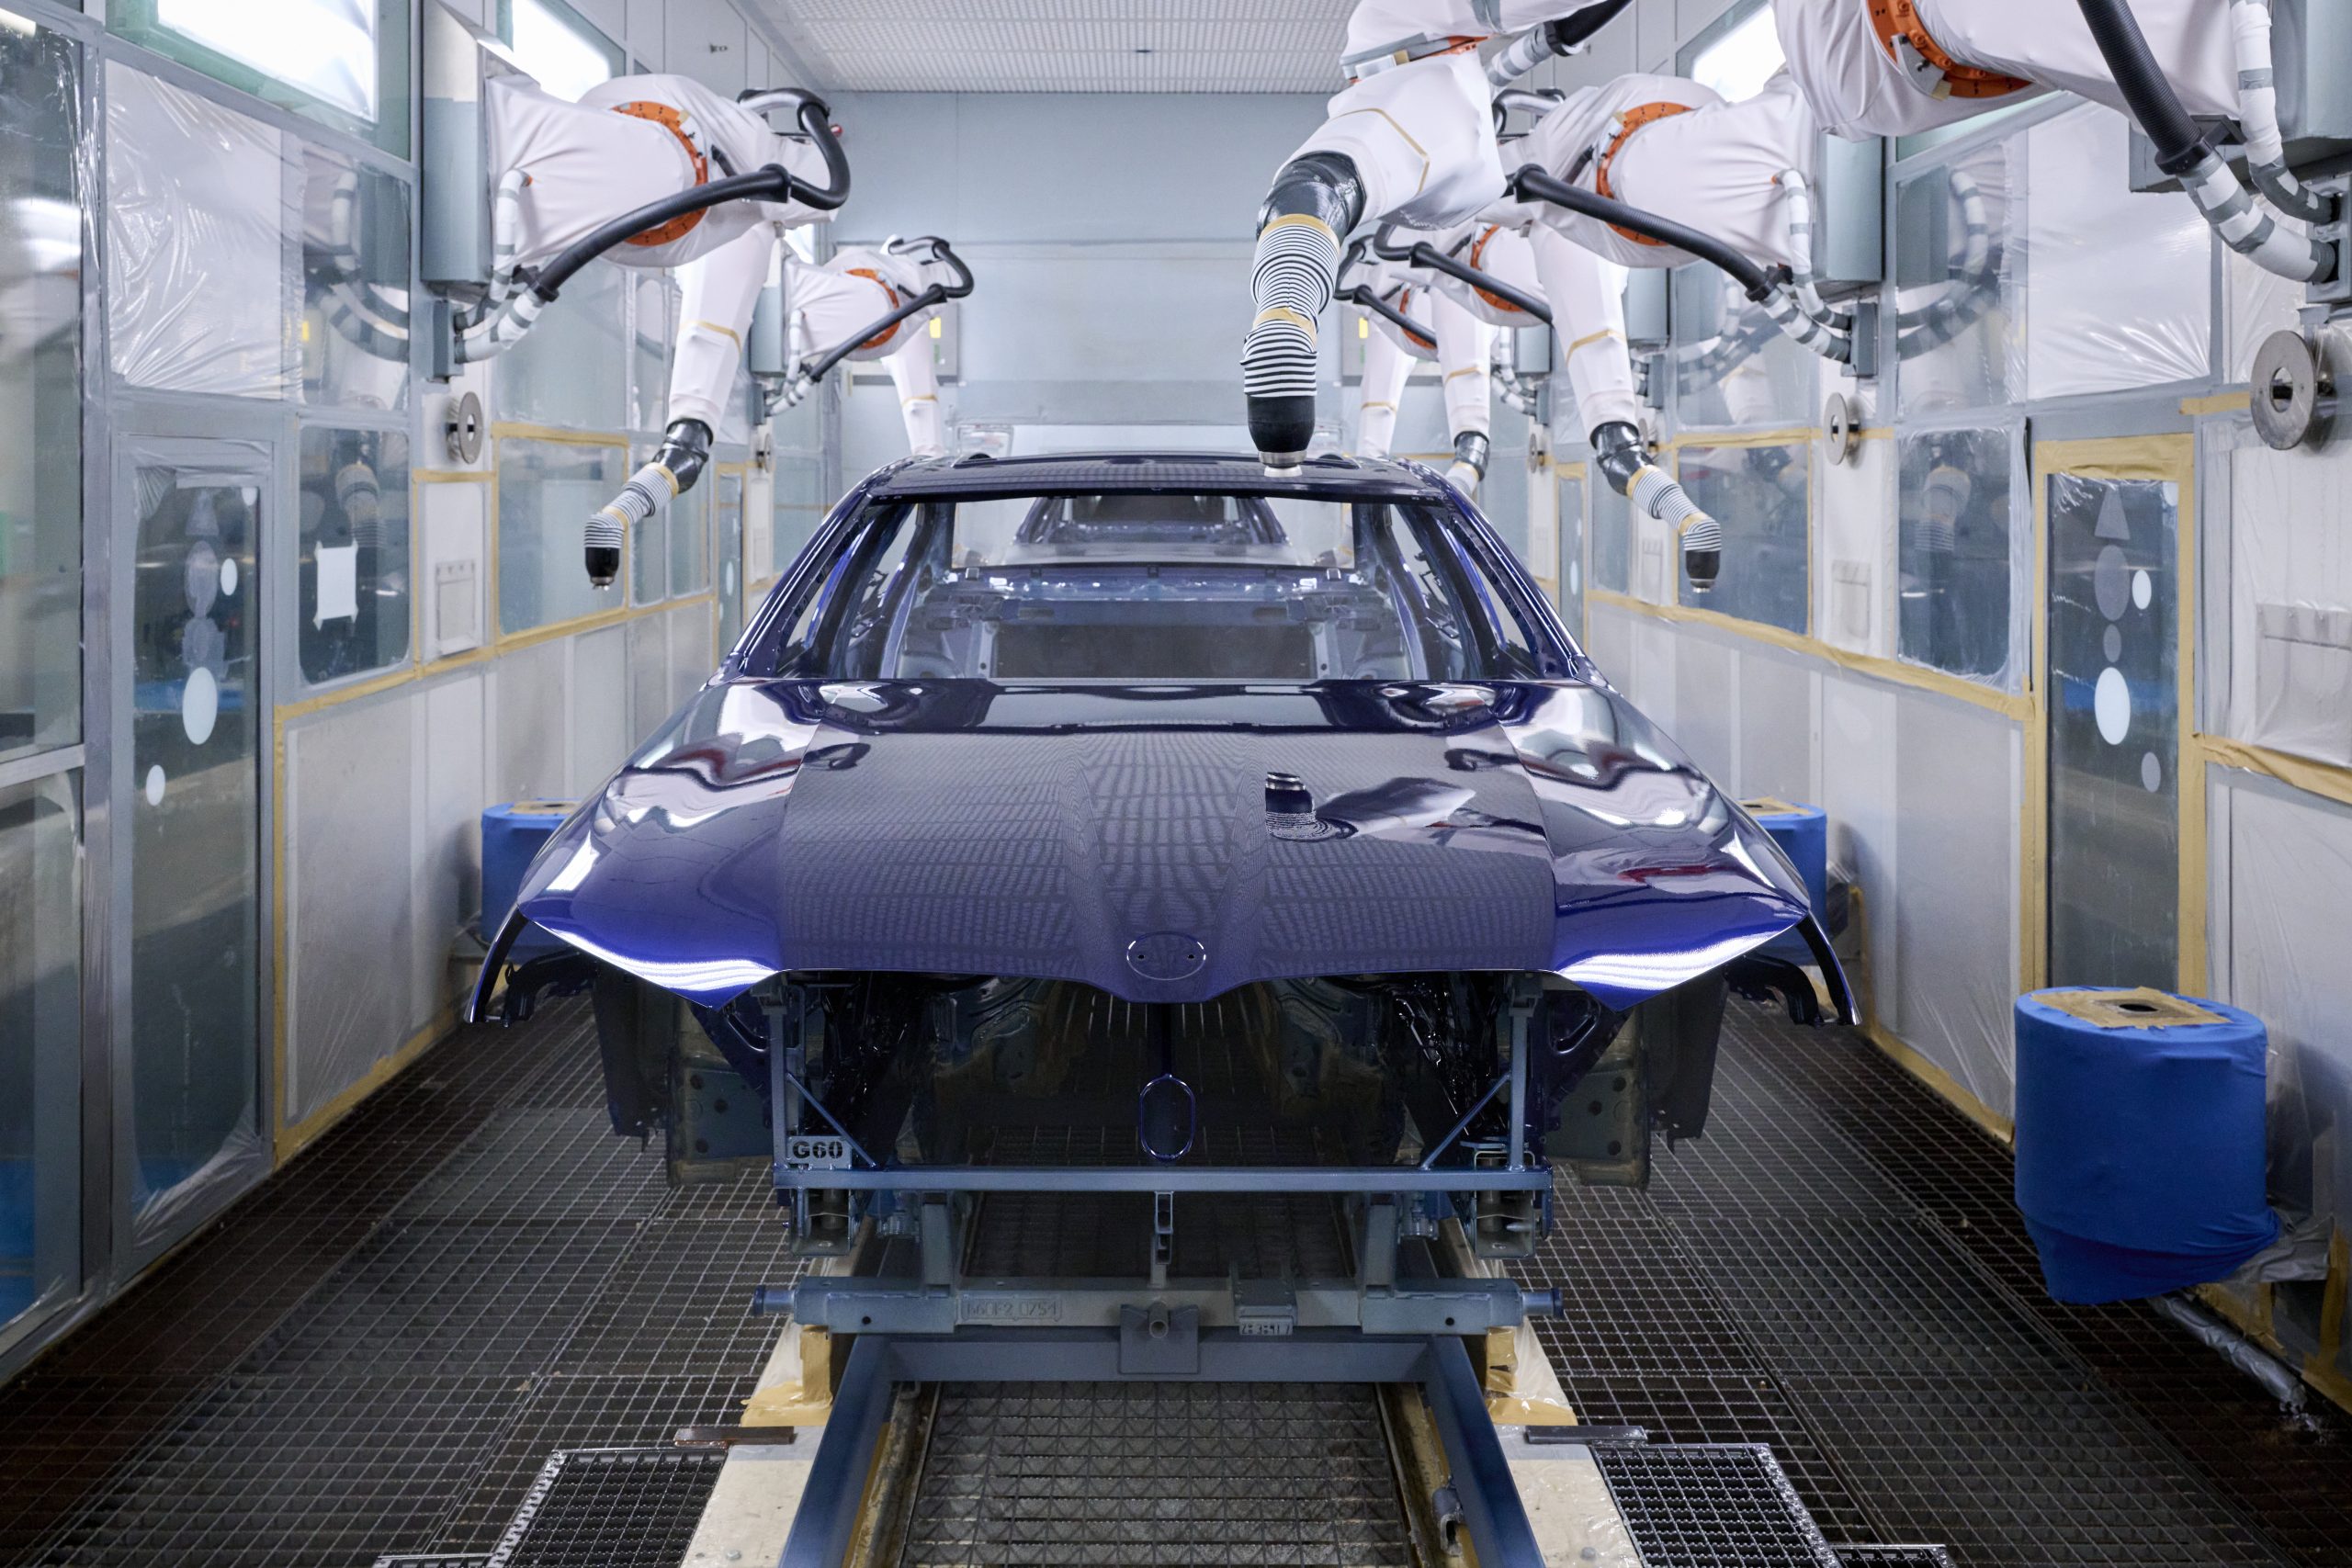
Diesel’s decline: Number of diesel models available now just one-third of 2015 figures

Efficient, engaging and extraordinary – the new Continental GT demonstrates eFuels [Photo Gallery]

High-performance with motorsport DNA: The new MINI John Cooper Works and the new MINI John Cooper Works Convertible [Photo Gallery]

Unique collection of Aston Martin Zagato models comes to market via Aston Martin Works [Photo Gallery]

Mercedes-Benz opens own recycling factory to close the battery loop
Trending on Motoring Chronicle

McLaren celebrates the legacy of its first Formula 1 World Championships at The Quail, A Motorsports Gathering

Hispano Suiza Carmen Sagrera: Celebrating 120 Years Of Legacy [Gallery]
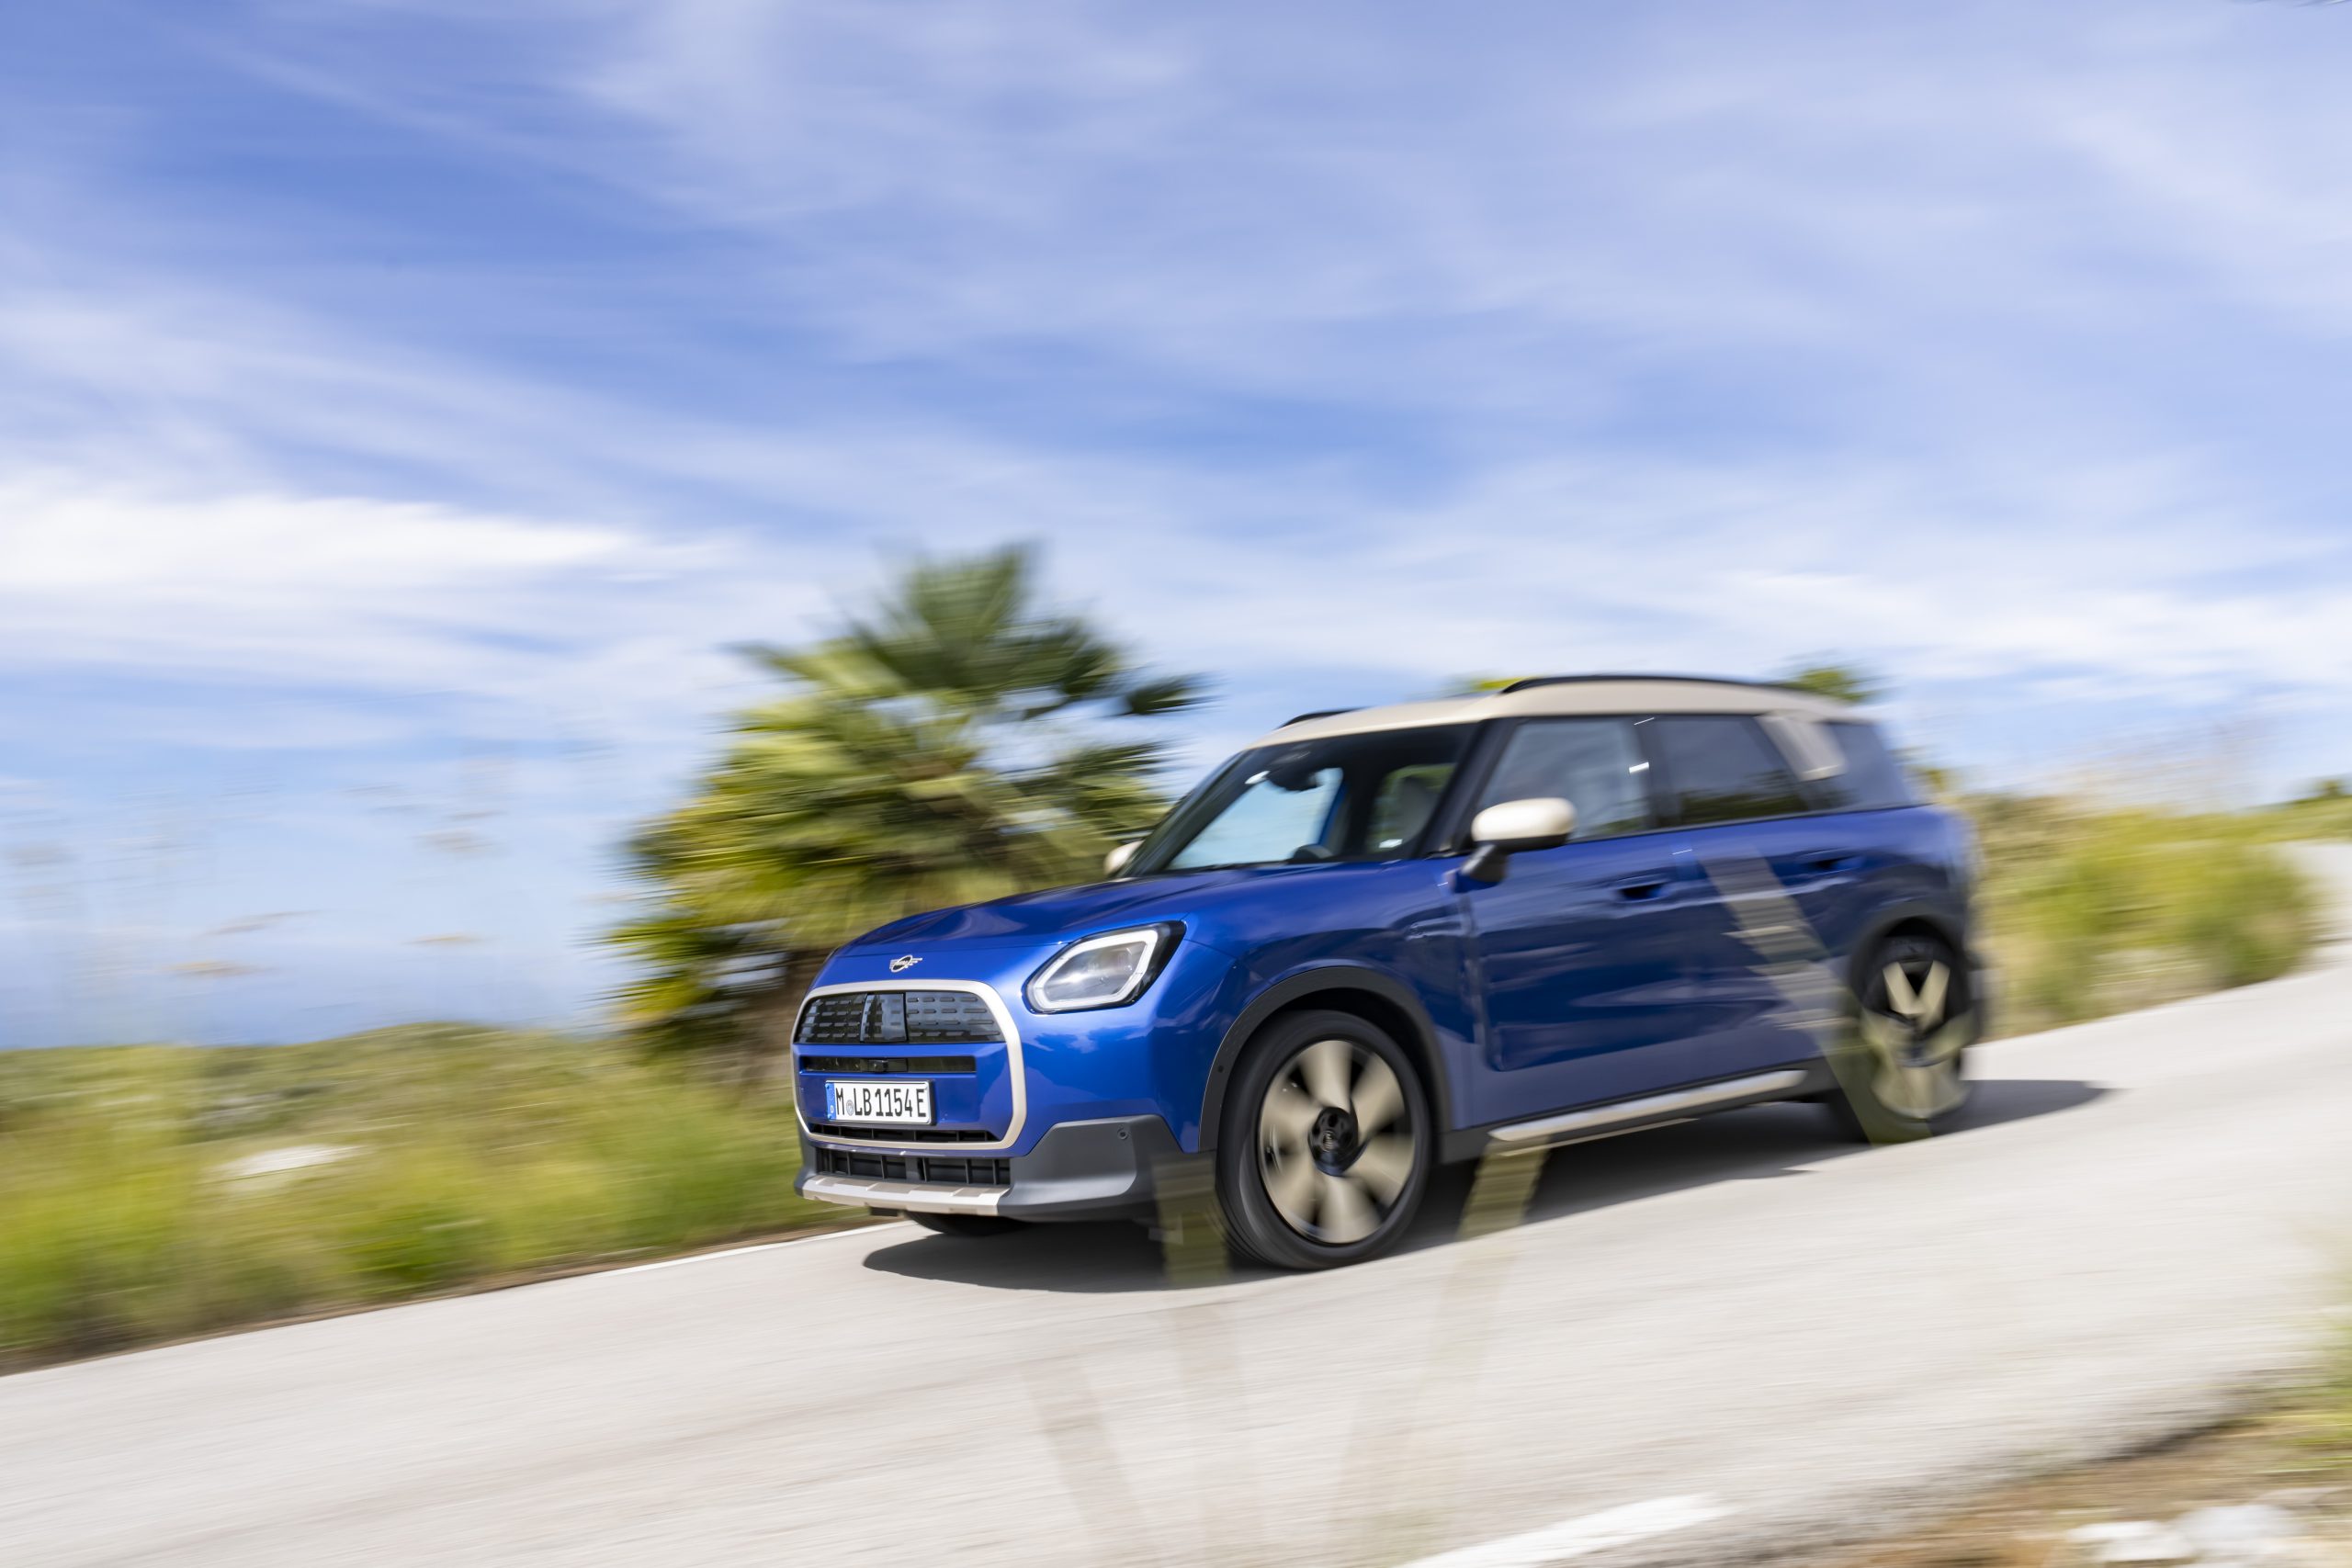
The MINI Countryman E in Favoured Trim: Fully electric and versatile [Gallery]

The Cost of Making Calls: half of UK van drivers still admit to breaking mobile phone driving laws