How to remove paint transfer from car
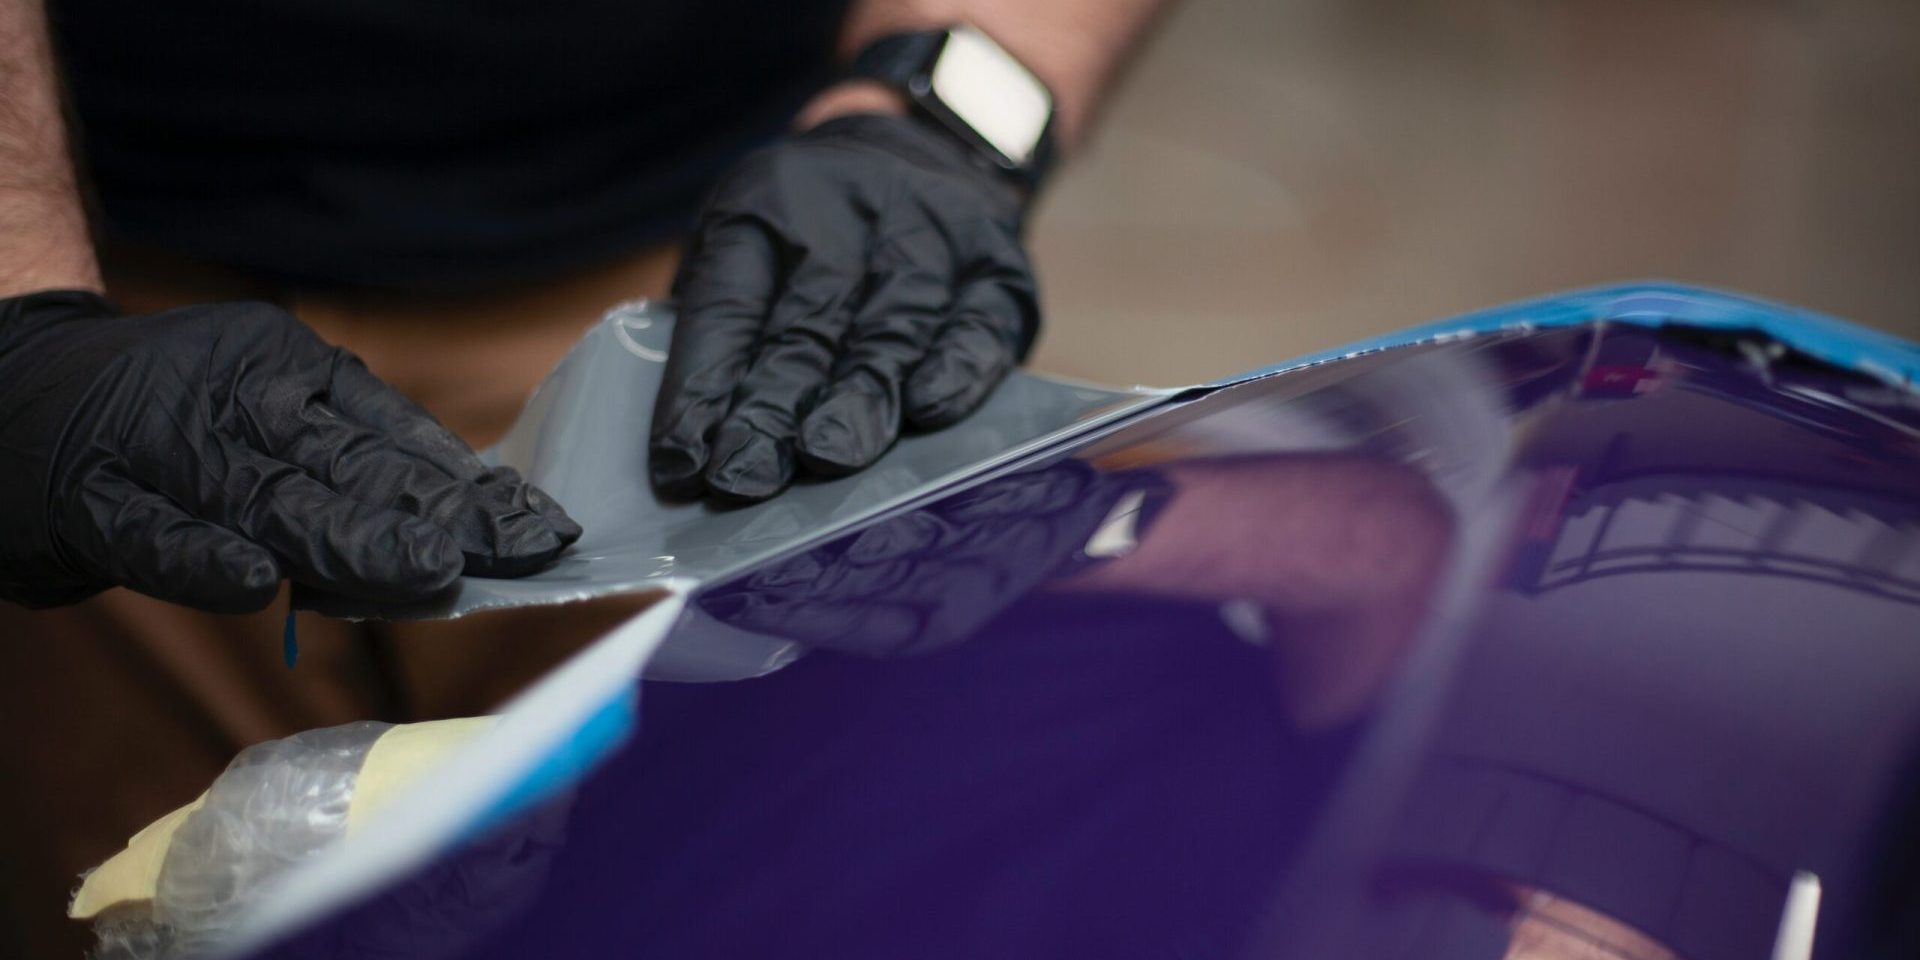
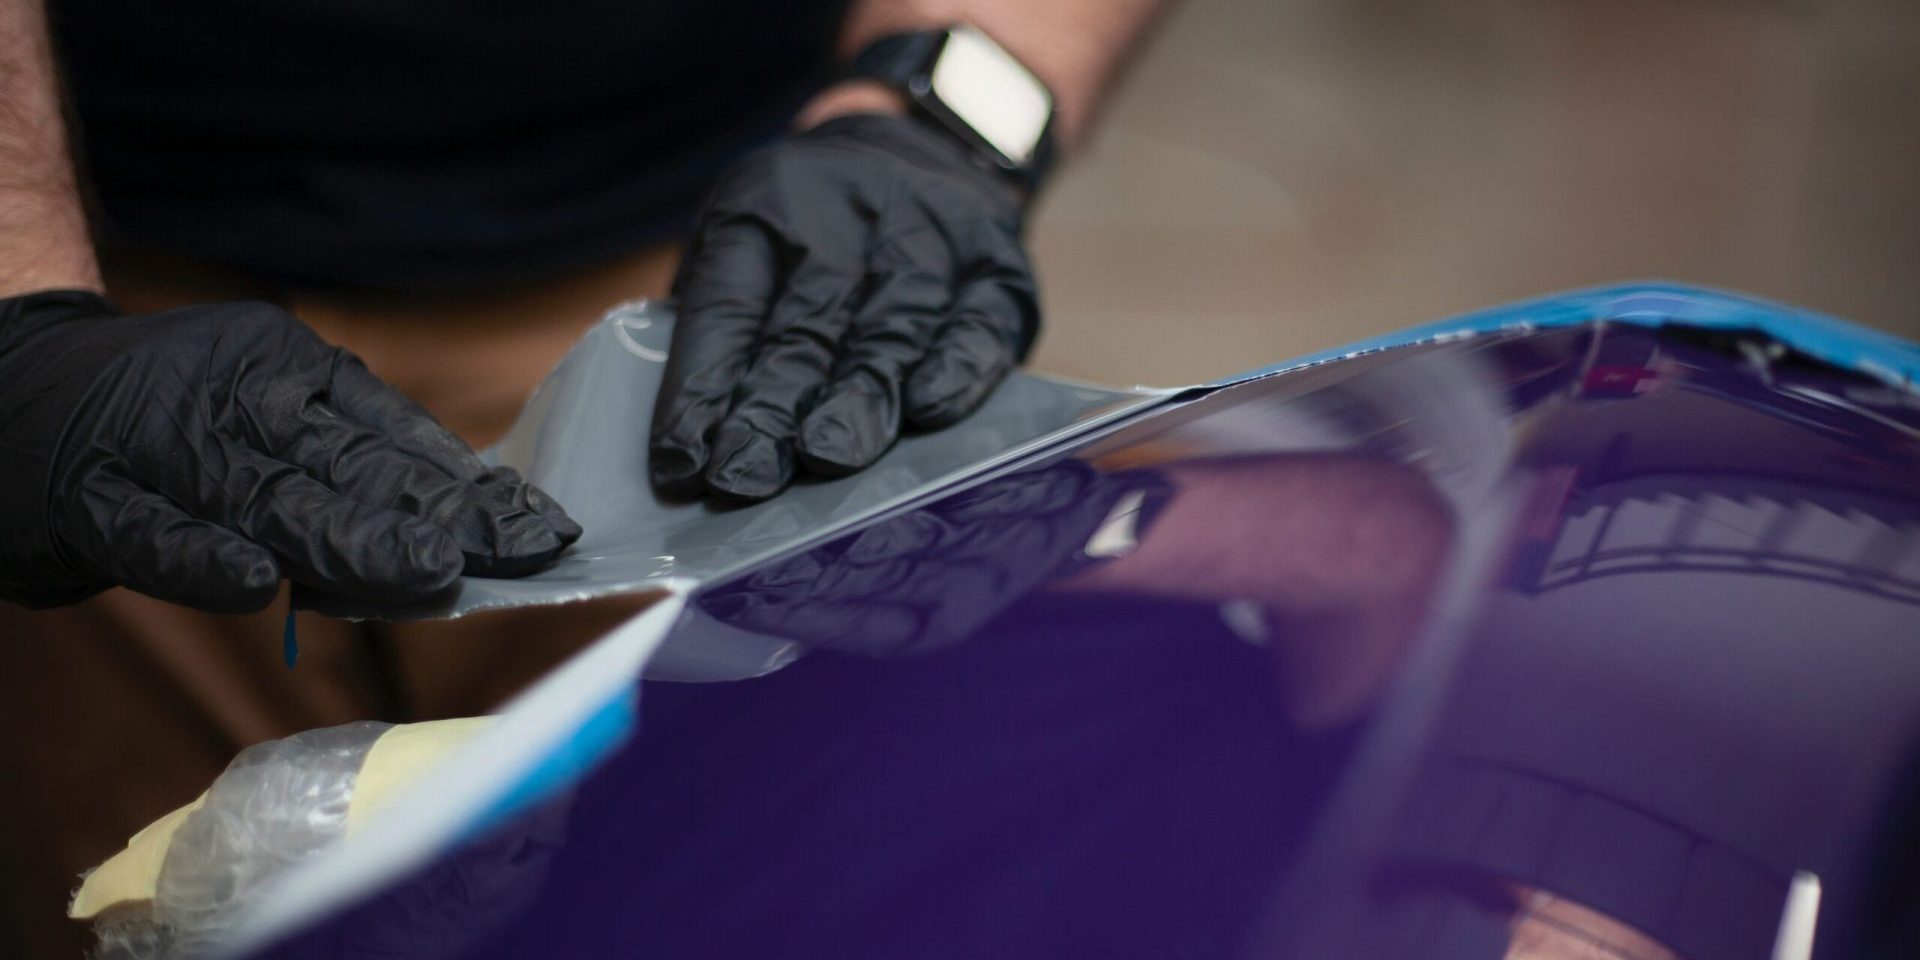
Paint transfer is when paint from another surface accidentally gets transferred onto your car’s paint job, often as a result of a collision, scrapes or rubbing against another object. The transfer can leave behind unwanted marks and imperfections on the car’s surface. These can be difficult to remove without proper knowledge and technique.
To effectively remove paint transfer, it is important to first identify the type of paint used on both surfaces. Once identified, use an appropriate cleaning solution that does not damage either the original surface or the car’s paintwork. As some cleaning solutions can cause further damage, it is important to test any product on a small, inconspicuous area first.
If the affected area is significant or the transfer cannot be completely removed with basic washing and cleaning tools like mitts or rags, it may require professional help like buffing or wet sanding. However, these methods should only be performed by professionals who have experience in dealing with car paintwork and have access to appropriate tools.
Pro Tip: Always get professional help if you are unsure about removing paint transfer by yourself. Attempting to remove it using inappropriate methods can cause more harm than good, ultimately leading to costly repairs down the line.
Identifying the type and extent of paint transfer
Accurately determining the type and extent of paint transfer on your car can be a daunting task.
To identify the type and extent of paint transfer on your car, follow these six simple steps:
- Observe the color and texture of the affected area.
- Attempt to smear the transfer with your finger to determine whether it is on the surface.
- Look for any accompanying scratches or damage to the paint.
- Assess the size of the affected area.
- Test whether the transfer is on top of or embedded in the car’s clear coat.
- Determine the source of the transfer through contact tracing.
It is important to note that the severity of the transfer will often dictate the type of approach needed to remove it safely and effectively. Therefore, properly identifying the transfer is crucial to avoid any further harm to the car’s finish.
An owner of a luxury vehicle once made the mistake of removing paint transfer using a household cleaner that caused significant damage to the paint job. After this costly learning experience, the owner emphasized the importance of accurately identifying the transfer before taking action. Easier to remove than a bad tattoo, surface-level paint transfer on your car can be a real eyesore.
Surface-level paint transfer
When paint gets transferred onto a surface, it can happen in various ways and with varying levels of severity. One type of paint transfer is the transfer that occurs only on the surface level. This means that the transferred paint only affects the topmost layer of the surface.
Identifying Surface-level paint transfer can be challenging since it doesn’t permeate deep into the surface like other forms of paint transfer. It usually appears as a thin coating on top of a surface and is distinguishable from other forms of transfer by its lack of depth compared to others.
It’s essential to note that identification and differentiation between types of paint transfers are critical in determining appropriate cleaning methods for different surfaces, especially vehicles’ parts.
Minimal or surface-level transfer can usually be resolved through less aggressive measures such as wiping it with a soft cloth or an eraser.
Deep paint transfer
When analyzing paint transfer, it is important to identify the depth and extent of the transfer. Deep paint transfer refers to situations where a significant amount of paint from one object has adhered to another object with force, resulting in a substantial imprint. This type of transfer may require more extensive methods for removal as compared to superficial transfers.
It is crucial to assess the depth of the transferred paint as it can impact the removal process. In some cases, sanding or chemical stripping may be necessary to effectively remove deep paint transfers. Additionally, it is essential to identify the source of the transfer and address any underlying issues to prevent future occurrences.
To accurately determine if a paint transfer is classified as deep or superficial, it is recommended to consult with a professional. They can provide guidance on appropriate removal methods and potential risks associated with each technique.
Pro Tip: Always test removal products on a small inconspicuous area before applying them extensively to ensure they do not cause damage or discoloration.
Preparing the car for paint transfer removal
To ensure successful paint transfer removal, it is important to first prepare the car’s surface. This involves specific steps that not only remove any surface debris but also restore the finish of the car.
3-Step Guide to Prepare the Car for Paint Transfer Removal:
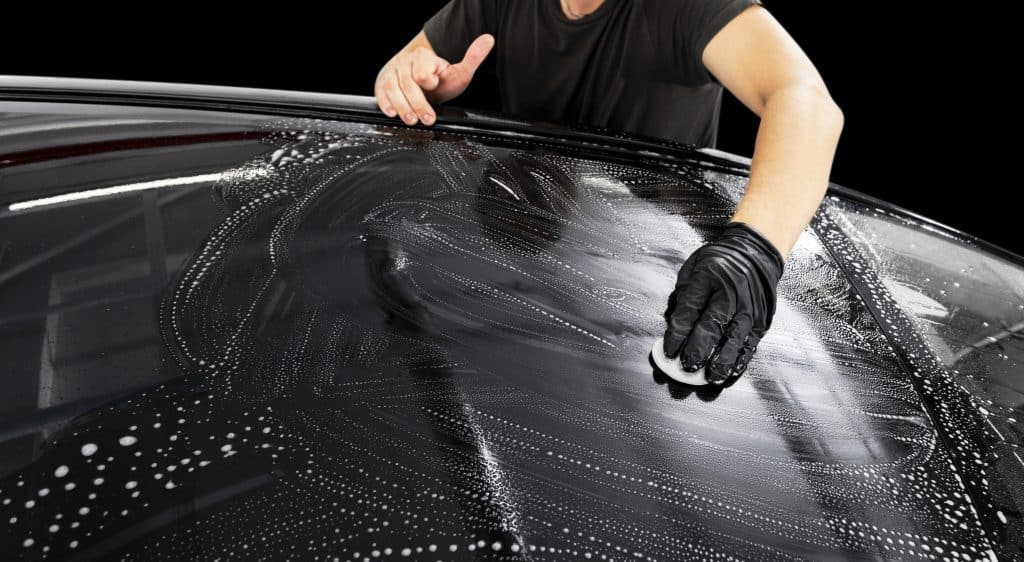
- Wash the car with soap and water: Using a microfiber cloth, gently scrub the car’s surface with soap and water. This removes dirt, grease, and grime from the surface of the paint.
- Apply a Clay bar: Using a clay bar removes any remaining contaminants such as tree sap, oil, tar, etc. that could interfere with the paint transfer removal process.
- Polish: After washing and clay-barring, polishing helps restore the shine and finish of the car and ensures that the surface is ready for paint transfer removal.
Additional Information about Preparing for Paint Transfer Removal:
To avoid any further damage to the car, it is important to note that all the preparations should be done in a shaded area and that the car should not be washed with abrasive cleaners or any acidic substances.
Suggestions for Successful Preparations:
Using detailing sprays, lubricants, and microfiber cloths can work wonders for easier clay-barring and polishing. In addition, ensuring that the polishing pads used are compatible with the type of paint on the car will go a long way in ensuring that the surface is ready for paint transfer removal.
Washing and drying the car
The first step towards paint transfer removal is to ensure that the car is thoroughly cleaned. This involves removing any dirt, grime, and debris that may be present on the surface.
To wash and dry the car, follow these 6 easy steps:
- Prepare a bucket of soapy water using a mild detergent.
- Rinse the car with water to remove loose dirt and debris.
- Wash the car from top to bottom with a soft sponge or cloth, paying special attention to areas that are prone to dirt buildup.
- Rinse the soap off the car with clean water.
- Dry the car immediately with a microfiber towel or chamois cloth, starting from the top and working your way down.
- Make sure all parts of the car are completely dry before moving on to paint transfer removal.
It’s important to note that using a high-pressure washer can damage the paint job, so it’s best to avoid it.
For optimal results, use a specialized clay bar instead of regular soap when washing your car. This will help remove any contaminants stuck on your car’s surface.
Pro Tip: To prevent scratches during drying, fold your towel or cloth in quarters and use each quarter as a new section to avoid transferring dirt from one section to another.
Masking off the affected area
To prevent any unwanted damage to the surrounding areas during paint transfer removal, it is important to secure and isolate the affected section. This process is commonly known as creating a protective boundary.
- Use painter’s tape or any other adhesive material to outline the region that requires attention.
- Make sure the boundaries are several inches away from the actual problem area.
- For further protection, cover the hood, roof, and trunk areas with plastic covers.
- Ensure that all adjacent surfaces are covered and protected before proceeding with paint transfer removal.
- After completing the necessary procedures, remove all protective materials carefully.
It is essential to note that proper masking off of affected regions can save time, cost and prevent additional complications in paint correction.
To avoid spreading unwanted substances or further damage near the affected area, maintain necessary steps for masking off before continuing with other forms of paint transfer removal procedures.
There have been instances when individuals have not created secure boundaries around affected regions resulting in additional accidental scratches on neighboring surfaces – leading to further costs for recovery and restoration.
Removing paint transfer
Paint transfer, the unwanted sharing of paint between two objects, is a common issue faced by car owners. Luckily, there are effective ways to remove these stains without damaging the car’s paint. Here is a 4-step guide to remove paint transfer from a car’s body surface.
- Identify Affected Areas: Determine the extent of damage and which areas need to be cleaned by carefully inspecting the car’s surface.
- Apply a Clay Bar: Use a clay bar to remove any dirt or debris from the surface before washing. Rub the clay back and forth over the affected surface, using a quick detailer spray for lubrication.
- Use a Specialized Cleaner: Apply a specialized cleaner, such as rubbing compound or polishing compound to a microfiber cloth, and gently rub the affected area in a circular motion until the stain is removed.
- Finish with Wax: Apply a coat of wax over the treated area to improve the shine and protect the car’s surface from future stains.
It is important to note that different types of paint may require different techniques or products for removing paint transfer. When in doubt, it is best to seek professional advice to avoid the risk of further damage.
It is also a true fact that regular waxing of a car’s body surface not only protects it from paint transfer but also improves its durability and shine. According to Consumer Reports, the best car wax to use is the Meguiar’s Ultimate Liquid Wax.
Using detailing clay bar
To efficiently remove paint transfer, professionals suggest Using Detailing Clay Bar. It is an effective method that eliminates stubborn contaminants such as brake dust, tree sap, overspray, and much more from the surface without causing any damage to the vehicle’s paint.
A 3-Step Guide on using Detailing Clay Bar:
- Wash the contaminated area with soap and water and dry it off.
- Apply lubricant to the surface; this helps prevent scratches or marring while removing contamination.
- Rub the clay bar across the affected area in back-and-forth motions until you have removed all contaminants, then wipe it off with a microfiber towel.
Using a detailing clay bar increases the smoothness of your car’s exterior, allowing wax or sealant to adhere better.
Detailing Clay Bar is designed to remove contamination that is not visible to the naked eye. Suppose you suffer from light or heavy deposits such as overspray or industrial fallout on your car’s surface. In that case, Detailing Clay should always be used as part of regular maintenance to prevent embedded particles from deteriorating your car’s finish over time.
One day my friend parked his beloved black Mercedes under a tree for just five minutes, only to realize that bird droppings had ruined his clearcoat after he returned. He was upset but remembered some advice I had recently given him about using a detailing clay bar. After washing his car thoroughly, he used one along with lubricant and then wiped it off with a microfiber towel. The result amazed him; his Mercedes looked brand new again!
Applying rubbing compound
To remove paint transfer, one effective method is to use rubbing compound. Rubbing compound is an abrasive paste that helps to remove contaminants from the surface of your car by removing a thin layer of the clear coat. Here’s how you can apply rubbing compound properly:
- Clean the Surface: First, clean the affected area of your car with soap and water. Dry it thoroughly before you move on to the next step.
- Apply a Small Amount of Rubbing Compound: Take a small amount of rubbing compound onto a foam applicator pad or microfiber towel. Apply it onto the surface in circular motions with medium pressure.
- Work on One Area at a Time: Work on one section at a time and ensure that you do not apply too much pressure while applying the rubbing compound.
- Keep it Wet: Keep the surface wet with rubbing compound while working on it to avoid scratching.
- Wipe off Excess Compound: After application, wipe off any excess rubbing compound with a microfiber cloth or paper towel.
- Check for Results: Inspect the area after completion and repeat the process if necessary until all paint transfer has been removed adequately.
In addition, ensure that you use good quality rubbing compound and do not work under direct sunlight or extreme temperatures, as this may damage your vehicle’s exterior finish.
Finally, remember to follow up with waxing and polishing after applying rubbing compound to restore shine and protect your car’s paint job from further damage caused by environmental contaminants such as pollution, bird droppings, tree sap or UV rays.
Using nail polish remover
The application of a nail polish remover is one method of removing paint transfer. This process involves using a specific type of nail polish remover that contains acetone. However, it is essential to ensure that the acetone does not damage the surface being treated.
To use nail polish remover effectively:
- Apply a small amount of nail polish remover onto a clean cloth.
- Gently rub the cloth onto the affected area in a circular motion.
- Repeat this process until the paint has been removed completely.
- Wipe down and wash the surface with soap and water to remove any residual acetone, taking care not to soak or leave moisture on the treated area.
It is important to note that using excessive force while rubbing may scratch or damage the surface. As such, caution should be exercised during the process.
While following these steps will achieve success in most cases, it should be noted that some surfaces may be sensitive to acetone exposure. In such instances, alternative methods like washing with soap and warm water or using specialized cleaners are recommended.
Historically speaking, acetone was first discovered in 1832 by chemist Justus von Liebig. Its modern usage as an industrial solvent dates back to World War I when it was used for manufacturing explosives in Germany. Today, it is commonly found in cosmetics and as a cleaning agent for various purposes.
Caution: Trying paint thinner or acetone may result in a new abstract artwork on your car – but it’s probably not the masterpiece you were going for.
Trying paint thinner or acetone
When removing paint transfer, using a chemical solution such as paint thinner or acetone can effectively break down the paint and allow it to be wiped away. Here is a 4-Step Guide to follow:
- First, apply the solution onto a clean cloth.
- Next, gently rub the affected area until the paint starts to come off.
- Then, wipe excess solution away with another clean cloth.
- Finally, rinse the area with warm water and dry thoroughly.
It is important to note that this method should only be used on hard surfaces and not on delicate fabrics or carpets that could be damaged by these solvents.
A unique detail to consider is that when choosing between paint thinner and acetone, it’s important to read the labels carefully. Some products may contain harsh chemicals that could damage certain materials or pose safety risks.
According to DIY Network, “[Paint thinners] can be highly flammable and toxic if ingested or inhaled… always use in a well-ventilated area.”
Say goodbye to paint transfer and hello to a shiny restoration with these polishing tips.
Polishing and restoring the affected area
- Firstly, wash the affected area and dry completely.
- Secondly, apply a detailing clay bar to remove any remaining debris.
- Thirdly, use a compound polish to remove the paint transfer.
- Fourthly, buff the area with a microfiber towel.
- Fifthly, apply a sealant or wax to protect the area.
- Last of all, repeat the process if necessary. Remember to avoid using abrasive materials that may damage the car’s finish.
It’s important to note that the type of paint transfer and the severity of the damage may affect the success of the restoration process. In some cases, seeking a professional’s help may be necessary to ensure a safe and effective restoration.
According to Carfax, “the key to removing paint transfer is to catch it early and act quickly.” The longer the transfer remains on your car’s surface, the harder it will be to remove. So, as soon as you notice any paint transfer, it’s best to take action immediately.
Polishing compound: When your car needs a little extra love, it’s like bringing a date to an all-you-can-eat buffet.
Applying polishing compound
Polishing and restoring the affected area can help to improve its appearance. One effective method is to use a polishing compound that can restore shine and smoothness to the surface.
To apply polishing compound:
- Clean the affected area with a soft cloth.
- Apply a small amount of polishing compound onto another clean cloth.
- Gently rub the compound into the affected area, using circular motions.
- Continue rubbing until you notice improvement in the surface’s appearance.
- Wipe away any excess compound with a clean, dry cloth.
It is important to note that different types of surfaces may require different types of polishing compounds. Therefore, it would be wise to check for specific instructions or inquire with experts for advice before starting the process.
When performing this technique, take care not to rub too hard as this may cause further damage.
One common issue that can be resolved by applying polishing compound is removing scratches on glass or plastic surfaces.
A famous anecdote about the power of polishing comes from Florence Nightingale, who helped revolutionize nursing during her time. She believed in keeping hospital surroundings clean and polished as it promotes healing and recovery for patients.
Buffing the area
Smoothing out the affected surface involves utilizing a polishing agent to buff away blemishes, scratches, and imprints. This procedure requires using specialized equipment such as buffers and abrasives, depending on the extent of the damage done to the surface. By using different grits of polishing agents in succession, gentle pressure may be applied until cutting marks disappear, leaving a smooth finish.
It is essential to note that this process should be carried out by experienced technicians only as over-buffing can result in a glossy appearance with no ridges or valleys.
Pro Tip: Always test a small non-conspicuous area first before starting the task at hand.
Preventing future paint transfer
To ensure that your car’s paint remains immaculate, you must take necessary precautions to avoid paint transfer. Here is a simple guide to help you prevent future paint transfers on your car.
- Keep your car clean by washing it often. This will prevent dirt and other contaminants from sticking to the surface of your car’s paint.
- Use a clay bar to remove contaminants that normal washing cannot reach. This will ensure a smooth paint surface, reducing the likelihood of paint transfer.
- Park your car in a garage or covered area to shield it from direct sunlight and environmental elements such as tree sap, bird droppings, etc.
- Apply wax or sealant to protect the paint from scratches caused by small debris, like stones, and to make it easier to wash away dirt.
- Avoid areas with heavy traffic as it increases the likelihood of paint transfer from other vehicles.
- Use protective film or car bras on areas prone to scratches.
It’s also essential to avoid driving your car through auto car washes that have rough brushes. The brushes can scratch your car’s paint, leaving it susceptible to paint transfer.
Lastly, be mindful of parking near other vehicles or objects that could cause scratches to your car’s paint. Try to park in open spaces if possible.
A friend of mine once parked his car next to a construction site, and his car got painted with overspray. Although he managed to get the paint transfer removed, it took a lot of work and cost a bomb. By following preventative measures, you can save yourself time, money, and effort.
Adding a layer of wax
Applying a layer of wax on your car can prevent future paint transfer accidents. Follow these four simple steps to add an efficient protective layer without any hassle:
- Wash your car thoroughly, ensuring no dirt or debris is left.
- Dry your car and apply the wax using a soft cloth in circular motions.
- Leave it to dry for at least an hour and buff it off gently.
- Repeat the process every six months for optimal protection.
Additionally, using a proper wax type matching your vehicle’s needs can further enhance its overall look and longevity.
To take care of your car’s paint work, an effective preventive measure would be adding a layer of wax regularly. Protecting it from damages caused by external factors like UV rays, weather conditions, daily wear and tear, and unwanted scratches is crucial to keep it looking as good as new.
A true story that supports this is when my friend got his new cruiser motorbike painted promptly after two days he had a small accident while riding into his garage when he was learning how to ride. Accidentally touching the wall with the newly painted bike resulted in permanent markings on the pristine blue texture that looked unappealing even after several washes. Applying a thick layer of wax afterward could have saved him from this frustrating experience as well as from expensive repainting costs.
Avoiding parking near objects that can cause paint transfer
To prevent future paint transfer, avoiding parking near potential sources of damage is essential. These can include objects that are likely to come into contact with your vehicle, such as poles, trees, other vehicles or structures. By taking a proactive approach towards parking your car away from such risky locations, you can effectively reduce the chances of paint transfer occurring on your car.
It is important to note that there are other factors besides parking location that might contribute to paint transfer. These could be environmental factors like pollen and dust accumulation which can stick to the surface of your car’s paint and cause abrasive scratches over time. By regularly cleaning your car’s exterior with a reliable car shampoo and microfiber cloth, you can mitigate these risks and keep your vehicle’s paint intact.
In addition to avoiding risky parking situations and keeping up with regular cleaning, another pro tip is investing in protective coatings for your vehicle. There are several excellent options available on the market today which offer an extra layer of protection against possible damages like abrasions or small impacts which could cause paint transfer. By considering these options, you give yourself more peace of mind while driving in areas where there might be potential dangers lurking around every corner.
Using a car cover to protect the car’s surface
To safeguard the car’s surface, wrapping it with a cover is an effective approach.
- It maintains the glossiness of the paint by preventing scratch and chipping that result from dust and debris.
- It shields against UV rays which fade the color and peel the clear coat.
- Lastly, besides keeping it free from unwanted substances, using a cover guards cars from robbery attempts.
However, picking an appropriate car cover alone cannot assure protection to every part of the vehicle. The material quality and cutouts must align with each model’s shape and dimensions for a clean fit that does not leave any area exposed to dirt or moisture infiltration.
According to a study by AAA, their research indicates that parking in garages or carports decreases exposure to natural phenomenons such as hailstorms or high winds up to 82%.
It is imperative to use a car cover on top of other preventive measures because it can undoubtedly prevent paint transfer while ensuring your car retains its original shine for years to come.
Seeking professional help
Professional Solutions to Remove Paint Transfer from Car
Finding the right professional assistance is crucial when dealing with paint transfer on your car. Seek help from an experienced car detailer or a certified auto body shop. These experts possess the essential tools, knowledge, and skills to fix paint transfer without causing further damage to your car.
You may ask for an estimate from several auto body shops and compare prices and reviews before choosing one. Inform the experts about the extent of the damage, type of car paint, and other relevant details to get an accurate estimate. Keep in mind that the cost may vary depending on the location, size, and severity of the paint transfer.
To get the best results, it’s vital to trust the experts and avoid DIY solutions that may worsen the situation. Attempting to remove paint transfer using household items or unknown chemicals can cause permanent damage to your car’s body and paint. Trust in the knowledge and experience of professionals and let them handle it.
When we tried to use a DIY solution to remove paint transfer, we ended up damaging our car’s body even more. We had to seek professional help to fix the issue, which cost us more than what we would have spent if we had gone to the experts in the first place. Trust us and save yourself the trouble by seeking professional help right away.
When to seek professional help
Recognizing the signs that indicate a need for professional assistance is crucial. Consulting with specialists can provide significant benefits in various situations. Professionals have expertise and specialized training to handle complex issues or situations, such as mental health problems, addiction, relationships, or career aspirations.
It’s necessary to seek professional help when an individual feels overwhelmed, incapacitated, hopeless, anxious or experiences significant changes in mood, behavior, relationships or physical health. It’s also advisable to consult professionals when an individual feels stuck and unable to resolve their problems by themselves effectively.
Seeking professional help does not signify weakness but rather strength and wisdom. By consulting professionals who can provide tailored solutions and support systems, individuals can gain insights that they may be unable to obtain on their own.
There are numerous ways of obtaining professional assistance from doctors to psychologists, therapists or counselors. It is recommended that one researches and finds a reputable professional who has experience with the specific issues one wishes to address.
Additionally, taking care of oneself is crucial. Adequate sleep, regular exercise and nutrition are fundamental aspects of one’s wellbeing. Practicing mindfulness techniques like meditation or journaling can aid in alleviating stress symptoms too.
Consequently seeking professional assistance not only contributes positively to an individual’s wellness but also helps create supportive environments for those surrounding them.
Choosing a reputable auto detailing service
When looking for a trustworthy auto detailing service, it is essential to consider several factors, such as their experience, customer reviews, and satisfaction rate. Checking their portfolio can give a clear idea of the quality of work they are capable of delivering.
Choosing a reputable auto detailer would ensure that your vehicle receives the best possible treatment and care.
It is preferable to choose an auto detailing service that offers customized packages based on your requirements. This would help you save money by picking services you need instead of paying for ones that don’t boost your car’s appearance or value. Researching the equipment and products used by the detailer can positively affect the outcome of your car’s appearance.
As vehicle owners, we have a responsibility to stay informed about different auto-detailing techniques and products in the market; this knowledge may prove helpful while assessing a chosen car-detailing provider’s skills accurately. By choosing reliable auto detailing services, drivers can rest easy knowing their cars are getting adequate protection and care for years to come.
With so much at stake, it’s crucial to choose wisely when selecting an auto detailing service provider as even minor negligence or unauthorized repair practices could damage expensive vehicle parts and reduce the lifespan of cars.
How to remove paint transfer from car – Frequently Asked Questions
Q: How do I remove paint transfer from my car?
A: The easiest way to remove paint transfer is by using a clay bar. Simply lubricate the surface with detailing spray and lightly rub the clay bar on the affected area until the transfer is removed.
Q: Can I use rubbing compound to remove paint transfer?
A: Yes, rubbing compound can be effective for removing paint transfer, but it should be used with caution. It can be abrasive and damage the clear coat if not used properly.
Q: What if the paint transfer is stubborn and won’t come off?
A: If the clay bar or rubbing compound doesn’t work, you may need to use a specialized paint transfer remover. These products should only be used as a last resort and should be tested on a small, inconspicuous area before applying to the entire car.
Q: How do I prevent paint transfer from happening in the first place?
A: One way to prevent paint transfer is by regularly washing and waxing your car. This helps to protect the clear coat and prevent contaminants from bonding to the surface.
Q: Can paint transfer be fixed without professional help?
A: Yes, paint transfer can be removed without professional help if it’s not too severe. However, if the transfer has caused damage to the clear coat or exposed the base coat, it’s best to seek professional assistance.
Q: Will removing paint transfer damage the paint on my car?
A: When done properly, removing paint transfer should not damage the paint or clear coat on your car. It’s important to use the right products and techniques to avoid causing damage.






[…] Removing overspray from a car should not damage the paint if done correctly, using the appropriate products and techniques. However, if the overspray has […]