How to Restore Your Car’s Headlights to Original Brightness: A Step-By-Step Guide
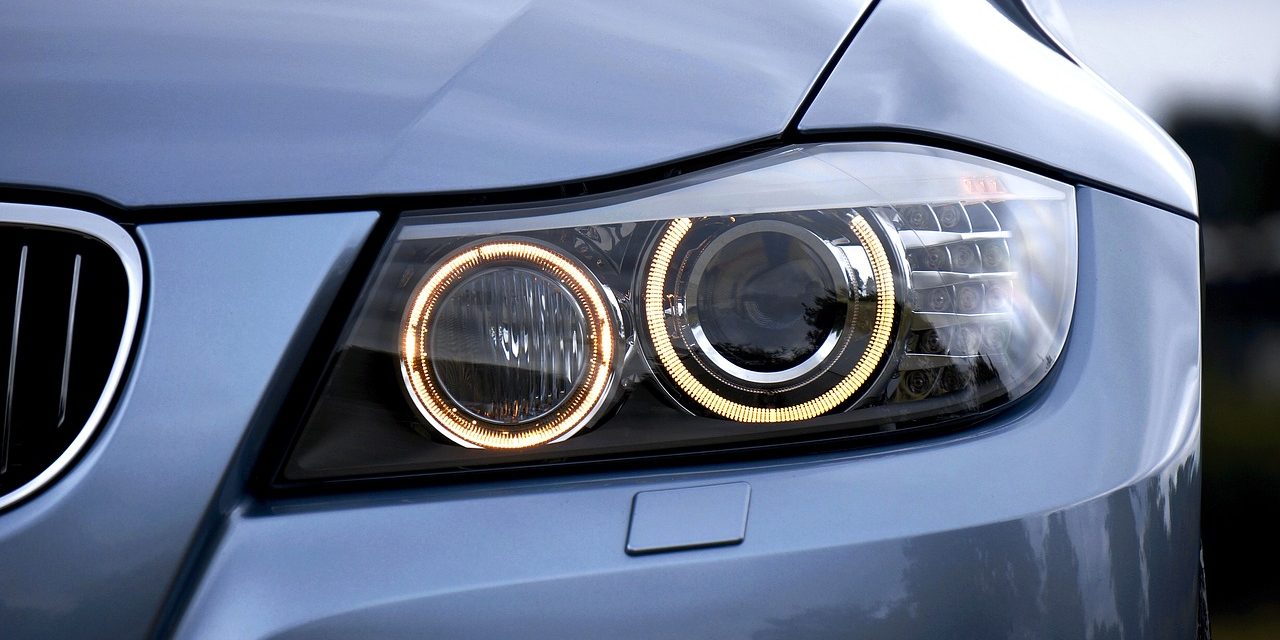
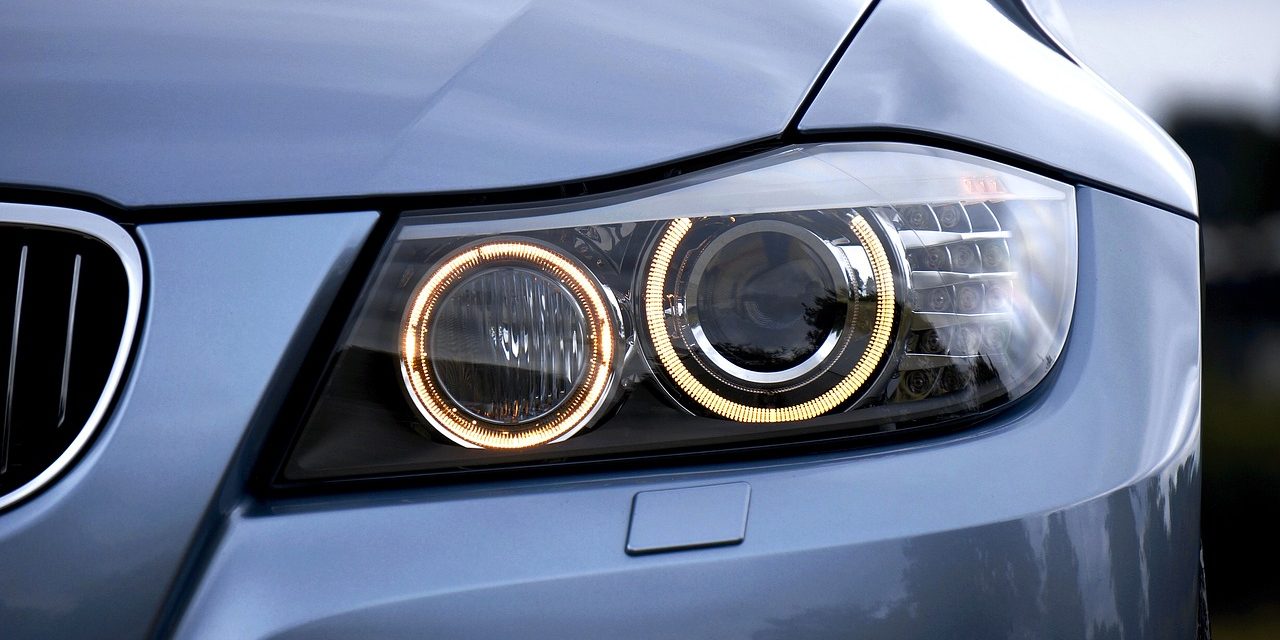
Over time, car headlights can become dull and lose their original brightness, which can negatively impact visibility and safety while driving. Headlight restoration is a process that can reverse this dulling, which is typically caused by oxidation and exposure to environmental factors such as UV light, road debris, and chemicals. Restoration both improves the aesthetic appeal of a vehicle and is also an essential maintenance task that can enhance the driver’s visibility during night-time or adverse weather conditions.
Many car owners face the challenge of cloudy headlight lenses. The good news is that restoring your car’s headlights to their original clarity and brightness can be achieved through several methods, ranging from DIY kits to professional services. The restoration process may include techniques like sanding, polishing, and sealing to achieve clear and bright headlights. This helps to maintain the vehicle’s value and also contributes to safer driving by providing better illumination of the road ahead.
Key Takeaways
- Headlight restoration improves both vehicle safety and aesthetics.
- Several methods can restore clarity, from DIY to professional services.
- Clear headlights improve visibility and are vital for safe driving.
Understanding Headlight Oxidation
Headlight oxidation occurs when the polycarbonate plastic used in most headlights degrades, primarily due to UV ray exposure. This degradation results in headlights becoming cloudy, foggy, and yellowed, reducing their brightness and clarity.
Factors Leading to Oxidation
- Environmental Exposure: Headlights are continuously exposed to UV rays, causing the protective coat to break down over time.
- Chemical Contaminants: Road salts and other pollutants can contribute to the degradation of the headlight’s surface.
Impact on Visibility and Safety
- Reduced Visibility: Oxidation causes headlights to emit a weaker beam, making it difficult to see the road ahead during night-time or adverse weather conditions.
- Safety Hazard: The lessened effectiveness of the headlights can pose a serious safety risk, as the driver’s ability to react to obstacles on the road is compromised.
Preparation for Restoration
Restoring your car’s headlights begins with careful preparation to achieve the best results. The following steps will set the foundation for a successful headlight restoration process.
Assessing Your Headlights
First, examine the headlights to determine the extent of the damage. Look for hazing, yellowing, or scratches on the lens surface. These imperfections indicate that the headlight needs a thorough restoration process to return to its original brightness.
Gathering Necessary Supplies
Next, assemble the materials you’ll need for the restoration:
- Cleaning Agents: Soap and water.
- Abrasive: Various grits of sandpaper (600- to 3000-grit).
- Protection: Masking tape for shielding adjacent car areas.
- Tools: A soft-bristled brush or a rotary buffer.
- Wipe Down: Microfiber cloths for drying and buffing.
Preparing the Work Area
Before you begin, choose a location that is well-lit and ventilated. Wash the headlights with soap and warm water to remove surface grime. Dry them thoroughly to prevent sanding dirt into the lens. Apply masking tape around the edges of the headlight to guard the paint and car surface from potential damage while sanding.
The Restoration Process
Restoring your car’s headlights to their original brightness involves a systematic approach that starts with cleaning and sanding, moves on to polishing the lens surface, and finishes with the application of a UV sealant to protect against future damage.
Cleaning and Sanding
Before commencing the sanding process, it’s critical to thoroughly clean the headlight with soap and water to remove any dirt or residue. Then, start with a coarser grit sandpaper, progressively working your way to finer grits. Begin with 600 grit sandpaper to remove the top layer of oxidation. After achieving a uniform fog across the lens, move on to 1,000 grit, and then to 2,000 grit sandpaper for wet sanding, which smooths out scratches and prepares the surface for polishing. It’s important to keep the surface wet to minimize scratching and to achieve maximum clarity.
Polishing the Lens Surface
Following sanding, apply a polishing compound to the lens surface. Using a clean microfiber cloth or a polishing tool, buff the lens in a circular motion until the surface becomes clear and glossy. This may take several minutes of consistent movement. It is important to ensure that the lens has regained its transparency before proceeding to the next step.
Applying UV Sealant
Once the headlight lenses are clear, they need to be protected from UV rays to prevent future oxidation. Apply a high-quality UV sealant to the lens surface, spreading it evenly. Allow the sealant to dry according to the manufacturer’s instructions. This layer will serve as a barrier against the sun’s damaging rays and extend the restored clarity of the headlights.
DIY Versus Professional Restoration
Choosing between DIY and professional headlight restoration hinges on factors such as cost, time investment, and the desired quality of the outcome.
When to Choose DIY
DIY headlight restoration can be a cost-effective solution for individuals comfortable with hands-on tasks. Basic restoration kits are readily available and typically include abrasives and a sealant, which when used with elbow grease, can remove the hazy, yellowed layer from headlight lenses. This method is ideal for those who prefer a more hands-on approach and are looking to save money.
- Pros of DIY:
- Cost Savings: Generally less expensive than professional services.
- Control: Complete the job on your own schedule.
- Cons of DIY:
- Time: It can be time-consuming, depending on the severity of headlight degradation.
- Skill Level: Results may vary based on user’s ability and effort.
When to Seek Professional Help
Professional restoration should be considered when headlights are significantly damaged or when longevity and performance of restoration are a priority. Professionals possess specialized tools and products that might not be included in a typical DIY kit, such as UV-resistant sealants that can restore headlights to a bright and clear condition that lasts.
- Pros of Professional Restoration:
- Quality of Work: Technicians use proven methods for lasting clarity.
- Time Efficiency: Swift restoration compared to DIY efforts.
- Cons of Professional Restoration:
- Cost: More expensive than DIY solutions.
- Convenience: Requires scheduling and traveling to a service provider.
In either case, successful headlight restoration may improve resale value by enhancing the vehicle’s appearance and safety.
Maintaining Your Restored Headlights
After restoring your headlights to their original brightness, regular maintenance is critical to keep them clear and fully functional. This will extend their lifespan and improve driving safety.
Routine Cleaning Tips
Frequency:
- Clean your headlights whenever you notice dirt or grime buildup.
- Incorporate this into your regular vehicle washing schedule.
Materials:
- Use a non-abrasive cleaner specifically for automotive use.
- A microfiber cloth will clean without scratching the surface.
Procedure:
- Spray the cleaner onto the headlight surface.
- Gently wipe in a circular motion with the microfiber cloth.
- Rinse with water if required, and dry with another clean microfiber cloth.
Preventive Measures
Surface Protection:
- Apply a UV-resistant sealant after cleaning; this acts as a sunscreen for the headlights, providing a layer of defense against ultraviolet degradation.
- Reapply the sealant every few months or as per the product’s instructions.
Regular inspections:
- Check for signs of wear, such as small scratches or cloudiness, which can be addressed immediately before requiring another full restoration.
Driving Precautions:
- Avoid driving on rough terrain where debris may cause damages to the headlight’s protective layer.
By following these guidelines, the headlights will remain clean, polished, and protected, ensuring they last longer and keep the road ahead safely illuminated.


