How to clean headliner in car


To select the correct solution for cleaning a car’s headliner, you need to consider important factors. These factors are colorfastness of the fabric, type of stain or dirt on the headliner, and harmful chemical effects on the upholstery. Neglecting these considerations could lead to damage or discoloration of the car interior.
Below is a table that can guide your decision-making process:
| Cleaning Agent | Suitable For | Not Recommended For |
|---|---|---|
| Water and Mild soap solution | Light stains and dirt buildup | Heavily soiled or stained headliners |
| Vinegar solution (water mixed with vinegar) | Mildew, mold, and bacteria-infested areas | Dark-colored headliners or synthetic fabrics |
| Dry foaming cleaner | Grease build-up and light soil accumulation | Old cars with fragile ceiling edges |
It is also necessary to conduct a test patch before application on larger areas – this ensures that there are no adverse reactions to the interior components.
When cleaning the car’s headliner, it is essential to avoid drenching the fabric with too much cleaning agent; instead, use sparing amounts and a soft brush for scrubbing gently.
Did you know that certain commercial solvents can damage your vehicle’s interior? According to Consumer Reports, Chlorine bleach products should be avoided as they break down fiber bonds in upholstery.
Better prepare yourself and your car before tackling that grimy headliner, unless you want to end up with a soapy mess and a broken spirit.
Preparation before Cleaning
To prepare your car’s headliner for cleaning, start with removing dirt and debris from the surface and protecting the interior of your vehicle. These steps ensure that you clean your headliner without damaging any other parts of your car’s interior. In this section, we’ll look at these two sub-sections and their importance in giving your headliner the clean it deserves.
Removing Dirt and Debris from Headliner
To properly clean a vehicle’s headliner, it is essential to remove dirt and debris from the surface. This will not only improve the aesthetic appeal of the headliner but also eliminate potential health hazards caused by mold or mildew growth in dirty areas.
Here are three simple steps for removing dirt and debris from a vehicle’s headliner:
- Start by using a vacuum cleaner fitted with a soft brush attachment to remove loose dirt and debris from the headliner’s surface. Ensure that suction power is set low to avoid damaging the lining.
- If there are stains on the headliner, use an appropriate cleaning agent like upholstery cleaner, rubbing alcohol, or baking soda paste mixed with water. Apply gently using a clean microfiber cloth to avoid soaking through into the foam underneath.
- After spot cleaning, you can go over the entire surface again with your vacuum cleaner once more to get rid of any remaining residue or excess cleaning solution that may have dried up.
It is necessary to test each cleaning product in a small inconspicuous area first to avoid damaging the fabric. Also, ensure not to over-wet during rinsing or soak it through since this might cause sagging or detachment from underlying metal frames after prolonged exposure.
It is useful always to handle car interiors’ maintenance regularly rather than waiting until grime accumulates. Doing so saves time and energy while ensuring overall hygiene.
According to an AAA study conducted on car interior surfaces (2017), microbial contamination levels were higher on uncleaned headliners than tested seat belts and door handles.
Protecting the Interior of the Car
To safeguard the car’s interior, one must adopt proper pre-cleaning measures. Here are some measures to be taken care of –
- Cover Upholstery – Shield your upholstery with appropriate coverings that are specifically designed for car interiors.
- Use Microfiber Towels – Avoid using cotton towels that might leave tiny scratches behind. Instead, use microfiber towels, as they are gentle on the surface enabling effective cleaning while preventing scratches.
- Avoid Chemical Usage – Use eco-friendly and mild sprays and cleaners to avoid causing damage to the material of the seats and dashboard.
- Keep Away from Sunlight – Park your vehicle in the shade or garage during cleaning. This avoids cracking of leather seats or fading of colors due to direct exposure to sunlight.
It is imperative not to overlook smaller details while protecting car interiors, like removing loose dirt particles with a vacuum cleaner before wiping surfaces with a cloth.
Pro Tip: Clean steering wheels and gear shift knobs thoroughly because hands regularly come in contact with them during driving.
Cleaning the Headliner
To clean the headliner in your car, you need to follow a few simple steps. Using the proper cleaning solution is crucial, and you should apply it carefully to avoid damaging the headliner material. After applying the solution, you must wipe it off gently and thoroughly. Finally, the headliner must be left to dry completely before using the car again.
Applying the Cleaning Solution
To cleanse the headliner fabric, you must apply the cleaning solution appropriately. Follow these three simple steps to do so.
- Prepare a cleaning solution of equal parts vinegar and water.
- Apply the mixture to the headliner slowly but firmly using a cloth or sponge.
- After applying, allow the solution to sit for about fifteen minutes before blotting off any excess moisture with a clean towel.
Avoid applying too much pressure while wiping as this could damage the thin material. For best results, check that your cleaning solution is compatible with your car’s interior.
To prevent excessive stains and odors on your car’s headliner, it’s paramount that you regularly clean it. Applying this cleaning solution will help maintain a tidy interior consistently.
Don’t miss out on maintaining your car’s elegance by avoiding this crucial tip! Wiping off the solution may make you feel like a janitor, but at least your headliner will look like it belongs to a CEO.
Wiping off the Solution
Removing the Cleaning Mixture
To ensure a spotless headliner, it is essential to wipe off the cleaning solution appropriately. It would help if you used a clean and soft cloth to wipe the cleaning mixture gently from the headliner. Refrain from rubbing or scrubbing as it can damage your car’s interior.
Here is a four-step guide on how to effectively wipe off the solution:
- Start from the top of the headliner and work your way down; this will prevent dripping.
- Gently dab the cloth on moist spots; this will soak up any excess water residue.
- Flip over and use the dry side of the cloth to absorb any leftover moisture.
- Work section by section until the entire surface area is completely dry.
It’s vital not to forget checking for any remaining stains on the headliner. If there are remaining stains, these should be addressed immediately using an appropriate stain remover.
It can be challenging to remove stains in some cases, so it’s recommended to leave that task to trained professionals who specialize in auto detailing.
Interestingly, removing dirt from car interiors has been common practice since automobiles were invented. Before modern-day cleaning methods, people relied on manual labor with harsh chemicals like gasoline or motor oil to get cars squeaky clean. Thankfully, today’s cleaning systems are much more advanced and environmentally friendly.
Drying the Headliner
To effectively dry the vehicle headliner and prevent mold growth, follow a few simple steps:
- First, remove any excess water or moisture with a cloth or absorbent material.
- Second, use a fan to circulate air and dry the headliner completely before replacing any accessories.
- Third, apply baking soda to prevent odors caused by the dampness.
- Finally, consider using a dehumidifier or leaving the windows open overnight to aid in drying.
It is important not to rush this process as residual moisture can lead to musty odors and damage to the interior of your vehicle. By taking these steps carefully and thoroughly, you can ensure that your headliner remains clean and dry over time.
A common mistake is using heat sources such as blow-dryers or heaters on the headliner as it can cause damage and may melt the material. Instead of rushing through the process this way, follow these steps patiently for an effective cleaning outcome.
Dealing with Stubborn Stains
To get rid of those stubborn stains on your car’s headliner, try out these two methods mentioned in this section: spot cleaning with a stain remover and using the steam cleaning method. These sub-sections are the solutions you need for getting your headliner clean and spotless again.
Spot Cleaning with a Stain Remover
When it comes to tackling tough stains, spot cleaning with a stain remover is essential. This process involves targeted removal of stains from specific areas to prevent them from spreading and permeating deeper into fabrics.
To effectively spot clean using a stain remover, follow these simple steps:
- Identify the type of stain and fabric to ensure that your chosen stain remover is appropriate for the task.
- Apply the stain remover directly onto the affected area and leave it to sit for around 5-10 minutes.
- Using a damp cloth, gently blot at the stained area until the majority of the stain has been lifted. Rinse the cloth regularly to prevent further staining of other areas. Repeat this process until all traces of the stain have been removed.
It’s worth noting that some stubborn stains may require multiple rounds of treatment or professional assistance if they prove too challenging to remove.
Pro Tip: Avoid applying heat treatments such as hot water or drying before you have completely removed the stain as this could set it in permanently.
Steam cleaning: because sometimes applying hot, pressurized water is the only way to get rid of stubborn stains and your problems in life.
Using Steam Cleaning Method
The use of high-pressure steam for removing stubborn and hard-to-clean stains is an effective way to sanitize surfaces. It is a chemical-free technique that uses hot water vapor to break down and eliminate bacteria, dirt, and grime.
Here’s a 5-step guide for using steam cleaning method:
- Fill the steamer with water and let it heat up until it produces steam.
- Identify the surface you want to clean and prep it by removing any loose debris or dust.
- Hold the nozzle of the steamer close to the surface and move it back and forth while releasing steam.
- Once you’ve covered the entire area, wipe off any excess moisture with a cloth or towel.
- Repeat if necessary until the stain or dirt has been completely removed.
It is also important to note that not all surfaces can be cleaned with high-pressure steam. For example, delicate fabrics or materials like silk may get damaged by excessive heat.
Did you know that steam cleaning was first used in hospitals in Italy during the early 20th century? The process was originally intended for disinfecting medical equipment and hospital rooms, but it quickly gained popularity as a powerful cleaning tool in many other industries. Today, we can see its widespread use in commercial kitchens, factories, schools and households alike!
Maintenance Tips for a Clean Headliner
Cleaning the Headliner in your car is an integral part of maintaining its cleanliness and elegance. To keep your Headliner clean, you need some maintenance tips that will help you achieve a spotless finish. Here are some guidelines to follow:
- Use gentle fabric cleaner: Choose a mild, fabric-safe upholstery cleaner to remove dirt, stains, and odor from your headliner.
- Clean with care: Apply the cleaning product with a cloth or sponge in circular motions gently. Avoid oversaturating the headliner with excess liquid.
- Brush away debris: Dry brush the headliner surface using a soft-bristled brush to remove loose dirt, dust or debris like animal hair, pollen grains, etc.
- Air Dry: When you’re done, leave your car’s doors open for proper ventilation and let the interior air-dry for at least 24 hours.
For best results, repeat this process on a regular basis instead of waiting until you see dirt buildup or discoloration. In case heavy staining persists on the headliner surface despite these methods, it’s advisable to contact an expert detailer. They can provide specialized services such as steam cleaning to revamp your Headliner’s cleanliness impeccably.
It’s crucial to note that certain cleaning products contain harsh chemicals that could damage the Headliner, so always check ingredients before usage.
How to clean headliner in car – Frequently Asked Questions
What is a headliner in a car?
How often should I clean my car’s headliner?
How do I clean the headliner in my car?
How do I remove stains from my car’s headliner?
Can I prevent my car’s headliner from getting dirty?
Leave a Comment
More in News

Mercedes-AMG strategically reorganises its GT Sport division

New design language: Enhanced CUPRA Formentor and CUPRA Leon now available to order in the UK

The end of the Car-Gument: The New Renault Scenic is such a perfect family car that buyers are promised relationship bliss – or their money back!
Car production down in first half as manufacturers invest in electric future
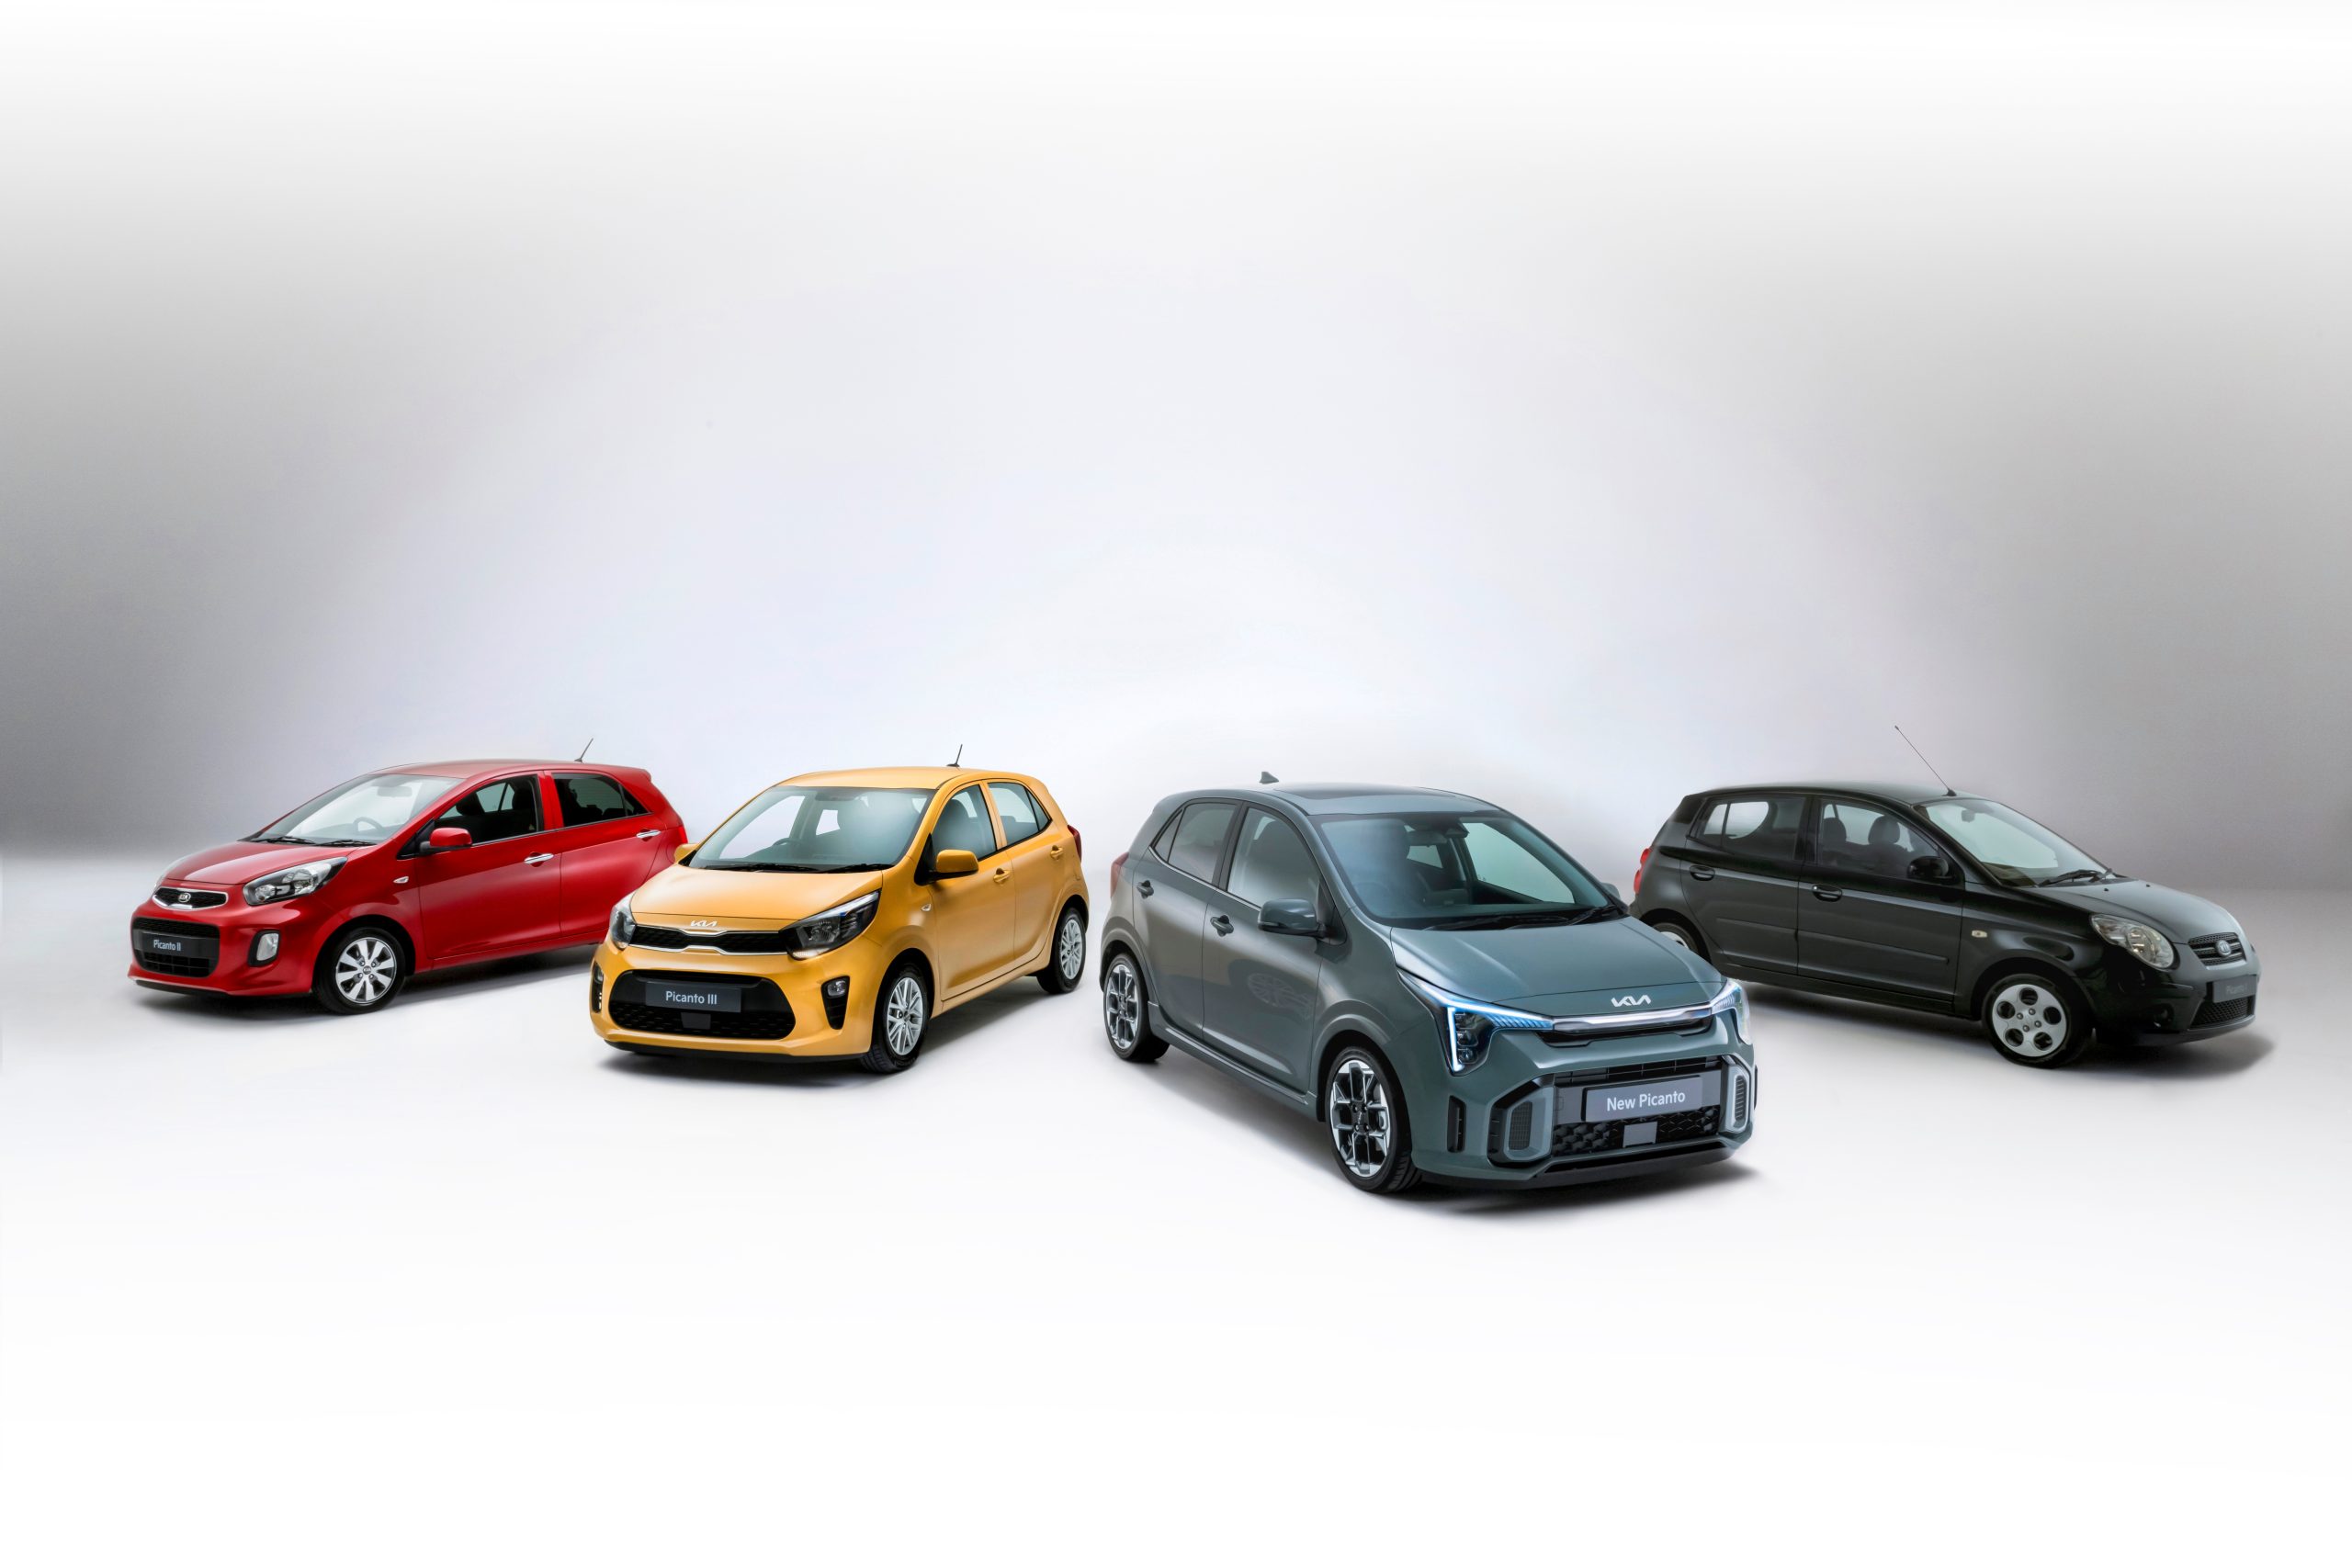
Small car, big milestone: 20 years of the Kia Picanto [Photo Gallery]
Trending on Motoring Chronicle
UK needs to support retrofit or risk leaving country and green transport goals in the red
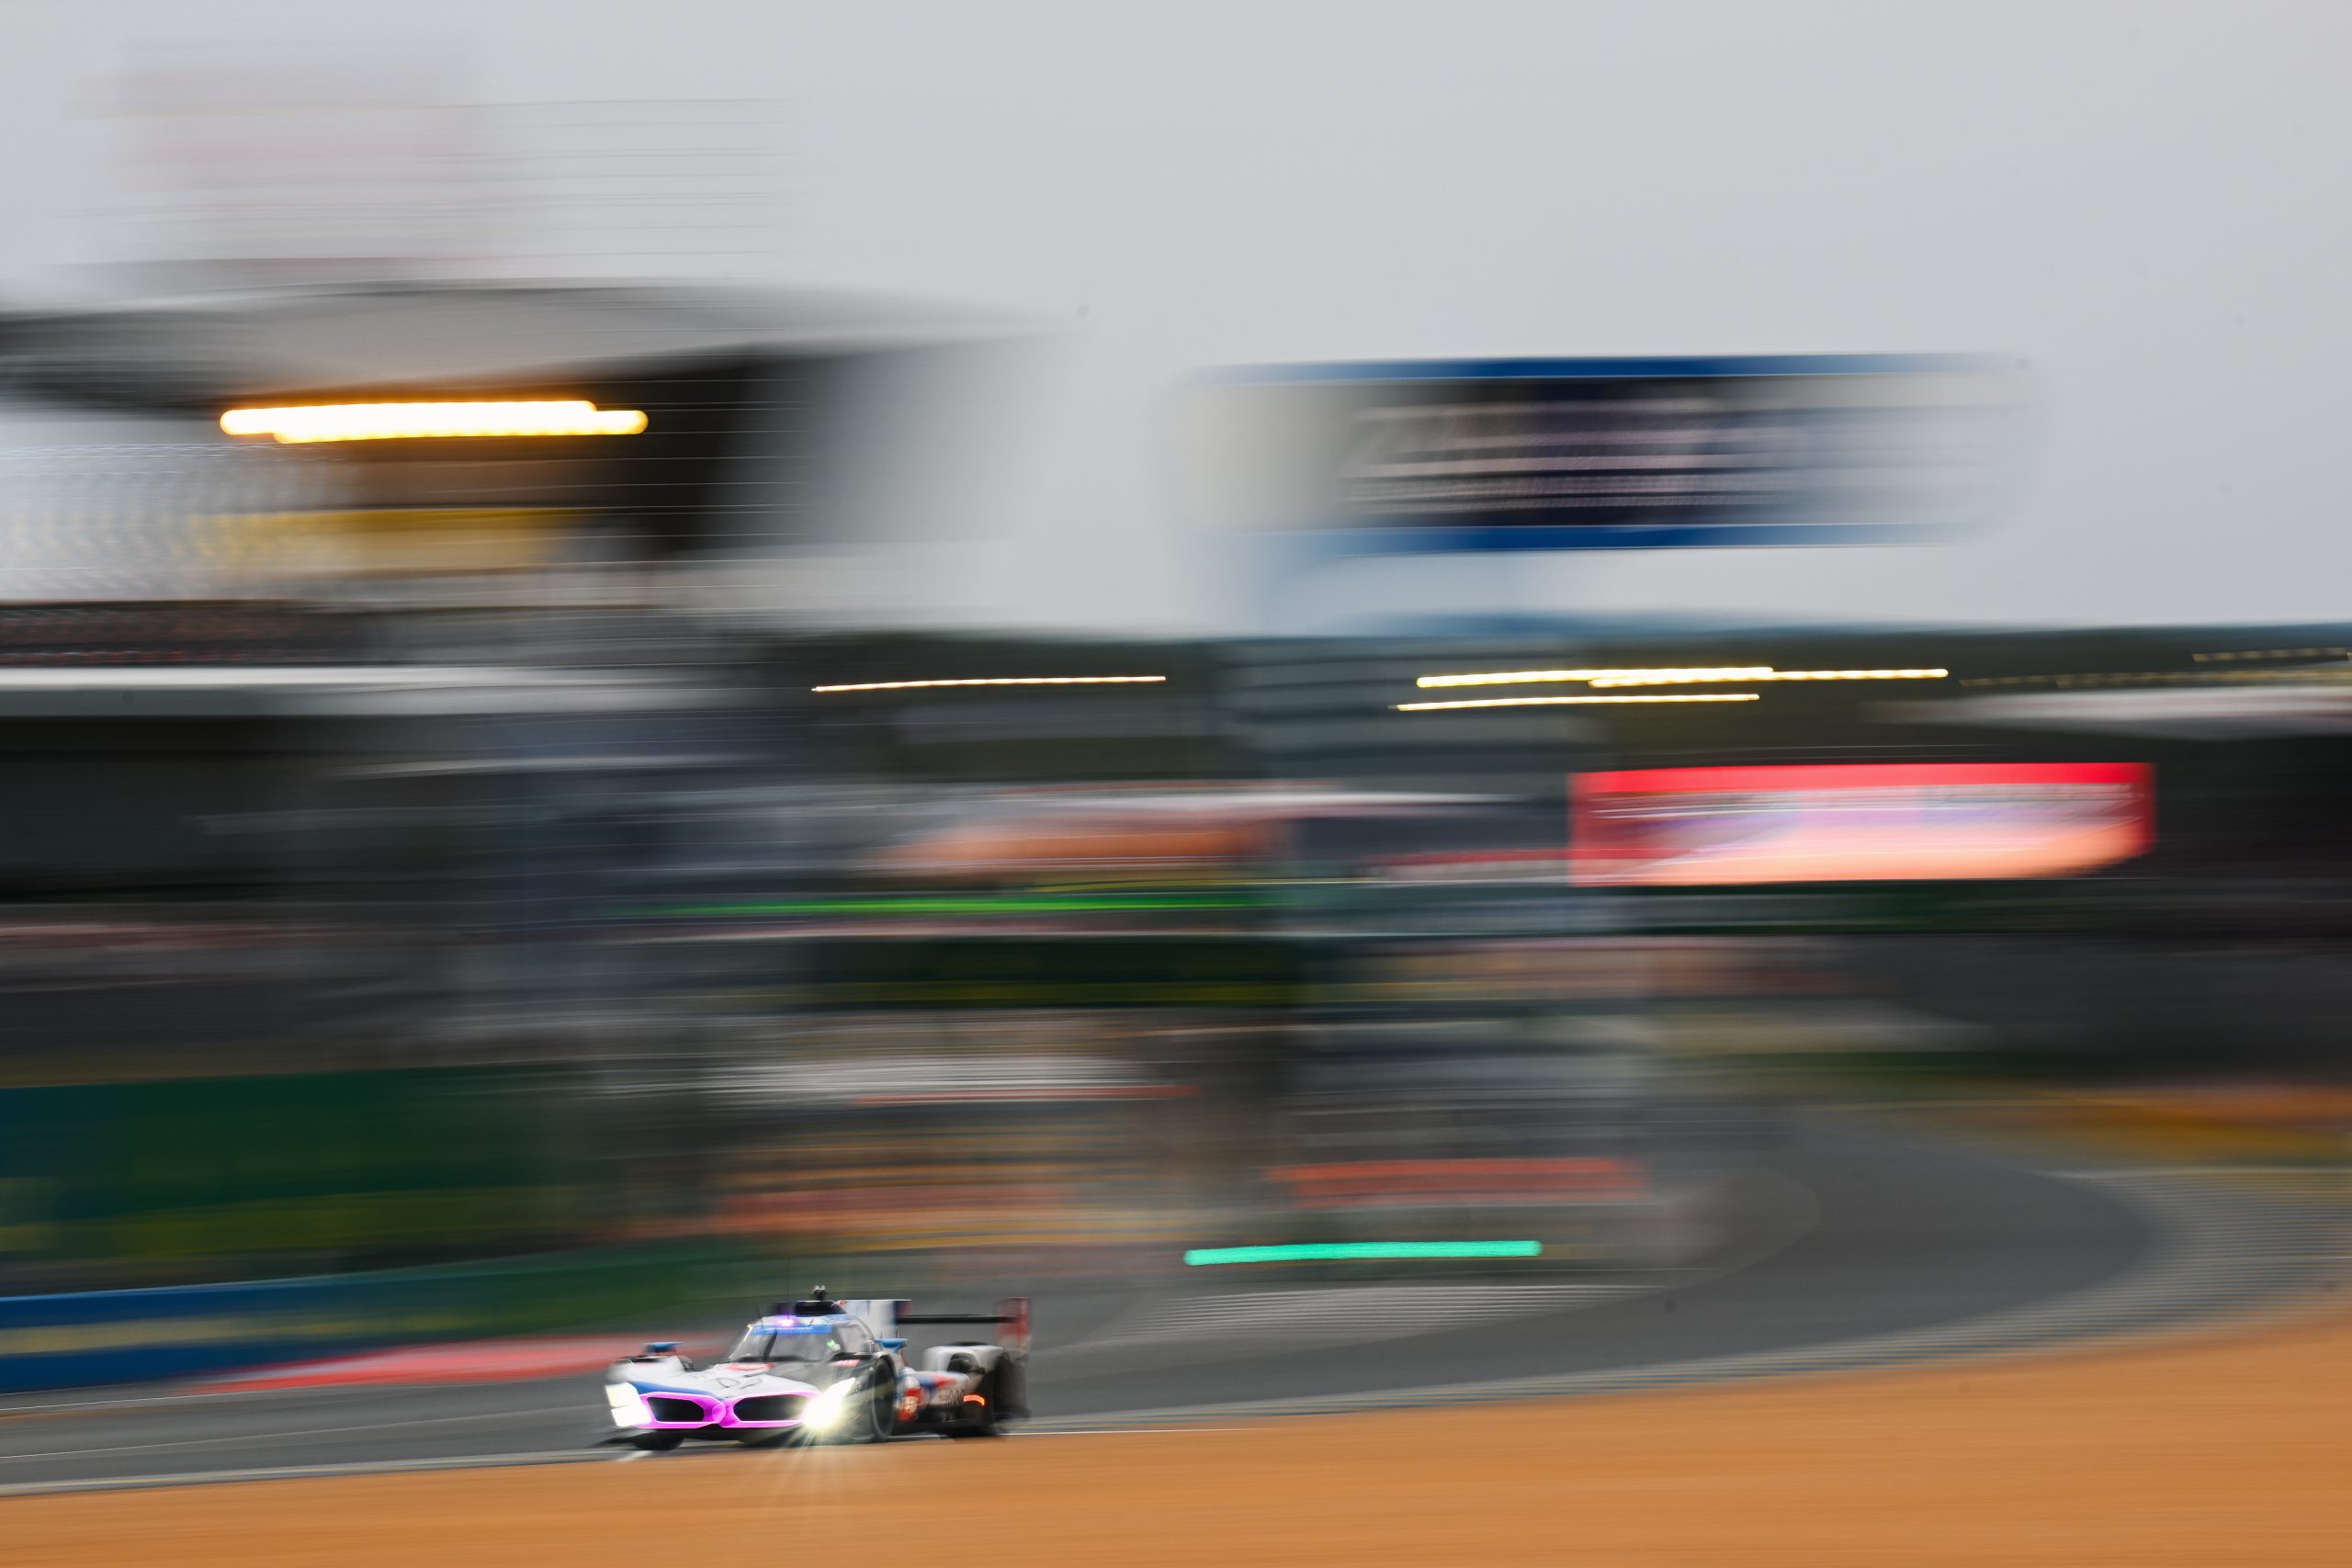
24h Le Mans: #15 BMW M Hybrid V8 reaches Hyperpole and starts the race from sixth on the grid

Hyundai N unveils IONIQ 5 N TA (Time Attack) spec and collaboration with Gran Turismo at Nürburgring 24 Hours

INEOS Automotive launches ‘Arcane Works’ for custom-made 4x4s