How To Clean Car Headliner


Preparing for Cleaning
To prepare for cleaning your car headliner, you need to vacuum it to remove any dust and debris. Next, check for stains and determine their severity to choose the best cleaning solution. In this section, we will cover the sub-sections of vacuuming the headliner, checking for stains, and choosing the right cleaning solution as an effective solution to clean your car headliner.
Vacuuming the Headliner
To ensure that your car’s interior is as clean as it can get, you should never neglect the headliner. Vacuuming the headliner will help to eliminate any dust particles, hair, and dirt that might have accumulated over time.
Follow these 4 easy steps to vacuum your car’s headlining:
- Choose a crevice tool for your vacuum cleaner to reach up into the corners and edges of the headliner surface.
- Grab a clean microfiber cloth or brush, which will aid in loosening any stubborn particles on the surface.
- Next, use a soft-bristled upholstery attachment to run over all areas of the headliner gently. Make sure to keep a light touch while cleaning so as not to damage the delicate material.
- If your vehicle has any stains or marks on it, treat them beforehand using an appropriate cleaner for removing debris before vacuuming them earlier on.
It is essential to always be extra cautious when reaching across or stretching towards high interior sections. Gently move on to cleaning carpets and plastics after you have finished urinating.
It is noteworthy that if your car ceiling has been extensively stained, damaged, or degraded by mould growth, for instance, mould on leather seats or a damaged sunroof, it may be beyond salvation and would require a full replacement.
One day, while cleaning my friend’s car headlining, I noticed ink marks and oil particles on one section of the headliner which had accumulated due to regular usage without attention. The process was relatively straightforward without leaving any traces behind – perfect results!
Checking for Stains
Inspecting and Verifying Stains
The first step before starting any cleaning task is to identify the stains present on the surface. This helps in choosing the right cleaning agent and method for effective stain removal. The following are six essential steps to inspect and verify stains on the surface.
- Begin by examining the surface, looking for visible spots, discolourations or marks.
- Test a small section using appropriate cleaning solutions and methods to determine if you can effectively remove the mark
- Once the type of stain is identified, match it with an appropriate cleaning agent
- Create a cleaning solution that matches the recommended portions of water to the cleaning agent
- Apply your selected cleaner onto the stained area, ensuring complete saturation of the spot.
- Wait at least ten minutes for optimum results before wiping off the excess solution using a clean sponge or cloth.
It is important to use the correct quantity and technique when trying to remove any mark from surfaces. Correctly identifying stains will prevent damage caused by inappropriate cleaning methods.
Always ensure that you follow manufacturer guidelines when checking for stains. Incorrect or wrong application may result in irreversible damage.
True History – Using incorrect or inadequate cleaning agents can lead to long-term damage on surfaces like carpets, couches and furniture. In 2012, one US-based company was sued for $9 million due to severe damage caused by using an incorrect cleaner on customer’s carpets during their routine maintenance activities. Consequently, they were forced to use advanced technology in their carpet care services. Because nothing says clean like chemical burns and a visit to the emergency room, choose the right cleaning solution wisely.
Choosing the Right Cleaning Solution
When selecting the appropriate cleaning solution, it’s essential to consider various factors.
- Determine what you’re cleaning by assessing the surface material and type of dirt or stain.
- Identify if any specific chemical requirements or safety precautions exist.
- Lastly, evaluate your personal preferences such as environmentally-friendly options or cost-effectiveness.
Below is a comprehensive table outlining different cleaning solutions and their uses:
| Cleaning Solution | Use |
|---|---|
| White Vinegar | Effective on glass and coffee makers |
| Rubbing Alcohol | Ideal for disinfecting surfaces like door handles |
| Baking Soda | Perfect for tackling dirty ovens and pans |
| Hydrogen Peroxide | Helpful for removing stains on fabric |
It’s important to note that while this table outlines some common uses and benefits of each solution, it’s always best to follow the manufacturer’s instructions and test an inconspicuous area before applying any cleaning solution.
When choosing a cleaning solution, it’s crucial to avoid mixing chemicals as they can react and produce harmful fumes or damage surfaces.
By considering all variables involved in selecting a cleaning solution, you can ensure both maximum efficiency and safety during your cleaning routine.
Fun fact: According to a study conducted by the American Cleaning Institute, the oldest known recipe for soap dates back to around 2800 BC in ancient Babylon. Cleaning may not be fun, but it’s the closest thing to a full-body workout I’ll ever get.
Cleaning Process
To clean your car headliner effectively, this section on the cleaning process with spot cleaning stains, spraying cleaning solution on the headliner, gently rubbing the headliner, and drying the headliner is the solution you need. Keep reading to understand the necessary steps for a clean car headliner.
Spot Cleaning Stains
To tackle unexpected stains, you may find yourself in need of information regarding rapid cleaning procedures. Here are some tips to spot clean stains quickly and effectively.
- Identify the type of stain – Different types of spills involve different cleaning methods. Determine whether it is an oil-based or water-based substance.
- Blot up any excess – Using a paper towel or clean cloth, blot off as much of the spilled material as possible.
- Apply cleaning solution – Depending on what you are dealing with, apply an appropriate cleaning agent such as vinegar, baking soda or dish soap directly to the affected area.
- Work from the outside in – Starting from the edges of the stain and working towards its centre, use a clean cloth to gradually blot up the residue until it comes out entirely.
- Rinse thoroughly – Dampen a new cloth and use it to wipe away any remaining cleaning solution and bacteria.
It is important not to delay because older stains may take longer to clear out and may further discolour your fabric if left untreated. For delicate fabrics or furniture upholstery, refrain from using harsh chemicals altogether and seek professional assistance.
Spraying Cleaning Solution on the Headliner
When it comes to restoring the clean look of your vehicle’s interior, applying a cleaning solution on the headliner is an essential step. This process entails using a specialized solution to eradicate dirt, grime, and stains that accumulate on the headliner over time.
Here is a six-step guide to help you apply the cleaning solution promptly and correctly:
- Move all detachable items from the headliner surface to allow easier access.
- Using a spray bottle, dilute the cleaning solution following its manufacturer’s instructions.
- Determine pressure accordingly as high-pressure spraying can cause damage to the headliner surface.
- Upon confirmation of optimal mixture and pressure settings, begin by spraying across one section at a time, targeting heavily stained/dirty areas with multiple sprays for best results.
- Avoid excessive soaking or saturating the headliner’s material during this process to prevent excessive dampness or water damage.
- Leave enough drying time (3-4 hours) before replacing any removable parts like sun visors for best results.
It’s important to note that while some cleaning solutions may incorporate additional steps such as scrubbing or vacuuming post-spraying, these should always be taken in accordance with the product’s instructions.
Always refer to product guidelines as not following them may lead to damaging your vehicle’s headliner material.
An Interior designer of Mercedes-Benz cited “Regular cleaning procedures protect interiors from permanent stains; however other household cleaners not intended for auto interiors; especially bleach-based chemicals can permanently discolour cloth fabrics“.
Gently Rubbing the Headliner
Gently Massaging the Roof Fabric
Softly touching the roof fabric of your car can effectively remove dirt and stains without damaging it. This process is known as gently massaging the roof fabric.
Follow these 3 steps when gently massaging the roof fabric of your car:
- Start by vacuuming the surface to remove loose debris.
- Dampen a microfiber cloth with soapy water, and wring out excess moisture.
- Gently rub the roof fabric in circular motions, moving from one section to another.
After completing these steps, allow the headliner to air dry.
It’s crucial to use a gentle touch while cleaning your car’s headliner to avoid damaging it. Additionally, be sure to use only mild soap and water solutions on the headliner material.
Studies have found that treating your car interior with care and cleaning it regularly can increase its lifespan significantly. (Source: Car Bibles)Drying the headliner is like trying to dry a soaked sponge with a hairdryer – it’s a tedious process that requires patience and a lot of hot air.
Drying the Headliner
To ensure the Headliner is thoroughly cleaned, proper drying is essential. The process involves carefully removing excess water and eliminating any remaining moisture to prevent mould growth.
- Use a clean microfiber towel to blot the area gently and remove any excess water. Avoid rubbing the towel on the Headliner as it could damage it.
- After removing excess water, use a specialized vacuum cleaner to absorb any residual moisture from the Headliner surface and the fabric underneath. This step ensures that there is no leftover water that could cause future issues.
- Finally, expose your car’s interior to fresh air regularly by parking it in sunlight or opening windows to help dry out any remaining moisture. Repeat this step until all traces of dampness have disappeared.
It is important to note that air conditioning should be avoided while cleaning since humidity can negatively impact the drying process. Lack of airflow or an inadequate drying time can cause mildew development.
It’s important to take measures while cleaning as earlier people have had mishap results such as damaging headliners or not properly cleaning them. A quick fix may lead to costly repairs down the line if not attended immediately.
Cleaning may be a chore, but it’s nothing compared to the damage a messy house can do to your mental health.
Avoiding Damages
To avoid damaging your car headliner while cleaning, use a soft-bristled brush, avoid oversaturating, and steer clear of harsh chemicals. Being cautious around adhesives can prevent peeling or detachment. This section on avoiding damages will equip you with the necessary information to ensure your car headliner stays in top-notch condition.
Using a Soft-Bristled Brush
Proper Brushing with a Gentle Touch
Effective cleaning involves the use of a toothbrush that will gently clean without causing any harm to your gums. The ideal tool for this is one that has soft bristles.
Here are six steps to using a gentle, soft-bristled brush:
- Wet the brush in water.
- Add toothpaste in pea-sized amounts.
- Hold your brush at a 45-degree angle.
- Gently scrub every surface of your teeth, including the gumline and tongue-side surfaces.
- Spit out toothpaste and rinse your mouth with water.
- Rinse the brush properly and store it in an airy space.
It is also essential to replace your toothbrush every three to four months and immediately after infections such as cold or flu.
Finally, interestingly, during ancient times, citizens utilized rough sticks with frayed ends as natural tooth-cleaning devices.
Not Over-Saturating the Headliner
To maintain the integrity of the headliner, it’s essential to avoid over-saturation. Over-saturating involves excessive application of liquid or cleaner, leading to staining and watermarks on the surface. It’s important to select cleaning products that are suitable and recommended for the car’s interior fabric.
When applying the cleaning product, avoid pouring directly onto the headliner; rather, use a soft-bristled brush or cloth to lightly dab onto specific areas requiring attention. Ensure not to overspray any moisture as it can lead to dampness.
Additionally, applying too much pressure can damage and degrade the headliner’s appearance and material quality, resulting in tear and uneven creasing patterns. Always handle with care.
Remember to keep a keen eye on what you put inside your car; beverages such as coffee, soda, and alcohol can lead to stains when spilt accidentally on the headliner.
A young couple recently experienced this tragedy when their baby spilled juice all over their newly acquired car’s headliner while they were driving home from holiday. Despite trying different types of cleaners available at petrol stations with no results, their hope of restoring it back was fading until a friend referred them to an expert cleaning service that ultimately saved them time, money and their car’s upholstery.
Avoiding Harsh Chemicals
To preserve the integrity of your belongings, opt for gentle or non-toxic cleaning substances instead of abrasive and potent chemicals. These harsher compounds might seem like quicker solutions to cleaning problems, but they can cause long-term damage. Neglecting less potent alternatives could lead to unnecessary wear and tear, chemical erosion and unsightly blemishes.
Some heavy-duty cleansers use ingredients like acid or bleach that can strip away layers of material on surfaces like leather and wood. Instead, try mild or natural-cleaning agents – such as vinegar or baking soda sprayed onto furniture or a toothbrush scrubbed into textiles – before upgrading to something stronger.
One critical point to keep in mind is to always read the labels before utilizing any new detergent for each kind of surface. Many common products include specific instructions regarding safe applications & exposed areas during use. Not all surfaces are created equal, so some items may require additional consideration when it comes to cleaning.
Pro Tip: Whenever using chemical-based materials, make sure you rinse them thoroughly afterwards with clear water to avoid any leftover residue that can compound the damaging effects on your beloved belongings over time.
Being Careful Around Adhesives
Adhesives should be handled with caution to avoid potential damage. Always ensure that the adhesive is appropriate for the surfaces being bonded, and follow the manufacturer’s instructions carefully. It is important to maintain good ventilation when using adhesives since they may emit a strong odour and harmful fumes.
Additional care should be taken when using flammable adhesives, as they can cause fires or explosions if exposed to heat or sparks. Furthermore, avoid contact with skin or eyes and wear protective gear such as gloves and safety glasses.
According to the Occupational Safety and Health Administration (OSHA), exposure to certain chemicals contained in adhesives can lead to respiratory problems, allergic reactions, and other health issues. Therefore, it is essential to read all warning labels before handling any adhesive products.
It is worth noting that some adhesives are designed for specific applications, such as high-strength bonds or waterproofing. Before purchase, be sure to identify what type of adhesive you need for your project to achieve optimal results.
Additional Tips
To get your car headliner looking brand new, you need to know more than just the basics of cleaning it. In order to provide a holistic solution for this, the article suggests additional tips for cleaning the car headliner. You can try using a steam cleaner, experimenting with DIY alternatives, or taking it to a professional detailer.
Using a Steam Cleaner
Using a High-Pressure Steam System
High-pressure steam systems effectively clean floors without using harsh chemicals. These systems can also kill bacteria and other pests, making them ideal for cleaning around the house.
Here are 6 steps to follow when using a high-pressure steam cleaner:
- Fill the cleaner with water and wait for it to heat up.
- Choose the appropriate nozzle or attachment for your cleaning task.
- Start cleaning from the farthest corner of the room and work toward the door to avoid stepping on a freshly cleaned area.
- Move the nozzle back and forth slowly over stubborn stains.
- Wipe off excess moisture with a microfiber cloth after each pass.
- Spend extra time cleaning grout and crevices where dirt may accumulate.
To make sure you get the most out of your high-pressure steam system, check that you have enough water before starting, as running out can lower pressure levels.
It’s essential to remember that these systems produce extremely hot vapour, which could cause burns if not used carefully.
Using a High-Pressure Steam System can be an environment-friendly way of getting rid of bacteria since it’s based on vapour pressure instead of producing chemicals.
Trying DIY Alternatives
Trying DIY Solutions – A Professional Approach
DIY solutions can save you money and provide a sense of accomplishment. Here’s a five-step guide to make sure your DIY venture is successful.
- Research the task thoroughly before starting.
- Gather all necessary tools and materials.
- Follow instructions carefully and have a backup plan.
- Take safety precautions seriously.
- Don’t hesitate to ask for help when needed.
Taking time to learn new DIY techniques not only saves money but also enriches life skills, boosts creativity, and helps develop practical thinking skills.
Using a Professional Detailer
Professional Detailing Services: Enhancing Your Vehicle
Opting for professional detailing services can take your vehicle’s appearance to the next level. Detailers use advanced techniques and high-quality products to remove every trace of dirt, grime, and imperfections. These services can aid in extending the life of your car, by polishing its surface. Services are customized and tailored according to design and needs.
Additionally, professionals use special tools that aren’t accessible in general markets that enhance details – such as engine bay cleaning or paint correction – which ensures exceptional results. By selecting a reliable and experienced technician, customers may achieve a car’s exterior like never before.
Moreover, let the detailer assess the need and which services are relevant as per the situation rather than just opting for complete detailing. A certified technical expert is a boon to regain the originality of your vehicle shining with newness.
For instance, a friend mentioned that getting the car’s yellow beams restored through professional services made cosmetic improvement look brand new despite being more than 8 years old. Professional detailers are trained to maintain high-level customer satisfaction from consultation to execution satisfying all expectations.
How To Clean Car Headliner – Final Thoughts
After implementing the cleaning methods, the car headliner appears refined and all set. It is crucial to emphasize that regularly cleaning the headliner will retain its cleanliness for an extended period of time. Our car’s interior is a vital reflection of our lifestyle, and maintaining it is essential.
When executing any of the cleaning procedures, it’s essential to ensure that you use gentle cleansers and avoid applying too much water or moisture on the headliner. It’s critical to handle the stains as soon as they happen to prevent them from setting in. Ultimately, by cleaning your car with caution and proper techniques, you can prolong its aesthetic appeal.
One crucial thing that most vehicle owners overlook is utilizing protective fabrics on their car seats and headliners also helps preserve their condition. For instance, we can cover our car seats with dark-coloured towels or blankets when transporting muddy items such as bicycles.
According to automotive history experts, in early times, automobiles had leather ceilings lined with beautiful painted decorations sourced from Indian silk fabrics. As technology advanced, massive production of cars necessitated cost-friendly materials used for the linings’ roofs in modern vehicles.
How To Clean Car Headliner – Frequently Asked Questions
Q: How do I clean my car headliner without damaging it?
A: To clean your car headliner, use a gentle cleaner and a soft brush or cloth. Avoid using abrasive materials or harsh chemicals that can damage the fabric or cause discoloration.
Q: Can I use water to clean my car headliner?
A: Yes, water can be used to clean your car headliner. However, it is important to use a minimal amount of water and to dry the fabric thoroughly to prevent mould or mildew growth.
Q: How do I remove stains from my car headliner?
A: To remove stains from your car headliner, use a mixture of water and mild detergent. Apply the solution to the stain and gently scrub with a soft brush or cloth. Rinse the area with water and dry thoroughly.
Q: Is it safe to use a vacuum cleaner to clean my car headliner?
A: Yes, a vacuum cleaner can be used to remove dust and debris from your car headliner. Use a soft brush attachment to avoid damaging the fabric.
Q: Can I use a steam cleaner to clean my car headliner?
A: Although a steam cleaner can be effective at removing dirt and stains, it is not recommended for cleaning car headliners. The high temperature and moisture can damage the fabric and cause it to shrink or wrinkle.
Q: How often should I clean my car headliner?
A: It is recommended to clean your car headliner every few months or as needed. Regular maintenance can help prevent buildup of dirt and stains that can be harder to remove over time.
Leave a Comment
2 Comments
Leave a Comment
More in News

Mercedes-AMG strategically reorganises its GT Sport division

New design language: Enhanced CUPRA Formentor and CUPRA Leon now available to order in the UK

The end of the Car-Gument: The New Renault Scenic is such a perfect family car that buyers are promised relationship bliss – or their money back!
Car production down in first half as manufacturers invest in electric future
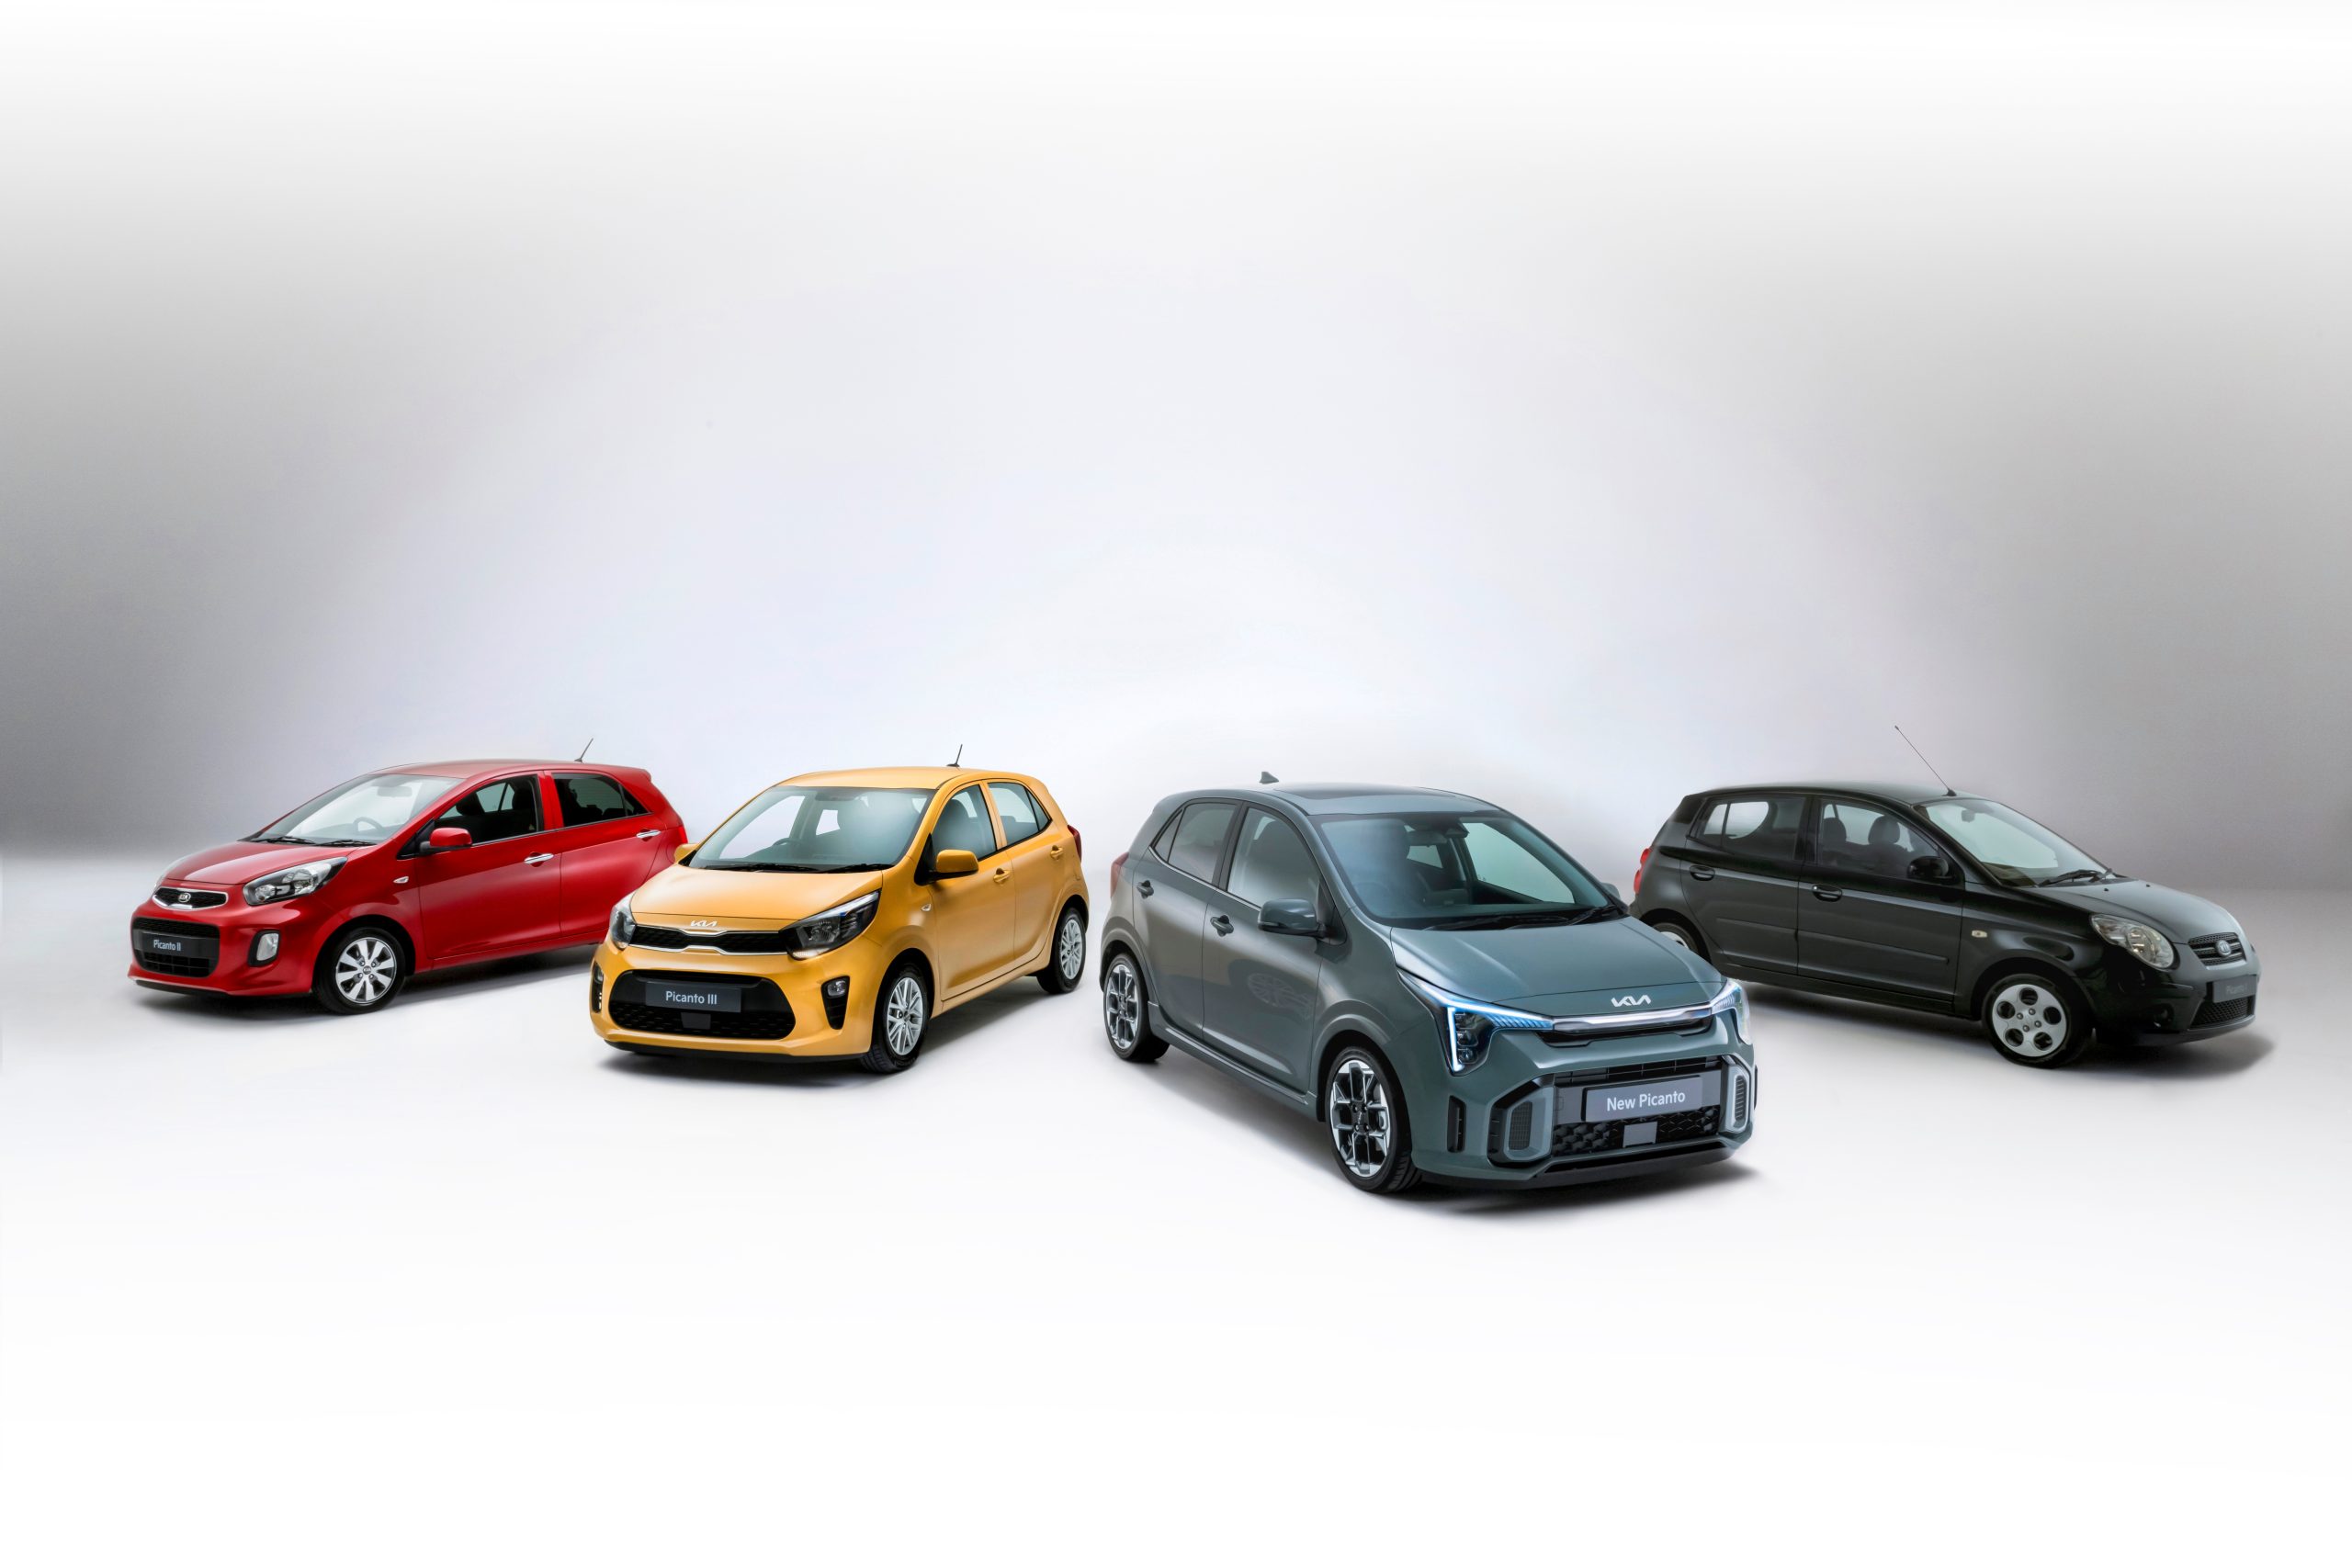
Small car, big milestone: 20 years of the Kia Picanto [Photo Gallery]
Trending on Motoring Chronicle
7 Best Sportscars of 2022 and 2023
Mercedes-AMG strategically reorganises its GT Sport division
Is Driving An SUV Harder Than A Car?

Mercedes-Benz 500SL delivered new to Sir Stirling Moss heads to auction

[…] heavy overspray from a car’s surface can be done using a combination of rubbing compound and cleaning solution. Here is a five-step guide to effectively remove heavy overspray without damaging your […]
[…] If your car requires extra cleaning, such as removing a lot of dirt or grime, consider tipping a bit more as a way to show appreciation […]