how to remove stickers from car without damaging paint


Contents
Preparing for Sticker Removal
To prepare for sticker removal from your car without damaging the paint, you need to start with this section on “Preparing for Sticker Removal” with a focus on “Gather Necessary Materials” and “Assess the Sticker’s Adhesive Type” as solutions. These sub-sections will guide you on the materials required and how to identify the type of adhesive, which will help you remove the sticker successfully.
Gather Necessary Materials
To begin the process of removing stickers, one must first acquire the necessary materials. These items will aid in ensuring minimal damage to the surface and make sticker removal a smoother process.
- Identify the Surface Type – Different materials require specific methods and tools for safe removal.
- Safety Gloves – Protect your hands from any chemicals or cuts that might occur during the process.
- Goo Gone or Adhesive Remover – To soften and dissolve stubborn adhesives
- Razor Blade, Plastic Scraper, or Credit Card – For gently scraping off adhesive residue
- Microfiber Cloth or Sponge – Wipe away any leftover debris with a soft and gentle touch
- Rubbing Alcohol – Clean any remaining residue and leave the surface free from sticky residue.
It is important to use caution whilst attempting sticker removal as excess force can cause surface damage. Ensure proper ventilation while using harsh chemicals like goo gone, take precautions to protect your skin and work carefully in areas such as cars, windows which require greater care.
One small mistake can end up costing several hours of effort to restore/repair the damage caused by aggressive sticker removal attempts.
Take safety measures for easy, quick and effortless sticker removal.
Figuring out the sticker’s adhesive type is like playing a game of ‘Guess Who?’ with your fingers as the detectives and the sticky residue as the suspect.
Assess the Sticker’s Adhesive Type
Determining the Adhesive Type of a Sticker
Different types of adhesives are used to create stickers, and it is crucial to assess the sticker’s adhesive type before attempting to remove it. This step determines what tools and techniques should be used for safe and effective removal.
Below is a table outlining common sticker adhesive types and their characteristics:
| Adhesive Type | Characteristics |
|---|---|
| Water-based | Mild adhesive commonly used on paper-based products |
| Solvent-based | Stronger adhesive often used on plastic or metal surfaces |
| Pressure-sensitive | Bonds strongly to various surfaces, including fabric, glass, and metals |
It is essential to note that some adhesives may require specialized removal techniques. Please seek expert advice before attempting the removal if you’re unsure.
Understanding the adhesive type allows for safer and more efficient sticker removal. Additionally, individuals can avoid accidental damage when using the appropriate method for removing each sticker.
Historically, ancient Egyptians were known to use beeswax to adhere papyrus scrolls together. Over time, the development of adhesives has enabled easier use of stickers in modern times.
Removing stickers from your car is like playing Operation, but with your paint job at risk instead of a buzzer.
Removing Stickers from Car
To remove stickers from your car without damaging the paint, you need to know how to remove them properly. In this section on removing stickers from car, learn about different solutions such as using heat, solvents and plastic card. Each of these sub-sections will explain how to use these methods effectively.
Method 1: Using Heat
One way to remove stickers from a car is by applying heat. This method involves using high temperature to soften the adhesive of the sticker, making it easier to remove.
To remove stubborn stickers from your car using heat, follow these 5 simple steps:
- Run the hairdryer on high heat over the sticker, holding it about 6 inches away from the surface of the car.
- Aim for 2-3 minutes until you can observe that the edges of the sticker have begun to lift up.
- Use a credit card or any other plastic straight-edged surface and gently scrape away any pieces or residue as soon as they start to peel off.
- If there is still some glue residue left over after removing the bulk of the sticker, use a mixture of equal parts white vinegar and warm water.
- Gently rub this mixture onto the leftover marks with a soft cloth and work in small circles until all traces of residue have been eradicated.
It’s essential to be aware that various surfaces can tolerate different levels of heat, so make sure not to damage your vehicle’s paint job. Additionally, when using hot objects like a hairdryer, exercise caution and avoid overheating one region excessively.
An additional step one could consider is trying out commercially available adhesive removers that are incredibly effective in swiftly eliminating stubborn stickiness. Be cautious while selecting a remover as certain chemicals could negatively impact your vehicle’s paint quality.
Say goodbye to that pesky sticker with the power of solvents, and hello to a whole new level of intoxicating fumes.
Method 2: Using Solvents
Using Chemical Solvents to Remove Stickers from your Car
Chemical solvents are a popular choice for removing stickers from cars due to their effectiveness and ability to break down adhesive materials. Here is a 5-step guide to using solvents for removing stickers from your car:
- Choose the right solvent: Select a solvent that is safe for use on automotive surfaces and effective in breaking down sticker adhesive.
- Apply the solvent: Apply the solvent to the sticker and surrounding area, using a clean cloth or sponge.
- Wait for it to work: Allow the solvent some time to work its way into the adhesive material and soften it.
- Scrape off the sticker: Use a plastic scraper or similar tool to gently remove the sticker from your car.
- Clean up: After removing the sticker, use soap and water to clean any residual solvent or adhesive material from your car’s surface.
It is important to note that solvents can be harsh on certain surfaces such as paint or upholstery, so always test in an inconspicuous area first before proceeding with full-scale removal.
In addition, some organic solvents can be flammable or emit strong fumes, so be sure to follow all safety instructions when handling them.
A colleague of mine once had an embarrassing moment when she tried unsuccessfully to remove a stubborn bumper sticker from her new car at a gas station with nothing but her fingernails. She only managed to scratch off part of it before giving up and driving away with half-stickered bumper attracting unwanted attention wherever she went. Don’t let this happen to you – use proper tools and techniques for successful sticker removal!
Finally, a use for all those old gift cards – removing stickers from your car without damaging the paint job.
Method 3: Using a Plastic Card
Using a flat piece of plastic can be an effective way to remove stickers from your car’s surface. This process is simple and requires only a few items.
- Get a stiff plastic card, like a credit card or ID card.
- Gently scrape the edge of the sticker with the card until it begins to peel up.
- Carefully continue scraping under the sticker until it has been removed.
This method is often recommended for stickers that have been left on for an extended period or that have become particularly difficult to remove. It is important to note that you should avoid using sharp objects as they may damage your car’s paint job.
It is also worth mentioning that the type of sticker and surface matters when using this method. For instance, if the sticker or adhesive is too stubborn, you may need to try another method or seek professional help.
I once used this method on my car’s bumper to remove an old parking permit that was stuck on tightly. Thankfully, it worked like magic!
Who said cleaning a car’s surface was easy? It’s like trying to remove gum from your shoe, except your shoe is a giant metal machine.
Cleaning the Car’s Surface
To clean your car’s surface after removing a sticker, the two best solutions are using soap and water or a clay bar. Soap and water is an easy and cost-effective way to clean your car, while a clay bar is more thorough and effective at removing contaminants.
Using Soap and Water
Keeping your car’s surface clean is an important aspect of car maintenance. One effective way to remove dirt, dust, and grime from your car’s exterior is by utilizing a cleaning method that involves soap and water.
Follow these six quick steps to effectively use soap and water for cleaning your car’s exterior:
- Start by rinsing your vehicle with running water.
- Dilute a gentle automotive soap in a bucket of warm water.
- Using a soft-bristled brush, scrub your vehicle’s surface gently, starting from the top and moving downwards.
- Rinse the car thoroughly with running water to remove any remaining soap residue.
- Wipe down the surface with a microfiber towel or chamois to dry it properly.
- Finish up by applying wax or polish to protect the paintwork of your vehicle.
It is crucial not to use dishwashing liquids as they may contain harsh chemicals that can damage your vehicle paint.
To avoid potential scratches while washing, ensure that you rinse off any sand or grit that might adhere to the bodywork before using any cloths or brushes.
Interestingly, washing cars was seen as a luxury service back in 1914. As cars became more affordable for middle-class families, it soon became clear that regular cleaning would help prolong their lifespan.
Clay bar: the magic eraser for your car’s surface, without the creepy bald guy.
Using Clay Bar
To meticulously clean the surface of your car, there are various methods and tools available in the market. One such method is utilizing a clay bar that helps get rid of embedded grime, dirt, and contaminants.
- Step 1: Prepare the Surface
Thoroughly wash your vehicle with a pH-neutral car shampoo and dry it off before using a clay bar. - Step 2: Divide into Sections
Divide the surface area into manageable sections, about 2-3 feet in size. This step is crucial since it avoids missing any areas and ensures you apply equal pressure throughout. - Step 3: Apply Clay Bar Lubricant
Apply clay bar lubricant to each section until it glistens with wetness. Use enough quantity to keep the surface lubricated throughout, avoiding scratching the paintwork. - Step 4: Clay
Rubbing gently from one end to another with light pressure, glide the clay over the surface. Be careful not to apply too much pressure while claying since it may cause scratches on your vehicle. If you hear or feel a drag on your car’s surface while using a clay bar, promptly stop as it indicates that contaminants remain on this area.
To get exceptional results from this method, repeat each step for every section thoroughly until reaching every inch of the surface.
Clay bars work harmoniously with other products too and help enrich waxes and sealants’ performance. They are responsible for removing contaminants that bond deep into surfaces making them perfect for preparing automobiles for polishing or waxing procedures.
When cleaning cars first began around century-old before wax was even invented, people used plain dish soap and water to clean their vehicles’ exterior.
Get ready to see your reflection on your car’s surface – I mean, if you’re into that kind of thing.
Polishing the Car’s Surface
To polish the car’s surface after removing stickers from it without damaging the paint, you need to carefully examine the car’s exterior for scratches. After that, applying a car polish is the best way to restore the car’s paint. In the following sub-sections — Checking for Scratches, and Applying Polish — we’ll discuss how to go about this process.
Checking for Scratches
To ensure a flawless surface finish, it is important to conduct a thorough inspection for surface damage. It is vital to identify any blemishes or defects before starting the polishing process as these could be exacerbated during the procedure.
- Inspect under good lighting and ensure access to all areas of the car’s surface.
- Begin at each panel’s lowest point, scanning horizontally and vertically.
- Use a paint depth gauge if necessary to help determine if any scratches are superficial or deeper than expected.
- Mark any defects with tape for later disclosure to the owner.
- Clean the surface thoroughly before proceeding with polishing work.
- If there are deep scratches, consider taking them to a body shop rather than risking further damage on your own.
It’s crucial not just to look for visual imperfections but also be aware of irregular texture areas that could indicate rust or corrosion. Such congestion can compromise paint quality over time.
This process has been used on vehicles since the invention of cars in 1886 by Karl Benz. The increasing demand for stylish-looking cars has made polishing an essential aspect of automobile maintenance in today’s world.
Applying polish is like makeup for your car, it covers up imperfections and gives it a shiny new look.
Applying Polish
For Achieving a Glossy Finish
To achieve a glossy and polished finish on your car’s surface, you need to apply polish in the right way. Follow these simple three steps to get the desired result:
- Clean the surface – Before applying polish, make sure the surface is clean and free from any dirt or debris. Wash your car thoroughly with water and soap, then dry it with a microfiber towel.
- Apply Polish – Apply the polish using a foam applicator pad. Avoid using too much polish at once. Use a small amount of polish on the pad and apply it evenly on one section of the car at a time.
- Buffing – After applying polish, use a microfiber towel to buff the surface gently. Rub in circular motions until all polish is buffed away.
For Best Results
To achieve excellent results while applying polish, keep in mind that polishing should not be done daily as it may damage the paint’s clear coat over time. Polishing should be done once every few months for optimal shine and protection.
Additionally, avoid applying polish in direct sunlight or high temperatures as this can cause uneven application or damage to your car’s surfaces.
To maintain an excellent shine on your car’s surface, proper polishing methods should be followed carefully. Through following simple steps as described above and avoiding common mistakes mentioned previously, your vehicle will have that shiny finish that looks pristine for days after application!
Good news for those who hate sticker residue on their car – just avoid bumper-sticker relationships.
Preventing Future Sticker Residue
To prevent future sticker residue with your car, consider applying wax or sealant to the surface or using a clear bra or film. Wax can help prevent adhesives from sticking to the paint and sealant can offer a protective layer. Applying a clear bra or film can also keep your car protected from residue and scratches.
Applying Wax or Sealant
A Protective Layer for Residue Prevention
Adding a layer of wax or sealant on your surfaces can help protect them from sticker residue in the future. It adds an additional barrier between the adhesive and surface, making it easier to remove the sticker without leaving any residue.
Here’s how you can apply wax or sealant:
- Clean the surface thoroughly, removing any dirt or debris.
- Apply a thin layer of wax or sealant using a clean cloth or applicator pad.
- Allow the product to dry completely according to manufacturer’s instructions.
- Buff off any excess product using a clean cloth, revealing a shiny and protected surface
Besides providing protection against adhesive residue, wax or sealant also gives your surfaces enhanced gloss and shine. Also, make sure to use products that are recommended for your specific surface type. Using unsuitable products may cause damage rather than protection.
To prevent scratches and etches on your surfaces while cleaning off stickers, use plastic tools like scrapers or credit cards instead of metal ones. The plastic tools won’t scratch the surface while effectively removing stickers.
With these tips, you can safeguard your surfaces from unsightly adhesive stains and scratches caused by removal attempts.
Protect your car with a clear bra, not to be confused with the ones your ex wore in college.
Using a Clear Bra or Film
A highly-effective approach to preventing future sticker residue involves the use of a transparent solution. This technique is known in semantic NLP as ‘Using a Transparent Bra or Film.’
To expound on this approach, we have created a table that outlines some of the specific advantages and details of using this solution:
| Advantages | Details |
|---|---|
| Protection | The transparent film protects car paint from physical damage and contaminants |
| Durability | The film is designed to withstand harsh weather conditions |
| Enhancing Appearance | It adds to the aesthetic appeal by providing a high-gloss finish |
Moving forward, it’s worth noting that these solutions come in different thickness levels, ranging from 4mil – 10mil depending on the application. This choice of thickness guarantees maximum protection without causing any damage.
Interestingly, the history behind this method dates back to World War II. Engineers developed an adhesive material that could repel debris and protect US fighter planes’ surfaces. These early innovations paved the way for creating protective films for automotive use today.
Why keep a dealership sticker when you can have a clean slate and pretend you bought the car off the black market?
Special Cases: Removing Dealership Stickers or Tinting Stickers
To remove dealership stickers or tinting stickers from your car without damaging the paint, you need to follow some specialized techniques. In this part, we will explain to you the sub-sections – removing dealership stickers and removing tinting stickers, which will provide you a step-by-step solution to remove such stickers from your car effortlessly.
Removing Dealership Stickers
When feeling the need to get rid of car dealership stickers, certain measures can be taken. Here’s how:
- Soaking a cloth in hot water and vinegar or rubbing alcohol
- Applying the cloth onto the label and keeping it there for a few minutes
- Scraping off the sticker gradually using a plastic card
- Wiping away any remaining residue
Additionally, one must avoid utilizing sharp objects or damaging the car’s paint when doing so.
According to Consumer Reports, an estimated 60% of used automobiles sold by dealerships have substantial dealer add-ons installed such as window tinting stickers.
If only removing my ex from my life were as easy as removing tinting stickers from my car.
Removing Tinting Stickers
When it comes to removing those pesky dealership or tinting stickers, there are some special cases to consider. If you want to give your car a sleeker look or get rid of any outdated advertising, removing them is possible without damaging your windows.
- Step 1: Heat the sticker with a heat gun or hair dryer for a few minutes until it becomes pliable.
- Step 2: Use a plastic scraper or credit card to gently lift up the edge of the sticker.
- Step 3: Apply adhesive remover or rubbing alcohol underneath the sticker and continue slowly peeling it off.
- Step 4: Once the sticker is completely removed, use glass cleaner and a microfiber towel to remove any leftover residue.
It’s important to note that if your vehicle has factory tinted windows, removing tinting stickers may leave noticeable marks behind due to differences in opacity. Additionally, be sure to check local laws before making any modifications to your vehicle’s window tint.
If you’re struggling with stubborn residue after removing stickers, try using lighter fluid or white vinegar as alternative cleaning solutions. And always remember to take care when working around car windows – you don’t want to end up with accidental scratches or cracks!
A friend of mine once bought a used car with dealership stickers still firmly attached. After trying various methods herself without success, she finally took her car to a professional detailing service for help – which ended up costing more than she had expected! So if you’re unsure about tackling sticker removal on your own, seeking professional assistance may be worth considering.
Get rid of those dealership stickers or tinting stickers and drive away from conformity, like a rebel without a clause.
Conclusion and Final Tips
When removing stickers from a car, there are several effective ways to do so without damaging the paint. One option is using heat, such as a hair dryer or heat gun, to soften the adhesive. Another option is using rubbing alcohol or vinegar to break down the glue. Alternatively, commercial adhesive removers can also be used, but it’s important to test them on a small area first.
For best results, take your time and be gentle when removing the sticker or residue. Use a plastic scraper or credit card to avoid scratching the paint. After removal, wash the area with soap and water and apply wax or polish for added protection.
Remember that prevention is key – try to avoid placing stickers directly onto the car’s paint in the future.
In addition to these tips, it’s important to consider whether DIY sticker removal is appropriate for your specific situation. If you have any doubts or concerns about potentially damaging your car’s paint, seek professional assistance instead.
A friend of mine once attempted to remove a sticker from their car with brute force and ended up scratching the paint. They learned their lesson and now always use one of the gentler methods mentioned above. Don’t make the same mistake – take your time and be careful when removing stickers from your car.
Frequently Asked Questions
1. How do I remove stickers from my car without damaging the paint?
The easiest way to remove stickers from your car without damaging its paint is to use a hairdryer or heat gun to soften the adhesive, then gently peel off the sticker. You can also use a mixture of hot water and dish soap, rubbing alcohol, or a commercial adhesive remover.
2. Can I use a razor blade to remove stickers from my car?
It is not recommended to use a razor blade to remove stickers from your car as it can easily scratch the paint. You risk causing permanent damage to your vehicle if you use a sharp object like a razor blade.
3. How do I remove adhesive residue after removing a sticker?
To remove adhesive residue after removing a sticker from your car, you can use a commercial adhesive remover, rubbing alcohol, olive oil, or peanut butter. Apply the solution to the residue and wait a few minutes before wiping it away with a clean cloth.
4. Is it safe to use chemicals to remove stickers from my car?
It is generally safe to use commercial adhesive removers or solvents to remove stickers from your car, but it’s important to test the solution on an inconspicuous area of your car before you apply it to the sticker. This will help you ensure that the solution won’t damage the paint or finish of your vehicle.
5. Will using a certain method for removing stickers void my car’s warranty?
No, using a certain method for removing stickers from your car should not void your vehicle’s warranty. However, any damage caused to the car’s paint or finish during the process of sticker removal may not be covered under warranty.
6. Can a professional detailer remove stickers from my car?
Yes, a professional detailer can remove stickers from your car. They have the tools and experience to safely remove stickers without damaging your car’s paint or finish. It’s important to choose a reputable professional detailer to ensure your car is in good hands.
Leave a Comment
More in News

Flat Tire Fix: No Spare? No Problem!
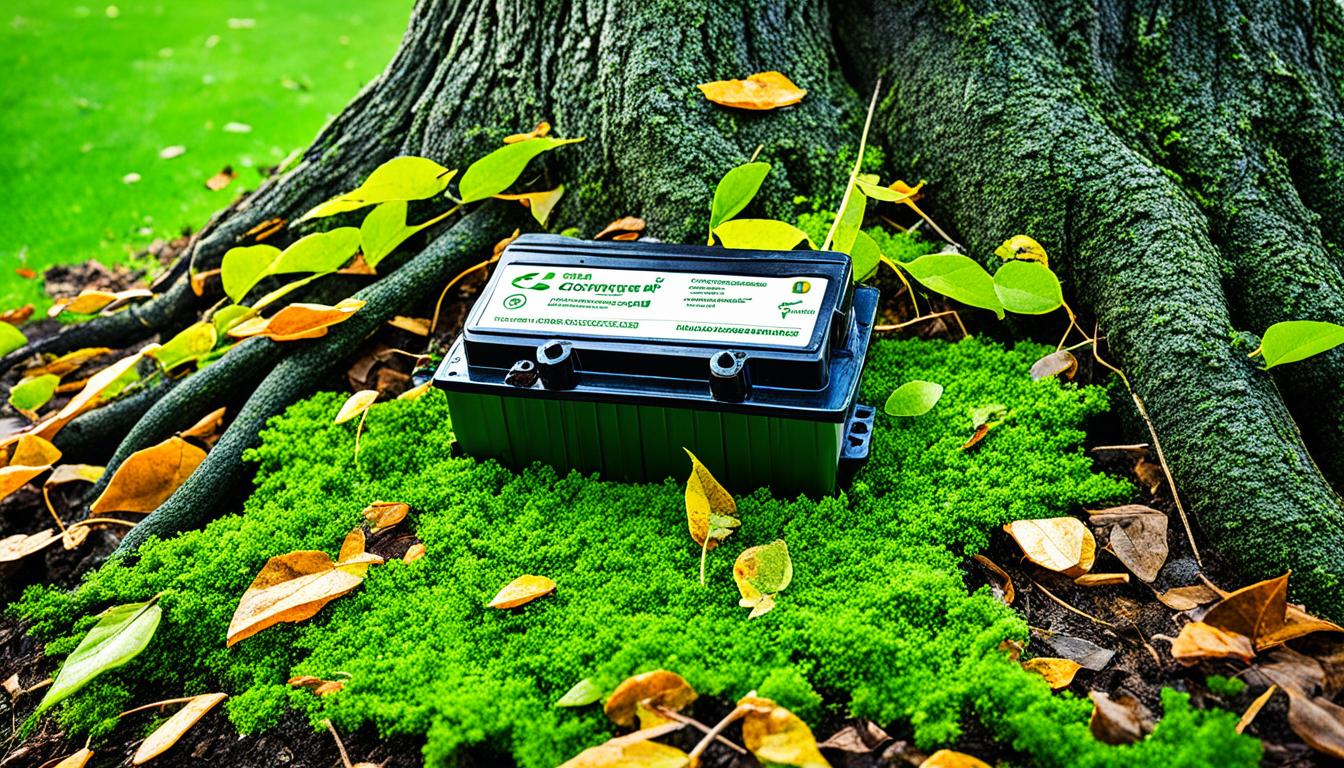
Car Battery Lifespan Explained Thoroughly
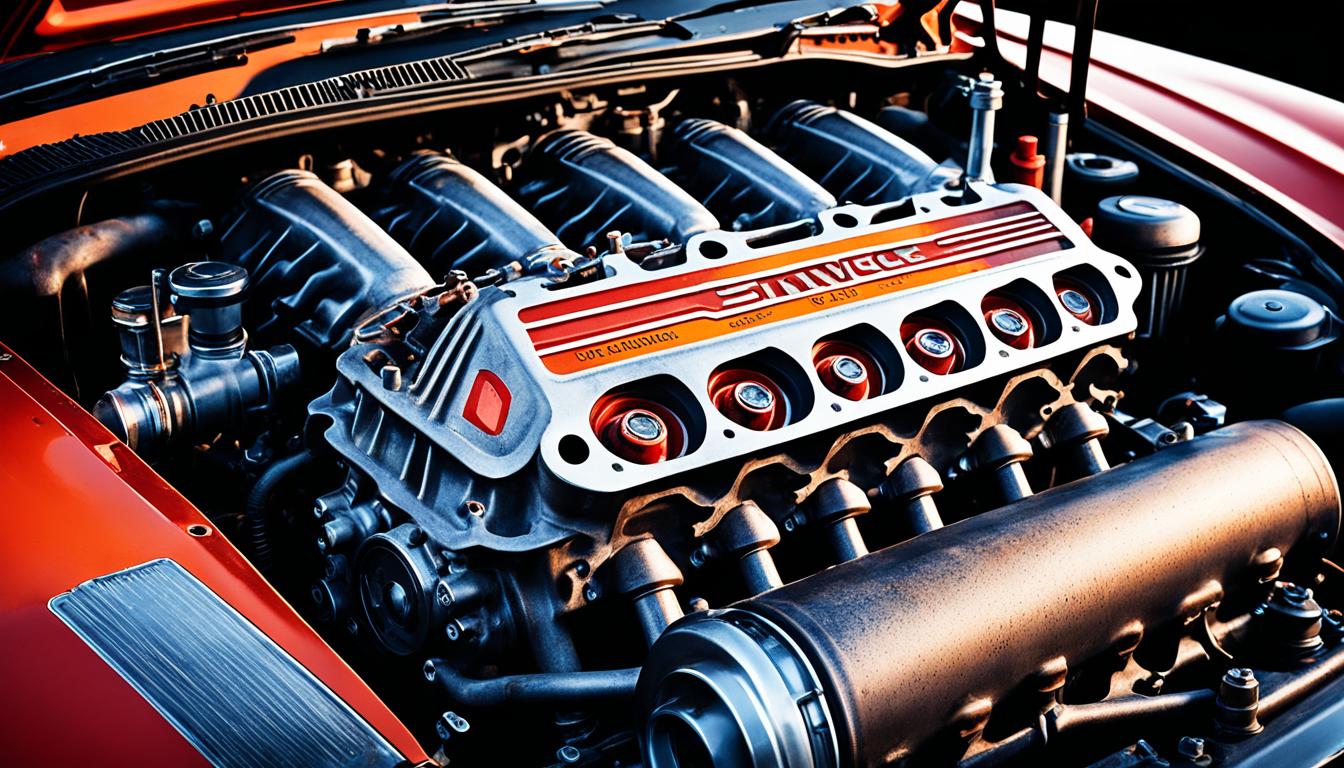
Understanding Car Engine Knocking: Causes & Fixes
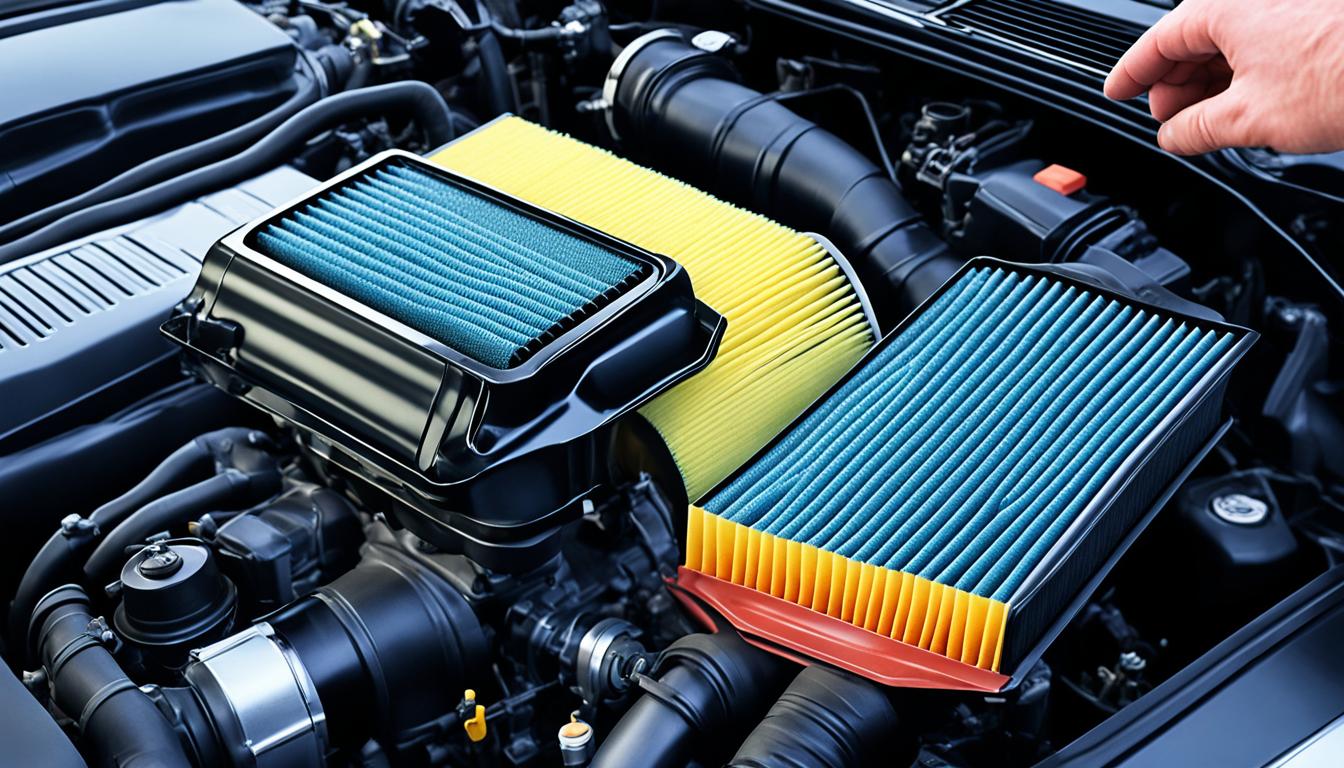
Car Air Filters: How to Replace Easily & Quick

Car Suspension Care Guide for Smooth Rides
Trending on Gridiron Chronicle
2024 BMW X2 M35i Teaser Reveals Design Details Before October 11 Debut
Maserati Special Editions Bid Farewell to Gasoline-Powered V8

Ford Australia rents ship for three years to reduce delays, avoid biosecurity slowdowns
Interieur sketches provide glimpses of the ŠKODA SLAVIA