How To Remove A Car Stereo


Preparing to Remove the Car Stereo
To prepare for removing the car stereo in “How to Remove a Car Stereo,” you’ll need to address a few preliminary steps. This includes gathering the necessary tools and turning off the car battery for safety reasons.
Gather the Necessary Tools
To begin with, having the appropriate instruments at hand is crucial before removing the car stereo.
Follow these four simple steps to obtain all the necessary equipment:
- Refer to the car manual or check online for instructions on what tools are required.
- Purchase or borrow items that you don’t already possess, such as a panel tool, screwdriver, wire stripper, and electrical tape.
- Place all of the equipment on a smooth surface in your workspace where it can be easily accessed while working on your vehicle.
- Keep a flashlight nearby to check for any hidden screws or wires.
Furthermore, make sure that you have labelled bags and containers to keep track of disconnected wiring and screws throughout the removal process.
Lastly, remember to take extra precautions when handling electrical components by wearing gloves and removing any jewellery that may get in the way.
Pro Tip: Always double-check that all wires are safely reconnected before turning on your vehicle’s power after installation.
Before you turn off the car battery, make sure your music selection won’t leave you singing the blues.
Turn off the Car Battery
When removing the stereo from a car, it is crucial to ensure the car battery is turned off to avoid electrical hazards.
Here are three simple steps to follow when turning off the car battery before removing the stereo:
- Remove the key from the ignition and open the car hood.
- Locate the battery in your vehicle; use your owner’s manual if necessary.
- Disconnect the negative (black) terminal first, then disconnect the positive (red) terminal.
It’s essential to double-check that no electrical connections remain active in your vehicle before attempting any modifications.
Avoid any mishaps by ensuring that you have disconnected all power sources before proceeding with stereo removal.
Interestingly, failing to turn off your car’s battery before removing the stereo can lead to irreversible damage, such as compromising the entire electric system of your vehicle.
Always go through safety guidelines and instructions before modifying or tinkering with electronic devices in vehicles.
Removing the Car Stereo
To remove the car stereo, you need to tackle the dashboard panels and unscrew the stereo unit. Both of these sub-sections will help you solve the problem of taking out the car stereo from your vehicle. So read on and follow these simple steps to successfully remove the car stereo without any hassle.
Remove the Dashboard Panels
To remove the panels around the dashboard, begin by understanding the steps involved in the removal process. You need to detach them first to access the wiring and bolts necessary for removing the car stereo.
Here’s a 3-step guide to help you take out the dashboard panels:
- First, detach the panels by carefully prying them away from their clips with a panel tool.
- If screws are holding them down, you need to locate and remove them before trying to pull it out. Check for hidden ones near light fixtures or controllers.
- Lastly, disconnect any wires from controls or sensors that prevent panel movement. Please be careful while doing this step so as not to damage any electrical components.
When removing dashboard panels, take care not to crack plastic corners or forcefully yank them off without disconnecting connectors at the bottom.
Always make sure your tools don’t scratch anything; avoid using sharp objects like screwdrivers because they can gouge holes into plastic parts.
As an important precautionary step, tape any sensitive sensors, wire sets, or electrical connections within a visible range of accidental disconnection during dismantlement.
To make your work easier and less risky, here are some suggestions:
- Clean your working space around the dashboard area before starting work. A little dust could cause scratches on easily scratched surfaces.
- Avoid pulling too hard; if something won’t come loose after reasonable effort, find another way rather than forcefully yanking it out.
- Store screws and clips removed in a labelled Ziploc bag so you can easily retrieve them when needed after the completion of stereo tweaks.
It’s essential for anyone who wants to upgrade their car stereo correctly to have detailed information on how to remove their vehicle’s dashboard panelling safely without damaging anything. With this guide in mind, you’ll be able to comfortably remove these panels, unlock access to whatever lies beneath, and execute your stereo plans perfectly.
Unscrew the Stereo Unit
Start by removing the stereo unit from the car’s dashboard. This process involves unscrewing different components to access and detach the stereo unit.
Here is a 4-step guide on how to remove the stereo unit:
- Switch off the car completely and disconnect its battery before proceeding with disassembling.
- Use a panel removal tool or a screwdriver to pry open the trims gently that surround the edges of your stereo, releasing any clips holding it in place.
- Unscrew all screws securing the stereo to the dashboard (the number of screws can differ depending on which model you have).
- Once unscrewed, pull out the stereo from its position and disconnect any wiring connections found at its rear end—by lifting any tabs or pressing buttons to release them.
Note that some cars have additional security measures that require specialised equipment for successful removal.
It’s also essential to follow safety precautions throughout this process by wearing protective gloves and, if possible, using a multimeter for testing connectivity, as live wires may pose electrical risks.
Avoid damaging any components during removal or installation, as incorrect disassembly can lead to other issues within your car’s electronic system.
Overall, following these steps should ensure the successful detachment of your car’s stereo unit without causing damage or complications.
Disconnecting Wires from Stereo
To disconnect wires from your car stereo unit, you need to identify the wires that are connected to it and then remove them safely. This section, ‘Disconnecting Wires from Stereo’, in the article ‘How to Remove a Car Stereo’, outlines the solution to this problem. The two sub-sections in this section, ‘Identify Wires Connected to the Stereo’ and ‘Remove Wires Connected to the Stereo Unit’, will guide you through the process.
Identify the Wires Connected to the Stereo
To disconnect wires from your stereo, you need to first be able to identify the wires connected to it. This step is crucial and ensures that you do not tamper with the wrong connections.
- Inspect the stereo’s manual for guidance on wire connectors.
- Look out for color-coded wiring or labels.
- Trace the wires back and note where they connect.
- Take pictures of the wiring arrangement to aid in reconnecting.
- Label each wire properly.
To avoid damaging any components, ensure that you use gentle pressure while unplugging the wires from their sockets.
A common misconception is that all stereo systems have the same wiring arrangements; however, different stereos may use different configurations.
According to a report by Crutchfield, failing to disconnect your car battery before handling electrical connections can put you at risk of electrical shock or shorting out sensitive electronics in your car.
Remove Wires Connected to the Stereo Unit
If you wish to detach wires from your stereo unit, there are certain steps involved in doing so.
Follow these 6 easy steps:
- Shut down the power supply: Before disconnecting any wire, turn off the power button. It’s essential for safety purposes.
- Identify wires: Next, identify all the wires and their corresponding jacks to proceed accordingly.
- Detach speaker wires: Disconnect the speaker cables by unscrewing each jack from its terminal. Be careful not to break any cables or terminals here.
- Remove RCA cables: Pull out all the RCA cables by clenching using a grip lever and slowly pull out your fingers from the jacks. One should avoid ejection because it could damage equipment and cords as well.
- Separate power cord: Now remove the main power cable that looks like a cord with distinctive colour codes, viz., red and black/white insulators on each pin, and safely store it away.
- Pull out other connectors: In this step, unplug all remaining cables like Bluetooth adapters, USB connectors, etc.
Once you’ve followed these steps, you can safely remove all of the wires without damaging any equipment or cords. Additionally, always wear gloves while dealing with electrical connections to avoid any risk.
It is necessary to remember that detaching components without prior experience may cause harm and severe malfunctions in electronic devices.
Similar work was being done at a music rally, where the sound system went faulty, resulting in the disconnection of speakers, which ultimately got repaired with professionals’ aid.
Final Steps
To wrap up the car stereo removal process discussed in the previous sections, you need to perform the final steps. Clean the area around the stereo to ensure your car remains tidy. Store stereos and tools safely to avoid losing them. Finally, turn on the car battery to confirm the successful reinstallation of your car stereo.
Clean the Area Around the Stereo
The area surrounding the stereo requires cleaning to maintain its durability and visual appeal. Neglecting this area can result in unnecessary dust deposits, which negatively impact the functionality of your equipment.
Follow these steps to clean the area around the stereo:
- Turn off your stereo to avoid any mishaps.
- Use a soft cloth or brush to gently wipe away any settled dust or debris from the surface around the stereo.
- You can use a cleaning solution that’s safe for electronics on a slightly dampened cloth to remove tough stains or grime.
- Clean all areas carefully, including knobs, buttons, or vents near or on the stereo.
Remember not to use liquid sprays directly on surfaces that could receive electrical conductivity, and misuse of aerosol products should be avoided nearby.
It’s also important not to move any cords unnecessarily. This can prevent damage to cords, possibly leading to electrical hazards.
An untidy area around your stereo often attracts unnecessary attention and takes away from what is important—enjoying music.
Sources indicate that electronic devices should be cleaned every two months to maintain their optimum performance levels.
If the final steps include using a store stereo and tools, either it’s a DIY nightmare or an awesome rock concert.
Store Stereo and Tools
Stereo and tool storage is a critical final step to ensure the preservation of equipment for future use. To properly store the goods, first, clean them thoroughly. Second, use appropriate packaging materials like bubble wrap or styrofoam. Lastly, find a dry and cool place to put them away.
For instance, here is a ready-made reckoner table for storing your stereo and tools correctly:
| Item | Cleaning Method | Packaging Materials |
|---|---|---|
| Stereo System | Dust it with a soft cloth | Bubble wrap and cardboard box |
| Power Tools | Clean with a damp cloth | Hard plastic case or Tool Bag |
One crucial point to consider while storing electronic devices and tools is that they need proper ventilation and should not be left in direct sunlight.
It is recommended that, before storage, any rechargeable batteries be removed from devices. It will extend their life span.
Interestingly, many antique items that hold emotional value are recovered through proper storage methods. For example, an old gramophone that was carefully maintained by its owners has sentimental value as well as increasing monetary worth among collectors.
Turn on the Car Battery
To start the car and prepare it for departure, there are a few vital steps that need to be followed. The first step is to turn on the car battery.
Here is a step-by-step guide to starting your car battery:
- Ensure that all electrical appliances in your vehicle are turned off.
- Insert the key into the ignition switch and turn it to the ‘on’ position.
- If your vehicle has an immobiliser system installed, wait for a few moments before turning the key further to start the engine.
- Turn the key until you hear the engine come alive.
Additional Notes: It is vital not to crank for too long while starting, as it will drain your battery’s power quickly.
Pro Tip: Avoid leaving electrical appliances on when you park and turn off your engine so that your vehicle’s battery can last longer and perform better in future drives.
How To Remove A Car Stereo – Frequently Asked Questions
Q: How do I remove the car stereo from my vehicle?
A: To remove your car stereo, you will need to locate the release keys or screws that hold the stereo in place. Once you have located them, gently pry the stereo out of the dashboard and disconnect any wires or cables that are connected to it.
Q: What tools do I need to remove my car stereo?
A: You will need a set of release keys or screwdrivers that match the make and model of your stereo, as well as a pair of pliers and a wire stripper.
Q: Can I remove my car stereo without damaging my dashboard?
A: Yes, you can remove your car stereo without damaging your dashboard if you are careful and use the correct tools. Make sure to pry the stereo out gently and avoid using excessive force.
Q: Is it difficult to remove a car stereo?
A: Removing a car stereo can be challenging if you don’t have the right tools or if you are not familiar with the process. However, with some patience and practice, it is possible to do it yourself.
Q: How long does it take to remove a car stereo?
A: The time it takes to remove a car stereo can vary depending on the make and model of your vehicle and the type of stereo you are removing. On average, it takes about 30 minutes to an hour.
Leave a Comment
More in News
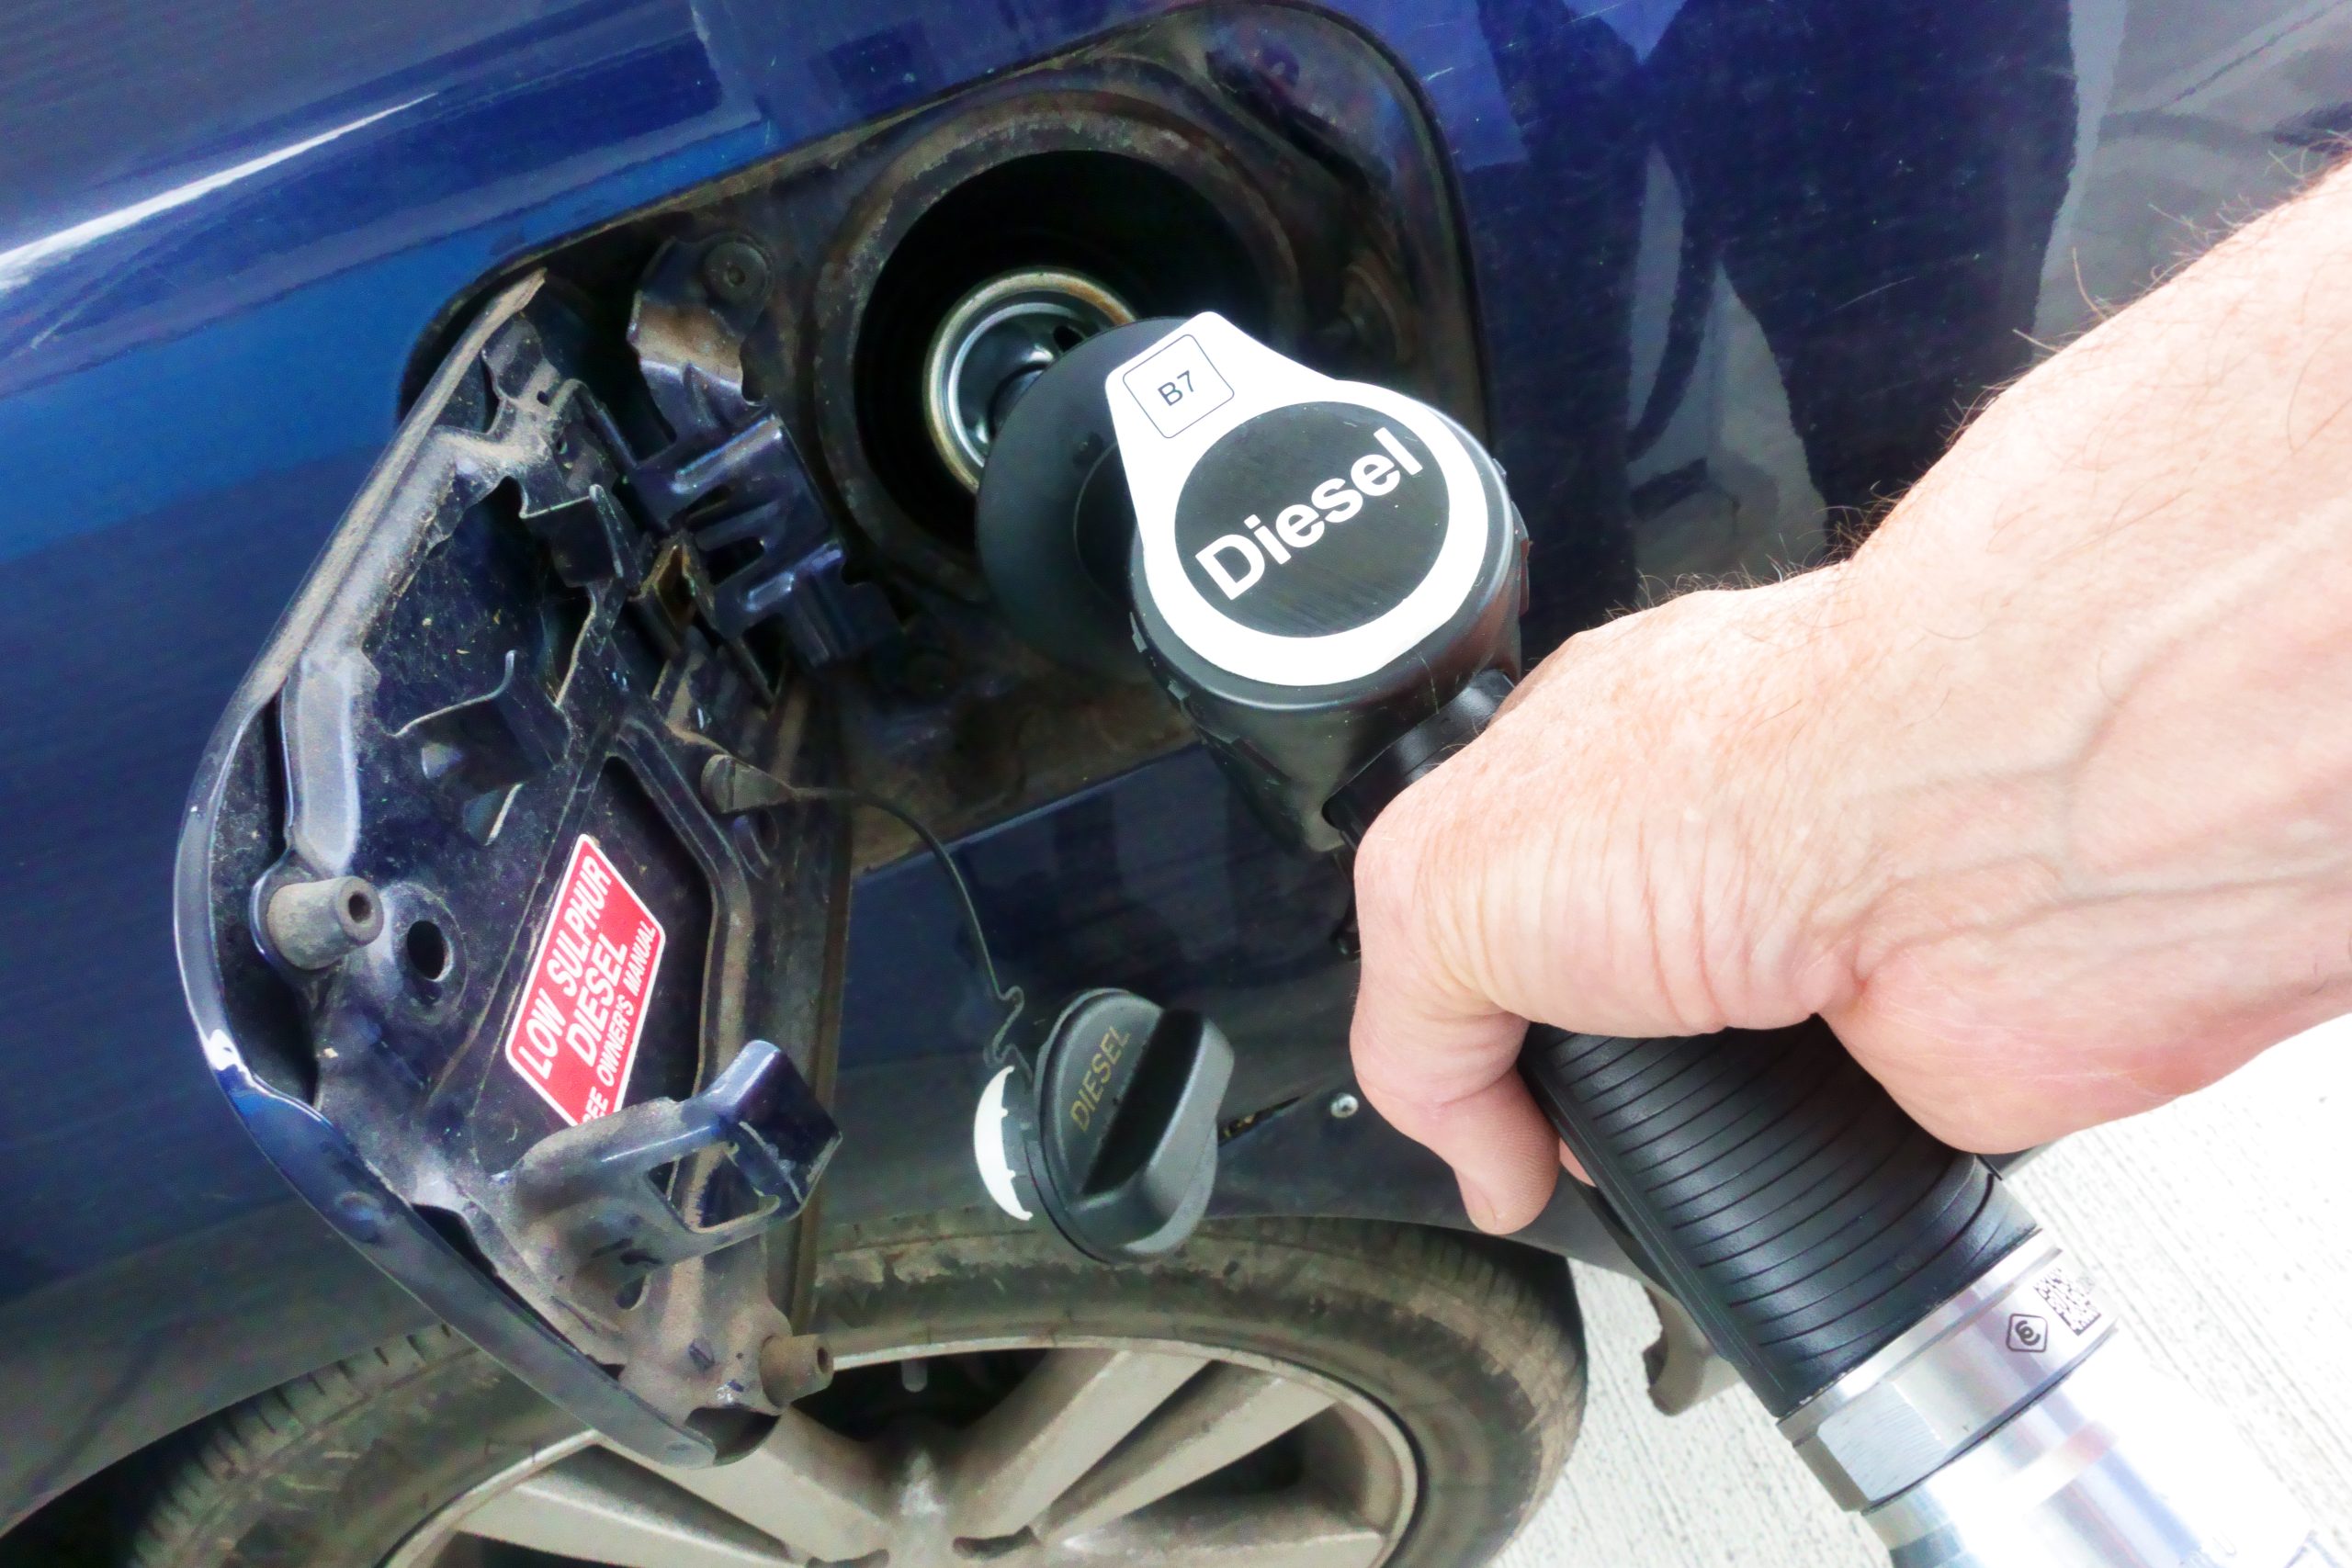
Diesel’s decline: Number of diesel models available now just one-third of 2015 figures

Efficient, engaging and extraordinary – the new Continental GT demonstrates eFuels [Photo Gallery]

High-performance with motorsport DNA: The new MINI John Cooper Works and the new MINI John Cooper Works Convertible [Photo Gallery]

Unique collection of Aston Martin Zagato models comes to market via Aston Martin Works [Photo Gallery]

Mercedes-Benz opens own recycling factory to close the battery loop
Trending on Motoring Chronicle
7 Best Tires for Safer Snow Driving During Winter

How To Keep Birds From Pooping On Your Car
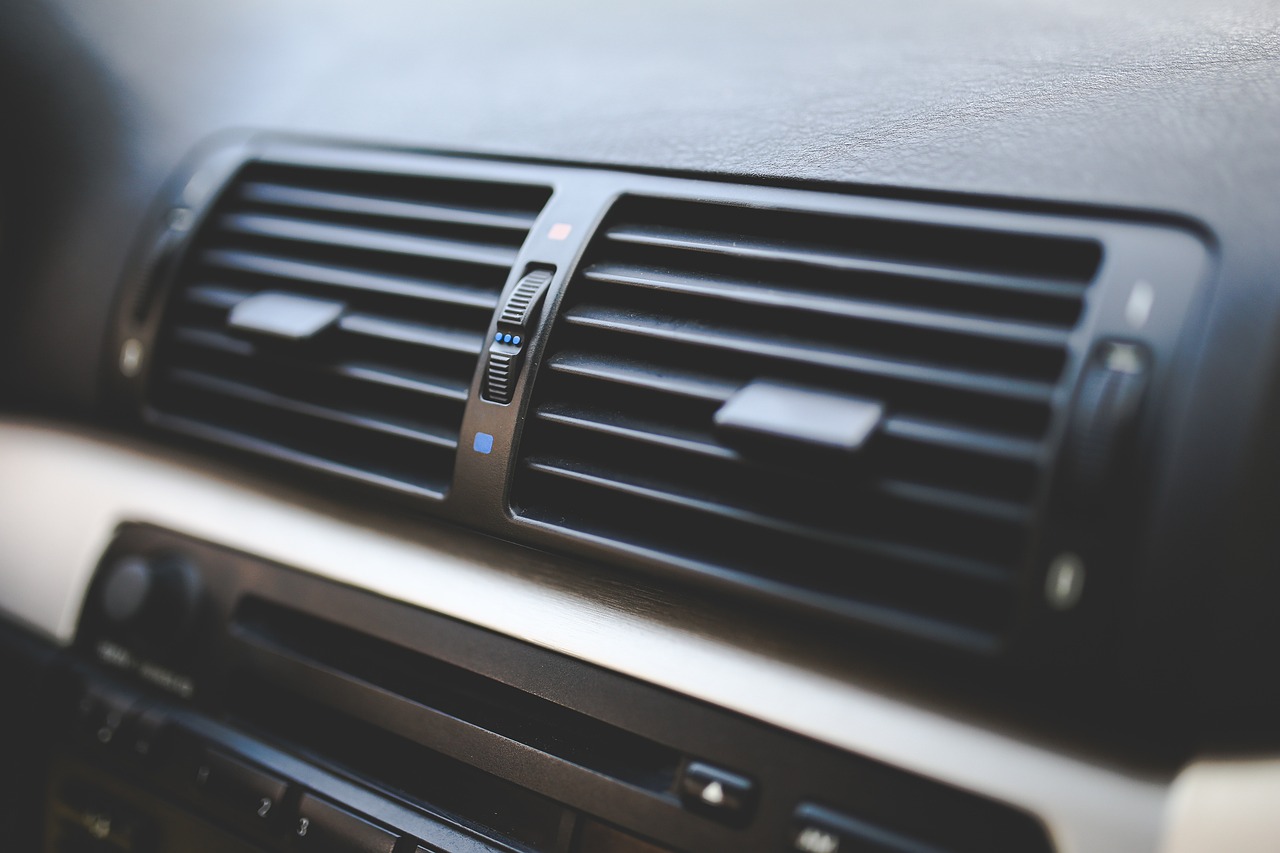
How To Remove Smell From Car AC

How Many Car Loans Can You Have