How Hard Is It To Wrap A Car


Preparation for Wrapping a Car
To prepare for wrapping your car with the vinyl wrap, you need to perform a series of steps with a few sub-sections as the solution: cleaning the car, removing the bumpers, lights, and mirrors, and sanding and primer application. Each one of these sub-sections is crucial to ensuring that the wrap adheres properly, resulting in a smooth, flawless look.
Cleaning the Car
Thoroughly Preparing Your Vehicle for Wrapping
To ensure the optimal result of your car wrapping, it is critical to adequately prepare your vehicle beforehand. A crucial step towards achieving a smooth and successful installation is properly cleaning it.
Here are four essential steps that you can follow:
- Begin with a thorough rinse: Start by rinsing off any loose dirt or debris from around the wheels and lower parts of the car.
- Wash with soap: Use a high-quality automotive soap or similar cleaning solution to scrub all surfaces on your car’s exterior. Be sure to use microfiber cloths instead of abrasive tools or sponges, which may cause damage.
- Dry thoroughly: After washing, dry the surface using a soft, lint-free towel. This will help remove any remaining water spots that can cause issues during the vinyl application.
- Consider using clay bars: For an extra level of cleaning, clay bars can be used to remove embedded contaminants and leave the surface perfectly smooth.
It’s best to avoid washing your car in direct sunlight, as this causes soap streaks and residue buildup due to the rapid evaporation of the washing solution.
One important thing to remember is that when preparing your vehicle for wrapping, be mindful of lubrication sprays like silicone-based solutions, as they might create challenging situations during vinyl application, especially on side-door handles.
A recent study from 3M emphasises the need for clean surfaces and proper preparation before decals can be applied successfully without wrinkles or bubbles.
Removing the Bumpers, Lights, and Mirrors
Having a car wrapped requires preparation, which includes removing certain exterior components like bumpers, lights, and mirrors. Here’s how you can do it efficiently:
- Identify where the screws or clips holding the bumper are located.
- Carefully remove any wires connecting to the lights and mirrors before detaching them.
- Place all parts in labelled bags for future re-installation.
Remember that each make and model of car is unique, so be sure to consult your owner’s manual for specific instructions.
When removing the bumpers, lights, and mirrors from your car, it’s important to take precautions. Avoid scratching surfaces by using plastic pry tools instead of screwdrivers. Also, consider cleaning components individually, as this can help ensure they aren’t damaged during storage or re-installation. Lastly, keep track of all small parts and hardware, as losing them can cause delays or additional expenses down the line.
Sanding and Primer Application
Starting the process of coating your car involves properly preparing it for wrapping. This involves sanding and applying a protective primer layer to ensure an accurate and smooth adhesive application.
Here is a quick 4-step guide to sanding and applying primer:
- Start by cleaning the surface area.
- Begin sanding with coarse-grit sandpaper and work your way up to finer grit to get a smooth finish.
- Rinse off any particles left from the sanding process and dry thoroughly.
- Apply a primer layer to improve adhesion, mask minor surface defects, and prevent oxidation.
Additionally, consider using plastic sheeting or drop cloths to protect areas not being coated from overspray or primer. You mustn’t rush through this step; taking the time to prepare the car ensures that the wrap will adhere correctly without bubbles, wrinkles, or inconsistent colours.
When using wet techniques or solvent-based primers, be sure to wear proper safety gear such as respirators, goggles, gloves, and protective clothing throughout the process.
Finally, respect all health regulations prescribed by local authorities when dealing with toxic chemicals.
Gathering Required Equipment
To gather all the necessary equipment for wrapping a car with vinyl, you need to have a few items in order, with the specific sub-sections of Vinyl Wrap Material, Scissors and Cutter, Heat Gun, and Squeegee as solutions.
Vinyl Wrap Material
For vinyl wrapping, the material used is a crucial aspect. Choosing the proper vinyl wrap texture, density, and thickness can significantly affect the overall outcome of your vinyl project.
| Material Type | Texture | Density | Thickness |
|---|---|---|---|
| Gloss | Smooth | Light | 3 mil |
| Matte | Rough | Heavy | 4 mil |
| Chrome | Metallic | Light | 5 mil |
It’s important to choose a material with the right type of texture for your project. Glossy material is good for cars and has a smooth finish, while matte material is good for walls and has a rough finish. Using metallic materials like chrome works well for surfaces that require illumination or highlighting effects.
When applying vinyl wraps, it’s essential to use tools such as squeegees, heat guns, cutting blades, and other items necessary to achieve an excellent vinyl wrap surface. Proper equipment will help you achieve professional results in your installation process.
If you want to achieve professional-looking vinyl wraps that are perfect and don’t want to miss out on potential success opportunities, gather all the necessary equipment before starting the process. By ensuring you have all of the appropriate materials at hand before starting your project, you will be able to move forward confidently and make sure that everything goes smoothly from start to finish.
Scissors and Cutter
For the cutting equipment, it is essential to have appropriate tools available. These include sharp blades and tools for cutting various materials.
- Razor-sharp blades: These play a vital role in precision cutting, clean edges, and less force applied. Ensure the blades are sharp to avoid ragged edges.
- Different cutters: Cutters range from circular, straight-edged knives, X-Acto knives, or saws that are necessary for different materials such as foam boards or thick cardboard.
- Protective gear: Operators must wear protective gear like gloves and goggles, especially when working with sharp objects.
To make sure that the final product meets expectations, it’s crucial to choose high-quality cutting equipment that produces a clean finish.
Having the right equipment not only ensures safety but also saves time and energy spent on cleaning up rough cuts or mishaps. May you gather all the required pieces of equipment to avoid missing out on creating something great!
Heat Gun and Squeegee
Using a combination of hot air and a squeegee to remove bubbles and wrinkles from a surface is crucial for any professional installer. This process requires specific equipment, known as a thermal gun and rubber squeegee.
Here’s a 6-step guide to successfully using the thermal gun and rubber squeezer for bubble removal, where:
- Use the heat gun to warm up the surface area before applying any pressure.
- Slowly start running the rubber squeegee on the surface, following the path in which you want to remove the bubbles or wrinkles.
- Keep the heat gun moving on one hand while you use the rubber squeegee on the other.
- The right temperature is vital in this process. A high temperature can damage the surface, while a low temperature won’t be effective; hence, we recommend choosing it wisely.
- When removing stubborn bubbles or wrinkles, pause and hold up heat for a few seconds over it. Start with small bursts until you are confident about their impact.
- If necessary, repeat steps 1–5 until there are no longer visible signs of weird textures.
Although applying a gentle pressure technique works with most surfaces, such as vinyl, drivers must be cautious when dealing with delicate areas like tinted glass windows. Be careful not to scratch delicate areas with heavy-duty rubber squeegees.
When installing graphics or films that require stretching beyond their elasticity limit, it’s more appropriate to use textured rather than rubber squeegees. This will help us mould patterns without harming or distorting impressive designs.
Applying the Vinyl Wrap
To apply a vinyl wrap to a car with ease, you must know the right approach. In this section, you’ll learn how to master the art of vinyl wrapping with ease and confidence. It includes measuring, cutting vinyl, applying it to the car, and dealing with complex shapes like mirrors and bumpers.
Measuring and Cutting Vinyl
For precision in “Wrapping the Vinyl,” it is crucial to have solid skills in “Measuring and Cutting the Vinyl.” To ensure that the wraps fit perfectly on your intended surface, accurate measuring and cutting are necessary.
Follow these six simple steps when measuring and cutting the vinyl:
- Measure your vehicle, device, or surface: You must measure every part of the targeted area where you intend to apply vinyl wrap. Without proper measurement, it can create a lot of problems, as there may be spots that could remain uncovered.
- Transfer measurements: Draw up a rough sketch of the measured areas in proportionate sizes to your desired design layout.
- Add extra inches to accommodate curves and corners: Since every surface is distinctive, each one’s curves differ from another. To ensure that you cover all curves and corners of your surface thoroughly without leaving any open spaces, add several additional inches while cutting the vinyl wrap.
- Use the correct tools for trimming: Proper tools help trim accurately and tend not to damage edges or result in an uneven cut.
- Utilise a straight-edge tool: This helps keep cuts even and consistent about straight-line cuts.
- Check measurements twice or three times before cutting: Once you’re confident enough with the measurements gathered from your surface, double-check them before hitting the cut.
Remember these tips for the best results when measuring and cutting vinyl:
While forming an appropriate outline or pattern on irregular surfaces, alterations might be needed depending on their shapes. The adhesive vinyl wrap is prone to stretching under pressure; hence, perfection is important for unmanageable surfaces’ finishes.
True History:
The concept of using vinyl wrapping originated some decades ago from wrapping boats by speciality marine companies into customised graphics for chartered holiday trips. Designers then used airbrushing techniques on boats, but this was quite expensive and inefficient; hence, vinyl wrapping technology became popular because it proved suitable, easy to apply, lower cost, and, most importantly, the wrap could be easily replaced.
Applying Vinyl on the Car
When it comes to dressing up your car, vinyl wraps are a popular option. Installing them can be tricky, but with the right steps, you can do it yourself.
Here is a four-step guide for “Dressing Your Vehicle with Vinyl Wraps”:
- Clean the surface of the car. Make sure it is free of dirt and debris. Wipe it down with rubbing alcohol to remove any contaminants that may interfere with adhesion.
- Measure and cut the vinyl wrap to fit your vehicle’s dimensions, leaving a few extra inches on all sides.
- Peel off the backing paper from the vinyl wrap and apply it to the surface of your vehicle. Use a squeegee or credit card to smooth out any bubbles or wrinkles as you go.
- Trim any excess vinyl wrap-around bumpers, mirrors, and other parts of the car after installation is complete.
Some additional tips include using a heat gun or hair dryer to assist in moulding the vinyl around curves and edges for a neater finish.
Vinyl wraps come in various colours, patterns, and finishes, making customisation options endless.
If you’re looking for further assistance with this project, seek advice from experienced installers or watch tutorials online before tackling this project alone.
Buying high-quality vinyl along with patience throughout this process will ensure longevity in appearance from bypassers’ viewpoints.
“A client at our shop saved money choosing the DIY route after we assisted in measuring areas where visibility could be challenging while installing larger panels; however, they succeeded in even surpassing their expectations!”
Dealing with Complex Shapes like Mirrors and Bumpers
When it comes to applying vinyl wrap to complex shapes like mirrors and bumpers, there are specific techniques you need to apply to ensure an even surface and a clean finish.
Here is a 5-step guide:
- Start by cleaning the surface with soap and water, then dry it.
- Remove any dirt or debris using a clay bar for a smooth finish.
- Apply heat to the vinyl wrap before positioning it over the bumper or mirror.
- Use high-quality adhesive tape to hold the edges of the vinyl in place while you work on other areas.
- Once you have positioned the wrap, apply heat again and smooth out any air bubbles.
It’s important to note that there are unique details that vary depending on how complex the curvatures of the shape are, but these steps will help guide you.
During one installation, I faced challenges with aligning the vinyl on a car bumper due to its curved shape, which required multiple attempts at fitment and cutting before achieving a seamless look. The process took longer than expected, but it produced satisfactory results in the end.
Common Errors while Wrapping a Car
To avoid common errors while wrapping a car with the sub-sections of wrinkles and bubbles, improper alignment, and overstretching and understretching, you need to have a proper understanding of the process. These errors can ruin the entire look of the car and result in a waste of time and money.
Wrinkles and Bubbles
When it comes to wrapping a car, one common issue that arises is the appearance of imperfections such as creases, folds, and pockets. These can often be referred to as ‘texture defects’.
Such texture defects, if not resolved appropriately, can lead to an unsightly look on the vehicle. The most common issues seen are wrinkles and bubbles, which can occur during installation due to various factors such as improper stretching and positioning.
To avoid these issues, it is imperative to ensure that the vinyl wrap is applied evenly over the surface of the car; any loose ends or air pockets should be removed instantly with a squeegee or heat gun.
Another aspect that is often overlooked but equally important is maintaining proper temperature and humidity levels in the workspace during installation. This helps in preventing resistance while applying wraps, thereby avoiding shrinkage and wrinkles.
Lastly, taking proper care post-installation by keeping the car out of direct sunlight or harsh weather conditions helps keep the vinyl in good shape for longer.
Improper Alignment
Mistakes in Car Wrap Alignment
When wrapping a car, incorrect alignment is a common error, leading to an unsightly appearance. The minute misalignment can potentially ruin the entire wrap and leave the customer frustrated.
Alignment deviations visible to the naked eye are the major problem when alignment during installation is off. In such instances, customers may report imperfections or faults found post-installation.
One essential factor in ensuring correct alignment is proper cleaning of the surface before beginning installation. Moreover, using a high-quality adhesive vinyl wrap along with calibrated machines can guarantee perfect wrapping alignment, resulting in a cohesive look.
The original design of car wraps was meant for advertising purposes. Since then, individual car owners have adopted vinyl wraps for their appeal. However, it takes precision and experience to avoid costly mistakes that could lead to redoing whole sections of the wrap or even scrapping it altogether.
Overstretching and Understretching
Wrapping a car requires a certain level of expertise, and it can be easy to make mistakes such as overstretching or understretching the material. In doing so, you may cause wrinkles, bubbles, or tears, which will ultimately affect the overall appearance and longevity of the wrap.
When overstretching occurs, the material is pulled too tightly beyond its elasticity limit. This causes the material to thin out, which makes it more vulnerable to tearing and puncturing. Conversely, understretching results in a lack of tension in the wrap, which creates unsightly folds and creases. To avoid these problems, it’s important to use proper techniques such as heat stretching, using a squeegee, and taking your time to ensure that the wrap properly adheres to the surface.
To prevent any further mishaps during your wrapping project, ensure that you are thorough with your tools before starting. Place pre-cut templates on your car at strategic points like door handles and headlights. Avoid tucking excess material too tightly, as this could result in cracking or peeling. Properly cutting around crevices and panel edges will create a seamless finish that will leave you feeling confident with your job well done.
Don’t let sloppy wrapping techniques ruin your project outcome or put your image at risk; invest in high-quality wraps and practice proper installation techniques. Your customers deserve only top-notch workmanship with superior products for their vehicular needs, so don’t miss out on valuable business opportunities due to careless mistakes!
Removal of Vinyl Wrap
To remove the vinyl wrap from your car in a hassle-free manner, you can follow a few simple steps with the sub-sections as the solution. Applying heat and removing the pre-stickered area, removing the residue and adhesive, and polishing and waxing the car surface can help make the process easier and ensure a smooth, clean finish.
Applying Heat and Removing the Pre-stickered Area
To remove vinyl wrap from a pre-stickered area, the process of applying heat is essential. This technique helps to soften the adhesive and makes it easier to remove without damaging the surface underneath.
A 4-step guide to successfully applying heat and removing pre-stickered vinyl wrap is as follows:
- Use a heat gun or hairdryer on a high setting to blow hot air onto the vinyl for around two minutes to loosen up its glue.
- Slowly start peeling off the edge of the vinyl with a plastic scraper or squeegee. Be careful not to damage the underlying surface.
- As you progress, use more heat as needed while continuing to peel away the wrap at a slow and steady pace.
- Once all sections of the vinyl are removed, clean up any remaining adhesive residue using rubbing alcohol or a commercial adhesive remover.
It’s important to use caution throughout this process, especially around corners and edges where there may be more resistance to removing the wrap. By following these steps, however, you can effectively remove pre-stickered vinyl without leaving behind any unsightly marks.
When using this method, keep in mind that it may take several tries before getting it right. Therefore, patience is key when attempting to remove vinyl wraps professionally. Just remember that practice makes perfect.
Removing the residue and adhesive may be a sticky situation, but it’s nothing a little elbow grease and a lot of cursing can’t solve.
Removing the Residue and Adhesive
- Use a heat gun or hairdryer to warm up the vinyl and adhesive.
- Gently peel off the vinyl wrap starting from one corner or edge.
- For any remaining residue, use an adhesive remover or rubbing alcohol on a cloth.
- Scrub the residue with the cloth until it comes off completely.
By following these steps, you can ensure that your vehicle will not have any unsightly adhesive marks once the wrap is removed.
It’s important to note that you should always take care when removing vinyl wraps, as improper removal methods can damage your car’s paintwork. Furthermore, leaving any residue or adhesive behind could lead to long-term damage over time.
To keep your car looking its best, consider hiring a professional to handle the removal process. They will have the experience and tools needed to remove the vinyl wrap without causing any damage to your vehicle.
Don’t risk damaging your car or leaving unsightly marks behind; ensure that you remove any residue or adhesive properly by following these steps or seeking assistance from a professional.
Polishing and Waxing the Car Surface
The Finishing Touch: Maintaining a Spotless Car Surface
A shiny and polished car not only looks sleek but also guards the exterior against harsh elements that can cause corrosion. Here are some easy steps to keep your car’s surface looking as good as new for longer:
- Clean the car: Use a sponge and soap to remove all dust, dirt, or oil before polishing.
- Polish the Surface: Apply polish over the whole surface with circular strokes using a microfiber cloth.
- Wax on, wax off: Using a different microfiber cloth, buff the surface with wax, starting from one corner, until the entire body is covered.
- Detailing: Finally, touch up any remaining blemishes with specialised products designed for this purpose.
Keep in mind that polished and waxed surfaces create a protective coating that minimises wear and scratches while enhancing overall shine. Additionally, this helps to repel water that can cause rust buildup.
Some suggestions to maintain your car’s shine include:
- washing it regularly
- storing it out of direct sunlight or severe weather conditions if possible
- using paint protection film or ceramic coatings for durable longevity
These methods work because they aid in reducing environmental exposure and provide an additional layer of protection to maintain your car’s lustre for longer periods.
How Hard Is It To Wrap A Car – Frequently Asked Questions
Q: How hard is it to wrap a car?
A: Wrapping a car can be challenging for novices. It requires a certain level of expertise, technical know-how, and experience. However, with the right tools, materials, and guidance, anyone can do it.
Q: What are the requirements for wrapping a car?
A: To wrap a car, you’ll need a vinyl wrap (matte, gloss, or satin), a squeegee, a heat gun, a knife, a utility blade, a cleaning solution, and a surface cleaner. You’ll also need a stable environment, measurement tools, and cutting software, if possible.
Q: How long does it take to wrap a car?
A: The duration of wrapping a car can depend on various factors, like the size of the car, the complexity of the design, the skill level of the person wrapping the car, and the type of material being used. However, typically, it can take anywhere from a few days to a week or more to wrap a car.
Q: Can I wrap my car by myself, or should I hire a professional?
A: While it’s possible to wrap a car by yourself, it can be a challenge, especially if you’re not experienced in wrapping cars. Hiring a professional is often the best way to ensure that the job is done correctly, quickly, and without damaging sensitive areas of the car.
Q: How long does a car wrap last?
A: The longevity of a car wrap can depend on various factors, like the type of material used, the quality of the installation, and the environment in which the car is used. However, typically, a car wrap can last up to 5 years or more if maintained properly.
Q: What are the benefits of wrapping a car?
A: Wrapping a car can offer several benefits, including protection from UV rays, scratches, and minor dents; customisation of the car’s appearance; and an easy way to advertise a business or brand while being cost-effective compared to traditional paint jobs. Additionally, the wrap can be easily removed and will not damage the underlying paint.
Leave a Comment
More in News
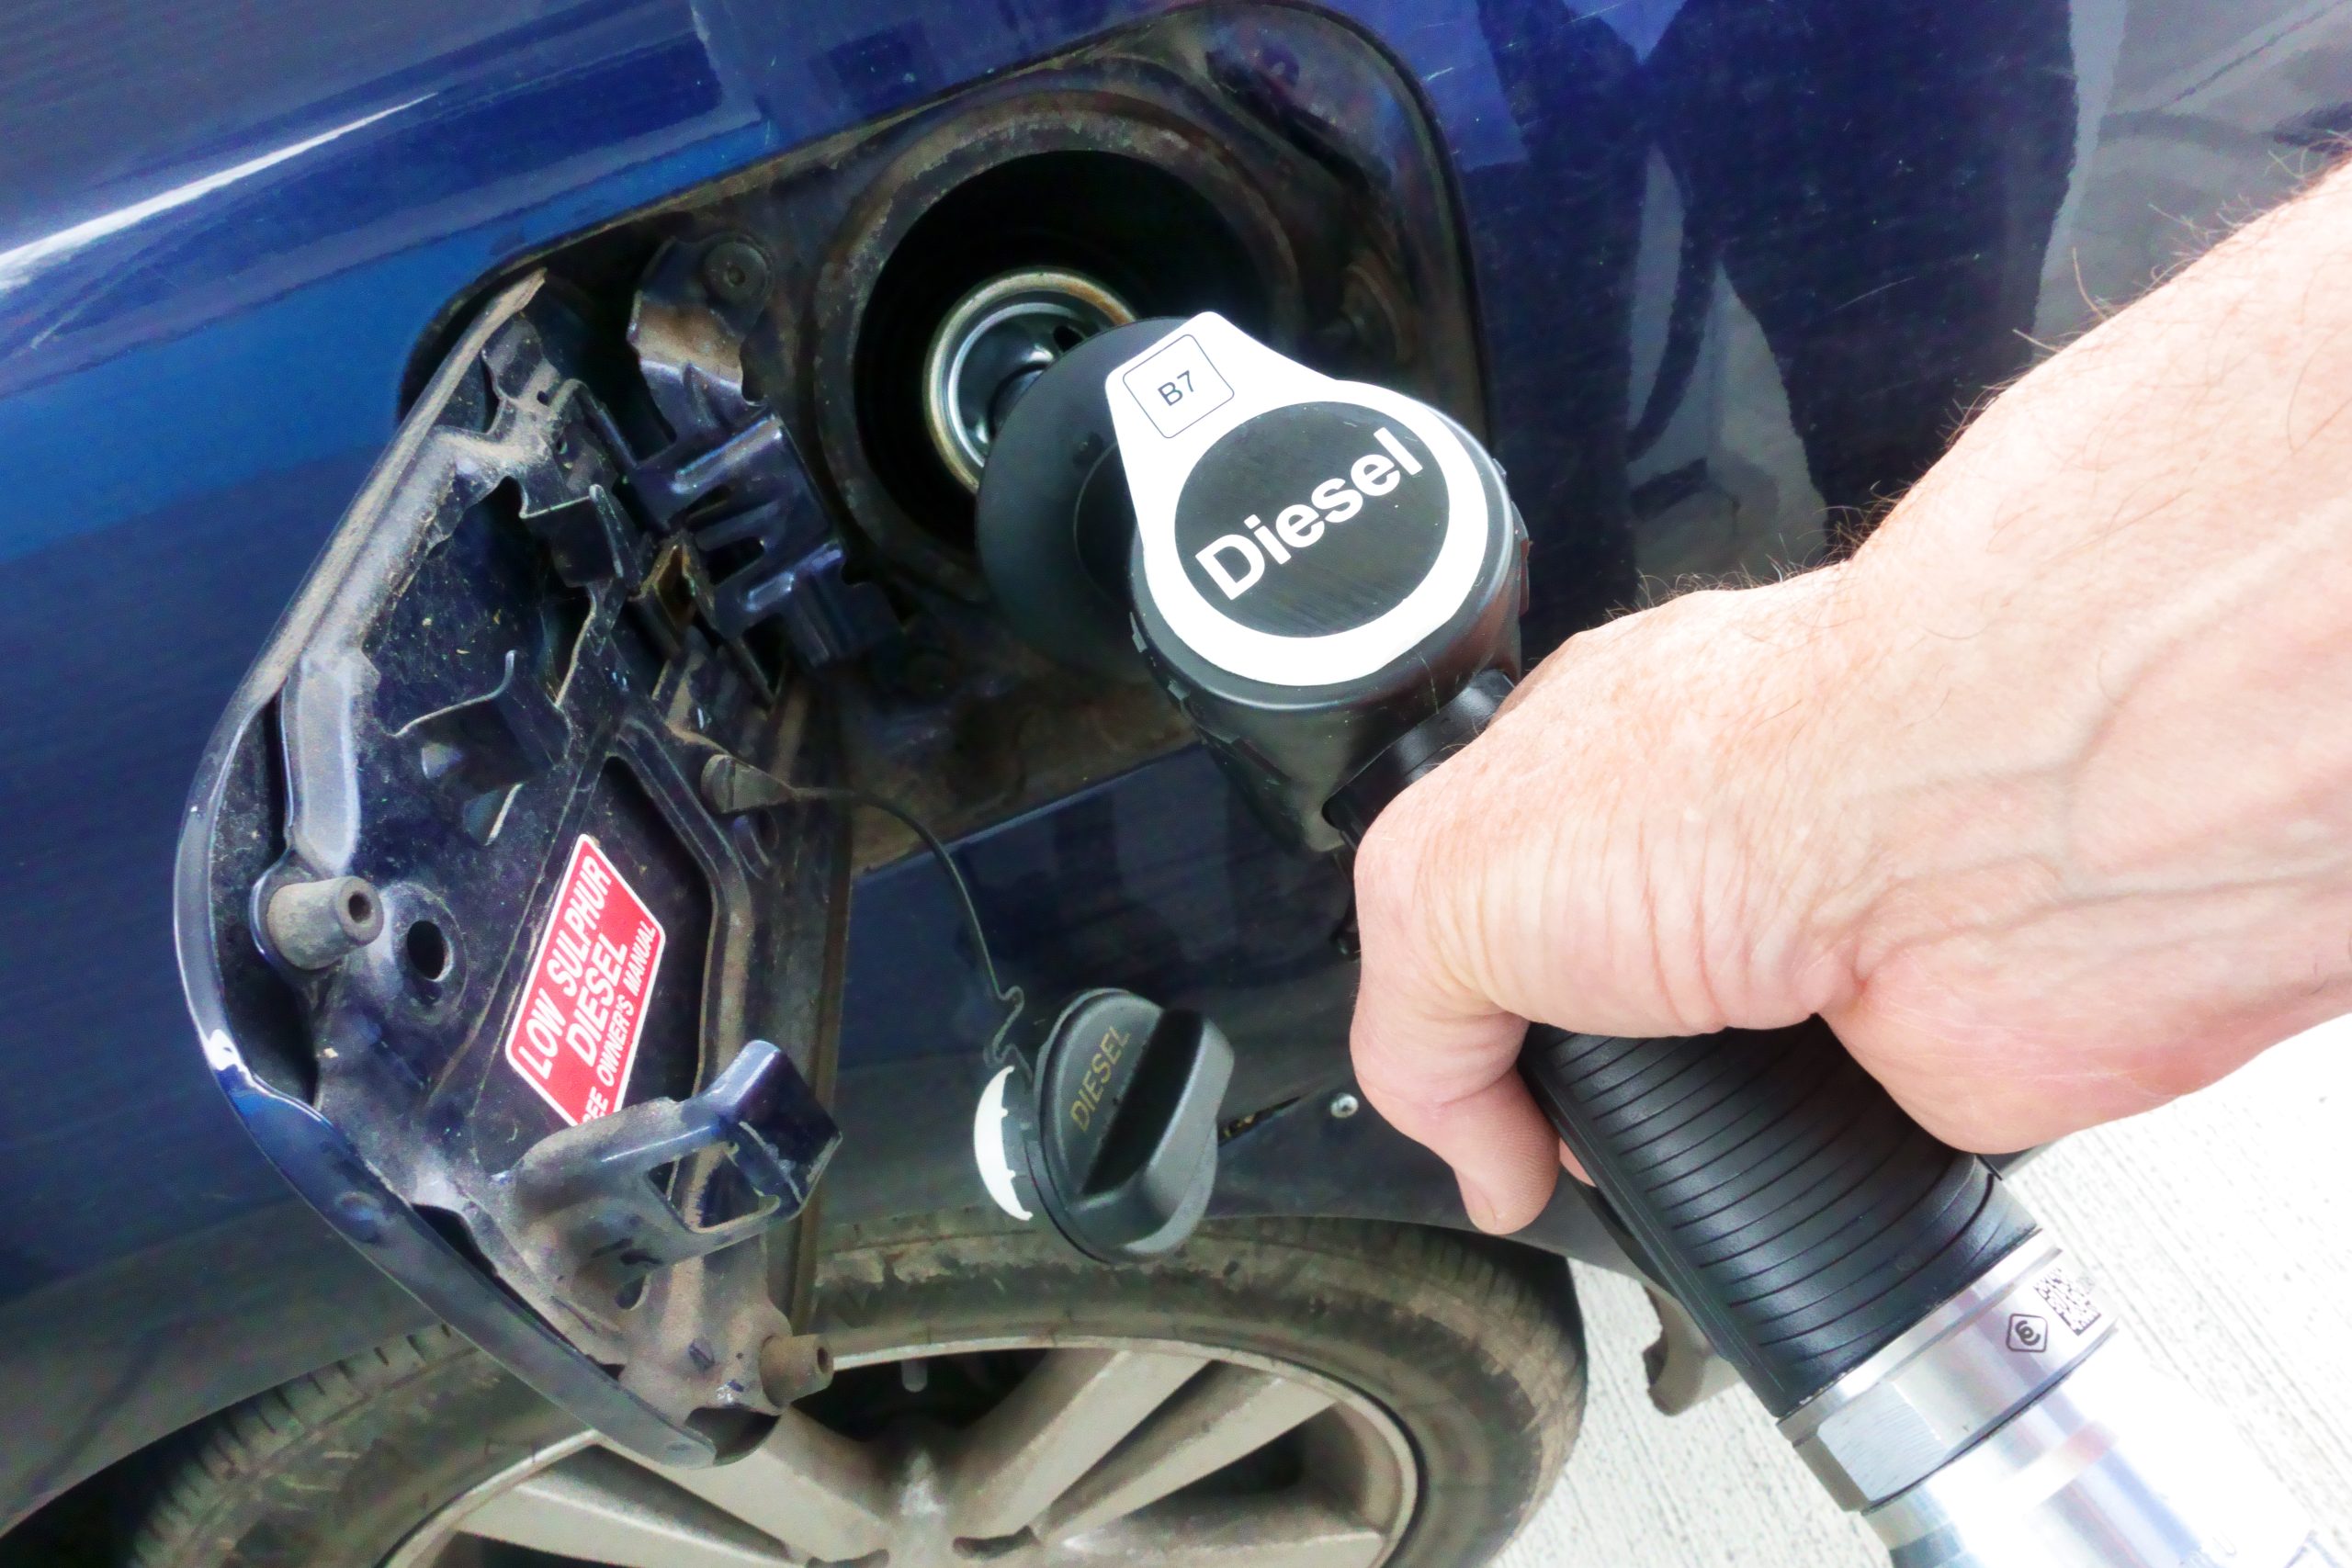
Diesel’s decline: Number of diesel models available now just one-third of 2015 figures

Efficient, engaging and extraordinary – the new Continental GT demonstrates eFuels [Photo Gallery]

High-performance with motorsport DNA: The new MINI John Cooper Works and the new MINI John Cooper Works Convertible [Photo Gallery]

Unique collection of Aston Martin Zagato models comes to market via Aston Martin Works [Photo Gallery]
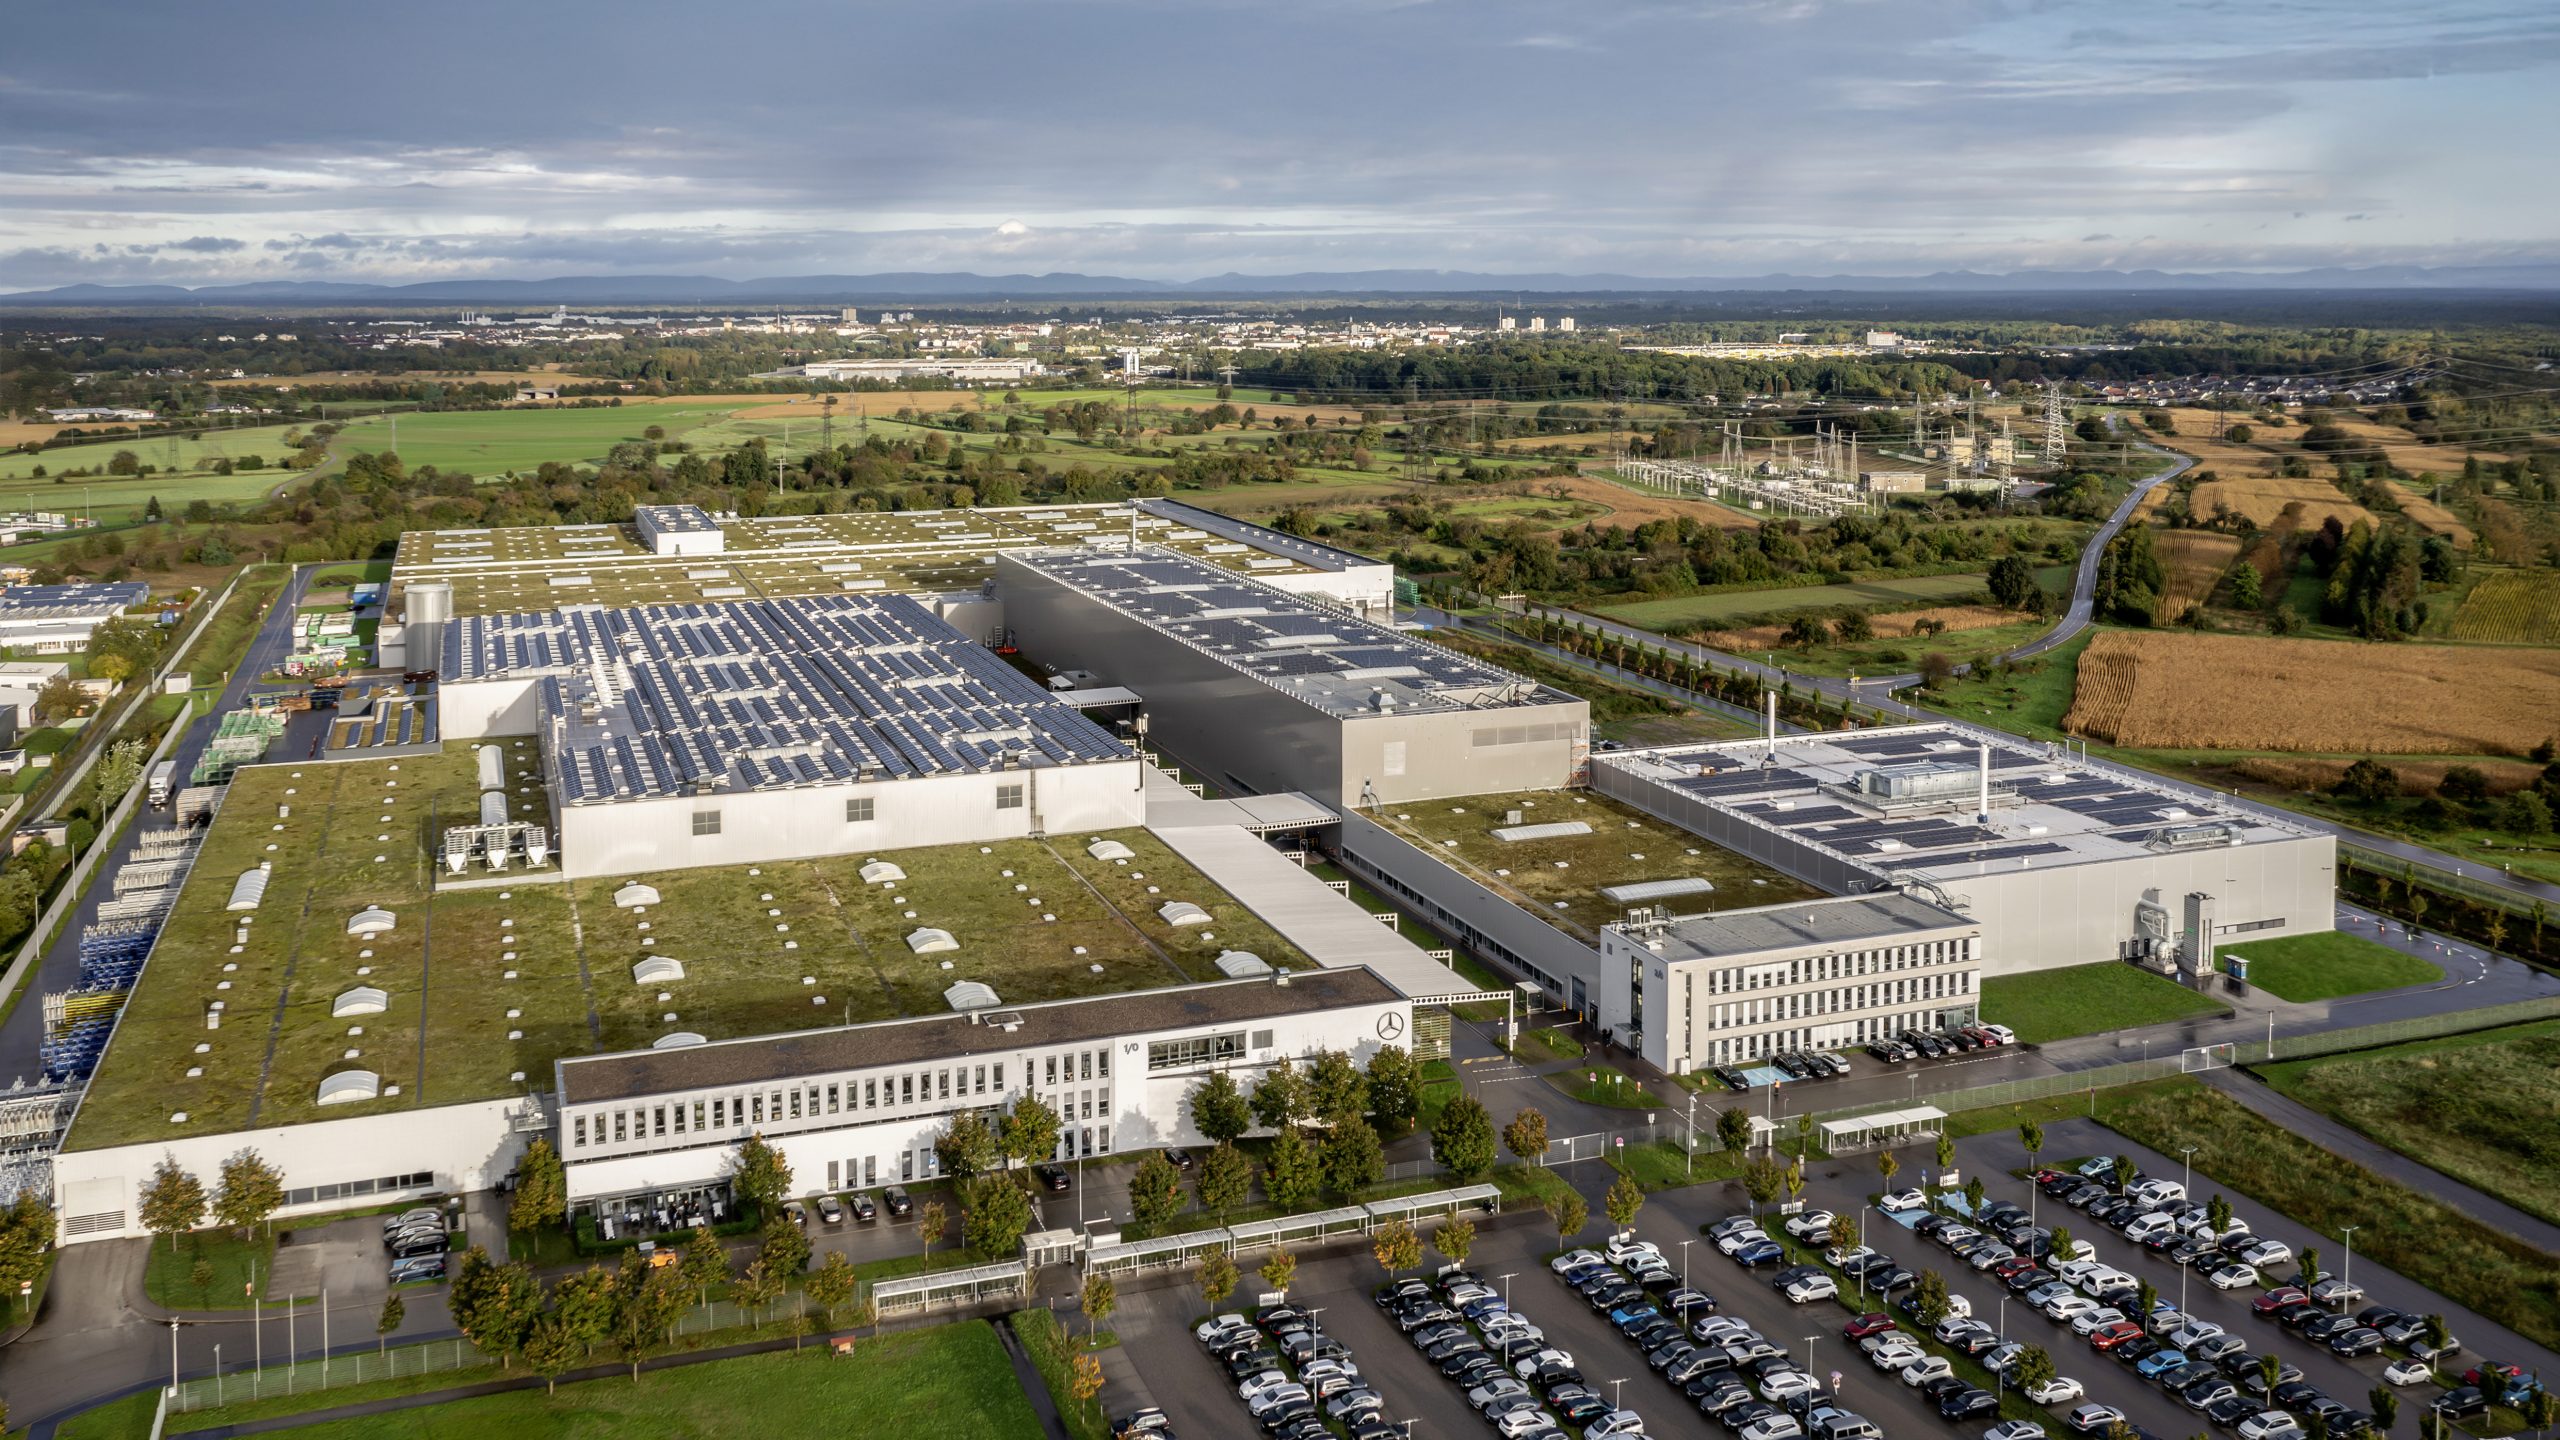
Mercedes-Benz opens own recycling factory to close the battery loop
Trending on Motoring Chronicle
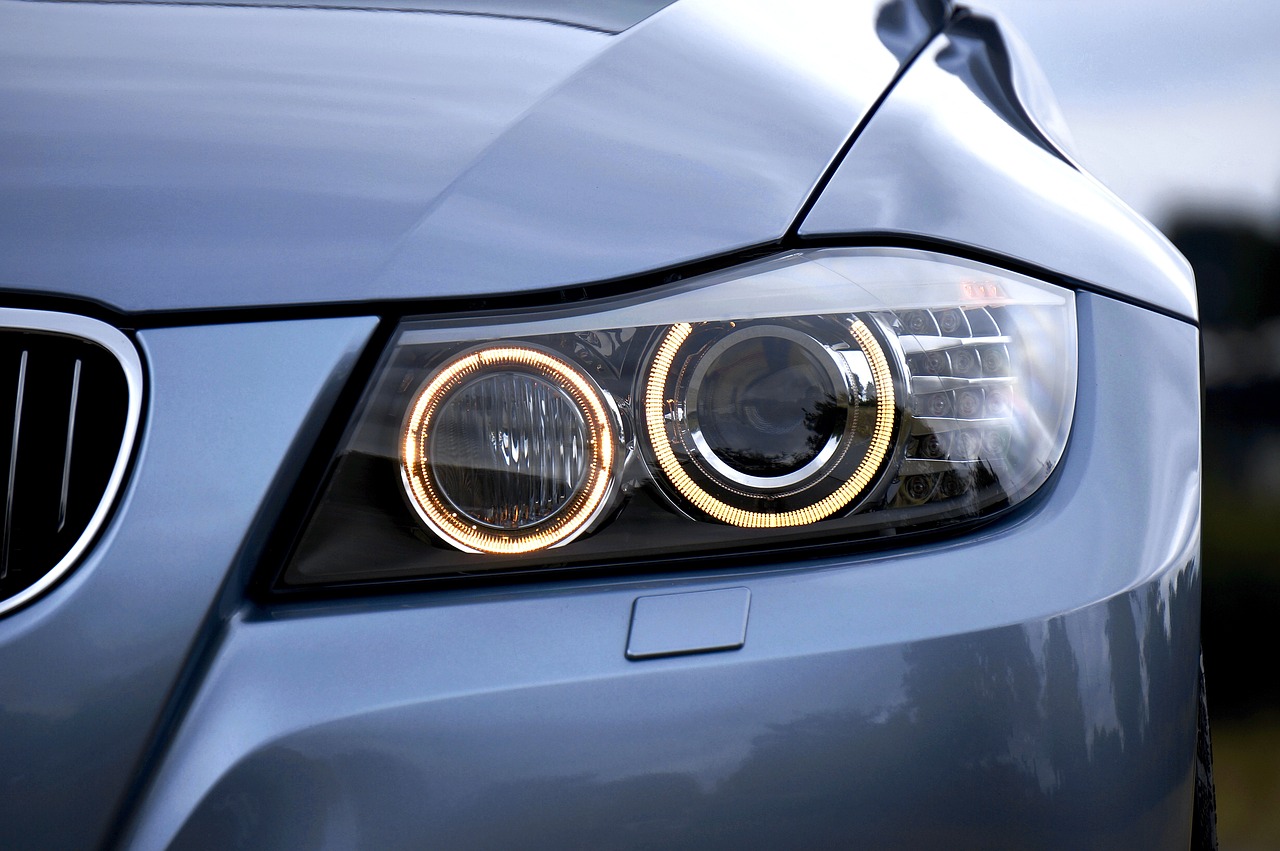
How to Restore Your Car’s Headlights to Original Brightness: A Step-By-Step Guide

Limited and highly exclusive: Mercedes-AMG GT 63 PRO 4MATIC+ “Motorsport Collectors Edition” [Photo Gallery]
How Many Car Loans Can You Have
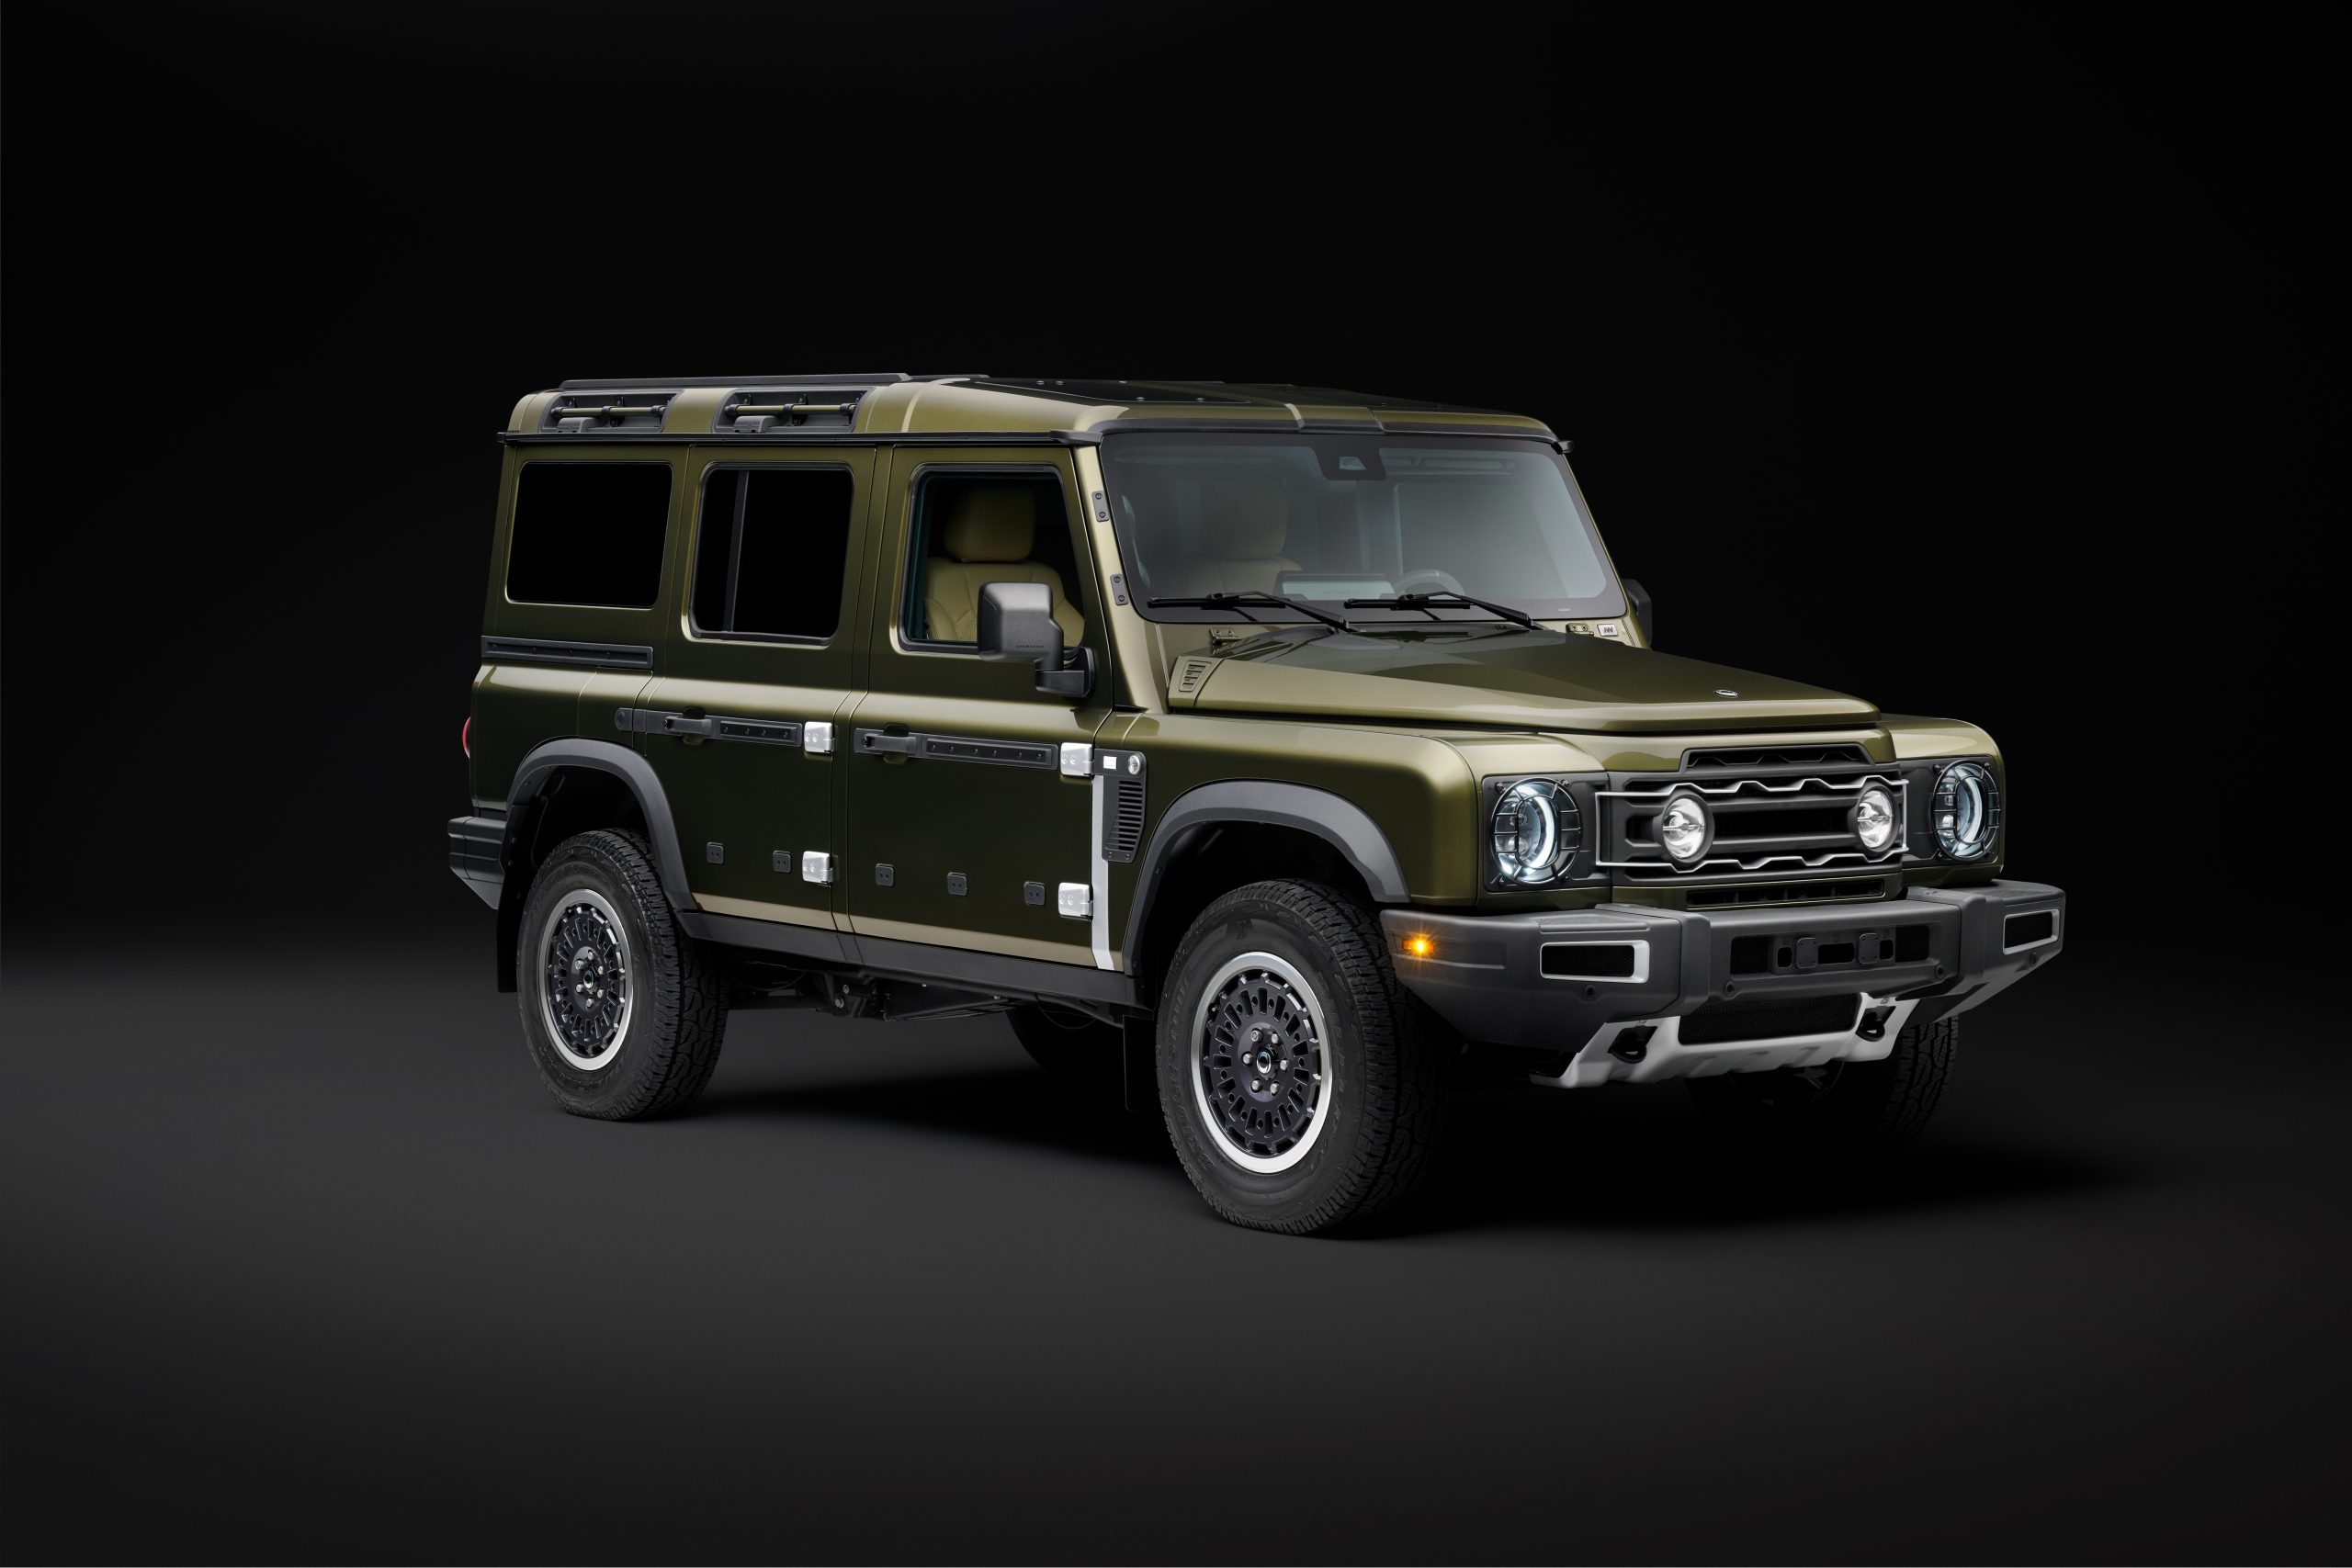
INEOS Automotive launches ‘Detour’ – The first limited- edition Grenadier from Arcane Works