
A guide to charging your car battery


Charging a car battery is a simple job with one rule that does all the heavy lifting: make every connection with the charger unplugged, then power the charger on only after the clamps are secure. Do that, go slow on the charge rate, and you avoid most of the mistakes that wreck batteries or create sparks.
Step-by-step tutorial
Step 1: Set the scene safely
Park the car on level ground, switch the engine off, remove the keys, and set the parking brake.
Charge in open air or with a garage door fully open. A charging battery can vent hydrogen, and hydrogen plus a spark is the kind of science project nobody asked for.
Put on safety glasses. Battery acid is not subtle.
Step 2: Check the battery is safe to charge
Lift the bonnet and look closely at the battery case.
Stop and replace the battery if you see any of these:
- A cracked case
- A swollen or bulging case
- Wet patches that look like leakage
- A strong rotten egg smell
Charging a damaged battery is where simple jobs turn into expensive problems.
Step 3: Identify the terminals and battery type
Find the positive terminal. It will be marked with a plus sign and often a red cover.
Find the negative terminal. It will be marked with a minus sign and often a black cover.
Read the battery label and identify the type:
- Standard flooded lead acid
- EFB
- AGM
If your charger has battery type options, this step decides which one you select later.
Step 4: Clean the terminals if they are crusty
If you see white or blue green crust on the terminals, charging will be slower and less effective.
Light corrosion:
Use a terminal brush to clean the clamp contact surfaces.
Heavy corrosion:
Disconnect the car cables first, negative cable off first, then positive.
Clean the terminals and clamps, dry them, then refit positive cable first and negative cable last.
Keep tools away from bridging the two terminals. Touching both at once is a fast way to weld a spanner to your battery.
Step 5: Position the charger before you connect anything
Place the charger on stable ground where it will not fall into the engine bay.
Route the leads so they do not snag on belts, fans, or pulleys. Keep the cable clear of hot components.
Make sure the charger is switched off and unplugged from the wall.
Step 6: Connect the clamps in the right order
Connect the red clamp to the positive terminal first.
Clamp onto clean metal, not plastic or corrosion.
Then connect the black clamp.
Best practice is to clamp the black lead to a solid metal ground point on the engine or chassis, away from the battery. Look for a bare metal bracket or a designated ground stud.
If you cannot find a suitable ground point, connect the black clamp to the negative terminal instead, firmly and cleanly.
The goal is a solid connection that will not wiggle loose during charging.
Step 7: Set the charger correctly
Now set the charger while it is still unplugged.
Select 12V.
Select the correct battery type if your charger offers it, AGM, EFB, or standard.
Select a slow charge rate.
For most car batteries, 2 to 8 amps is the safe zone.
If you are not in a rush, choose 2 amps.
If you want a reasonable overnight charge, choose 4 to 8 amps.
Avoid jump-start or boost modes unless you are trying to get moving immediately, and even then, follow the charger instructions carefully.
Step 8: Start charging properly
Plug the charger into the wall only after the clamps are connected and stable.
Switch the charger on and start the charge cycle.
A smart charger will usually run through stages and then drop into a maintenance or float mode when full. Let it finish.
Step 9: Monitor the charge without babysitting it
Check it occasionally, especially in the first 15 minutes.
Stop charging if you notice:
- The battery case getting hot to the touch
- Hissing, heavy venting, or bubbling that sounds aggressive
- A new chemical smell
- The charger repeatedly faults out
A battery should warm slightly at most during normal charging. Heat is a warning sign.
Step 10: Disconnect in reverse order
Switch the charger off.
Unplug the charger from the wall.
Remove the black clamp first.
Remove the red clamp second.
If you used an engine ground point, removing the black clamp first reduces the chance of accidental shorting.
Close up the bonnet and start the car. A healthy battery should crank confidently.
How long charging usually takes
Charging time depends on battery size, how flat it is, and the charge rate.
As a practical guide:
A heavily discharged battery on a slow setting can take 12 to 24 hours.
A partially discharged battery can take a few hours.
If a charger claims full very quickly, the battery may not actually be healthy. It can reach voltage without having useful capacity.
If the charger says full but the car still struggles
These checks keep you from wasting time:
The clamps were not making good contact
Reclamp on clean metal and try again. Corrosion and loose clamps are common.
The battery is worn out
If the car cranks weakly again the next morning, the battery may not hold charge. Age, repeated deep discharges, or sulphation can leave a battery that charges to voltage but collapses under load.
There is a drain on the car
A boot light, interior light, aftermarket accessory, or module staying awake can flatten a good battery. If the battery tests healthy but keeps going flat, the car needs a parasitic draw check.
The alternator is not charging properly
If the car starts after charging but the battery goes flat after driving, the charging system may be the real issue. That is alternator, belt, wiring, or regulator territory.
Two common charging setups that work well
Charging with the battery installed
Use the exact clamp order above, positive first, then ground.
This is the normal method for routine charging and maintenance charging.
Charging a removed battery
Place the battery on the floor in a ventilated area.
Connect red to positive, black to negative.
Set 12V, set the correct battery type, choose a slow charge rate, then plug in and start.
When finished, power off and unplug first, then remove black, then red.
The few things you must not do
Do not connect or disconnect clamps with the charger powered.
Do not smoke or create sparks near a charging battery.
Do not charge a cracked, swollen, or leaking battery.
Do not use the wrong battery type mode if your charger offers AGM and EFB settings.
Do not crank the charge rate up just because you are impatient, heat is what shortens battery life.
If you enjoyed this article, be sure to follow us on Microsoft Start.

Leave a Comment
More in News

Every Driver Ignores This Dashboard Light and It Costs Them Their MOT

What the New GOV.UK Wallet Means for Every UK Driver This Year
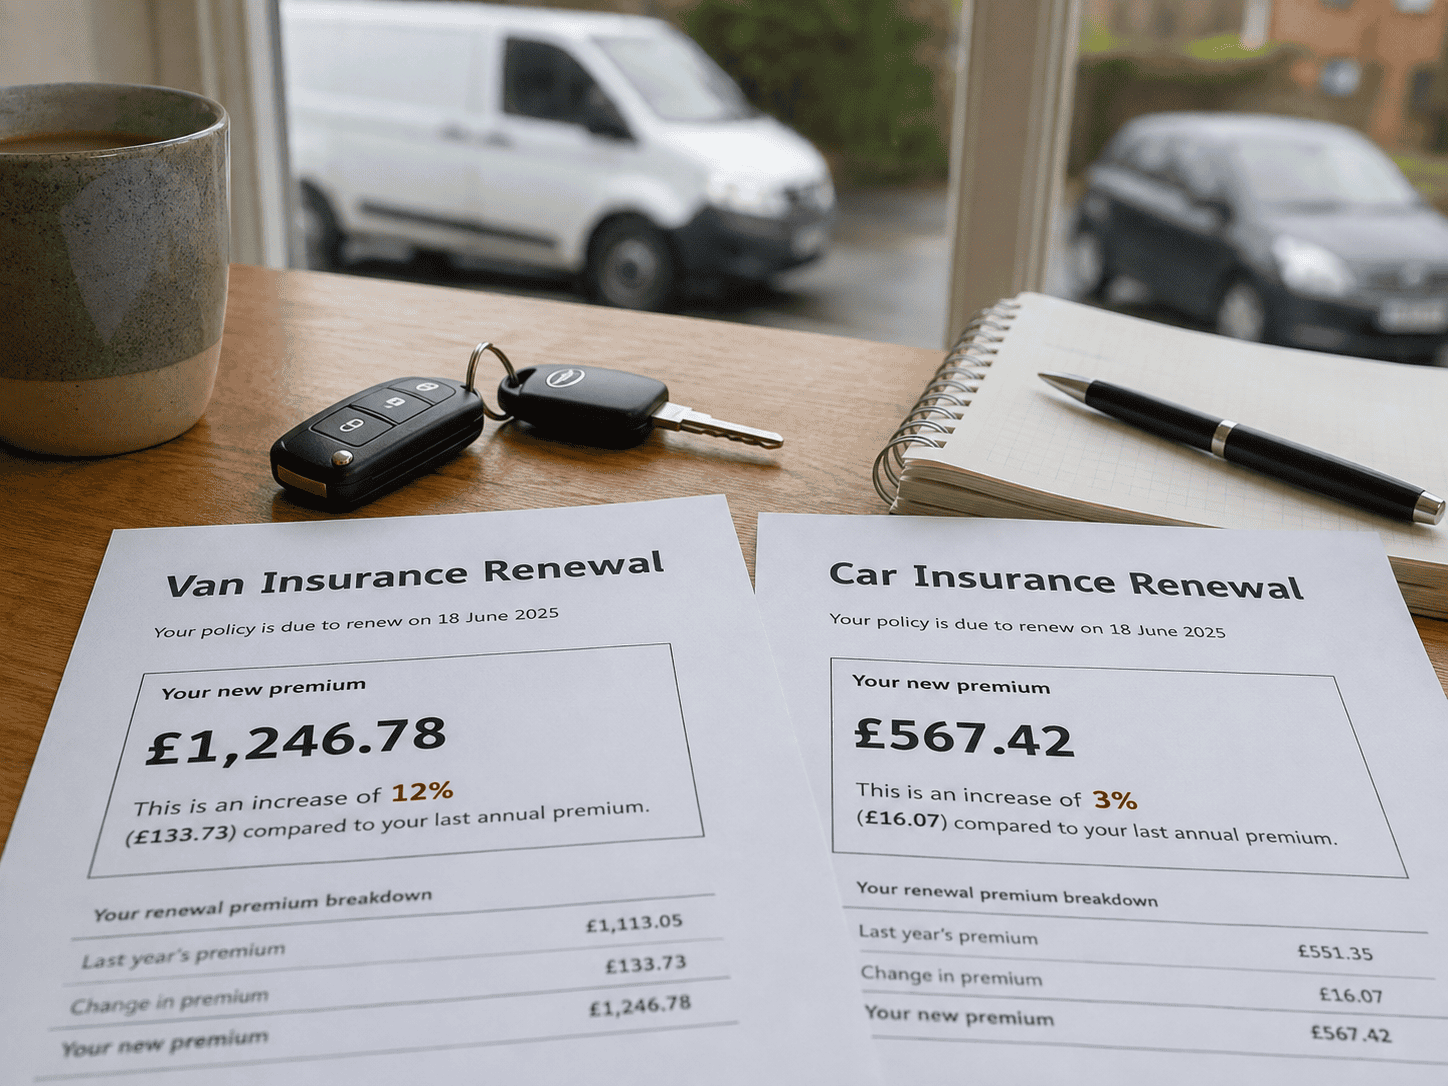
Insurers Pay Out £3.2 Billion as Average Car Cover Premium Hits £566, ABI Reveals

Why Bus Lane Cameras Earned UK Councils Millions in Fines This Year

How to Tow a Caravan Legally in the UK Without Breaking Your Licence
Trending on Motoring Chronicle

DENZA Z Supercar Confirms UK Pricing From £142,900 With 1,604PS

KGM Actyon Hybrid review: Leftfield family SUV gets a hybrid boost

Why Tyre Pressure Drops Overnight in Winter

DVSA Shows Learners in Some Postcodes Pay Twice as Often for a £75 Retest
