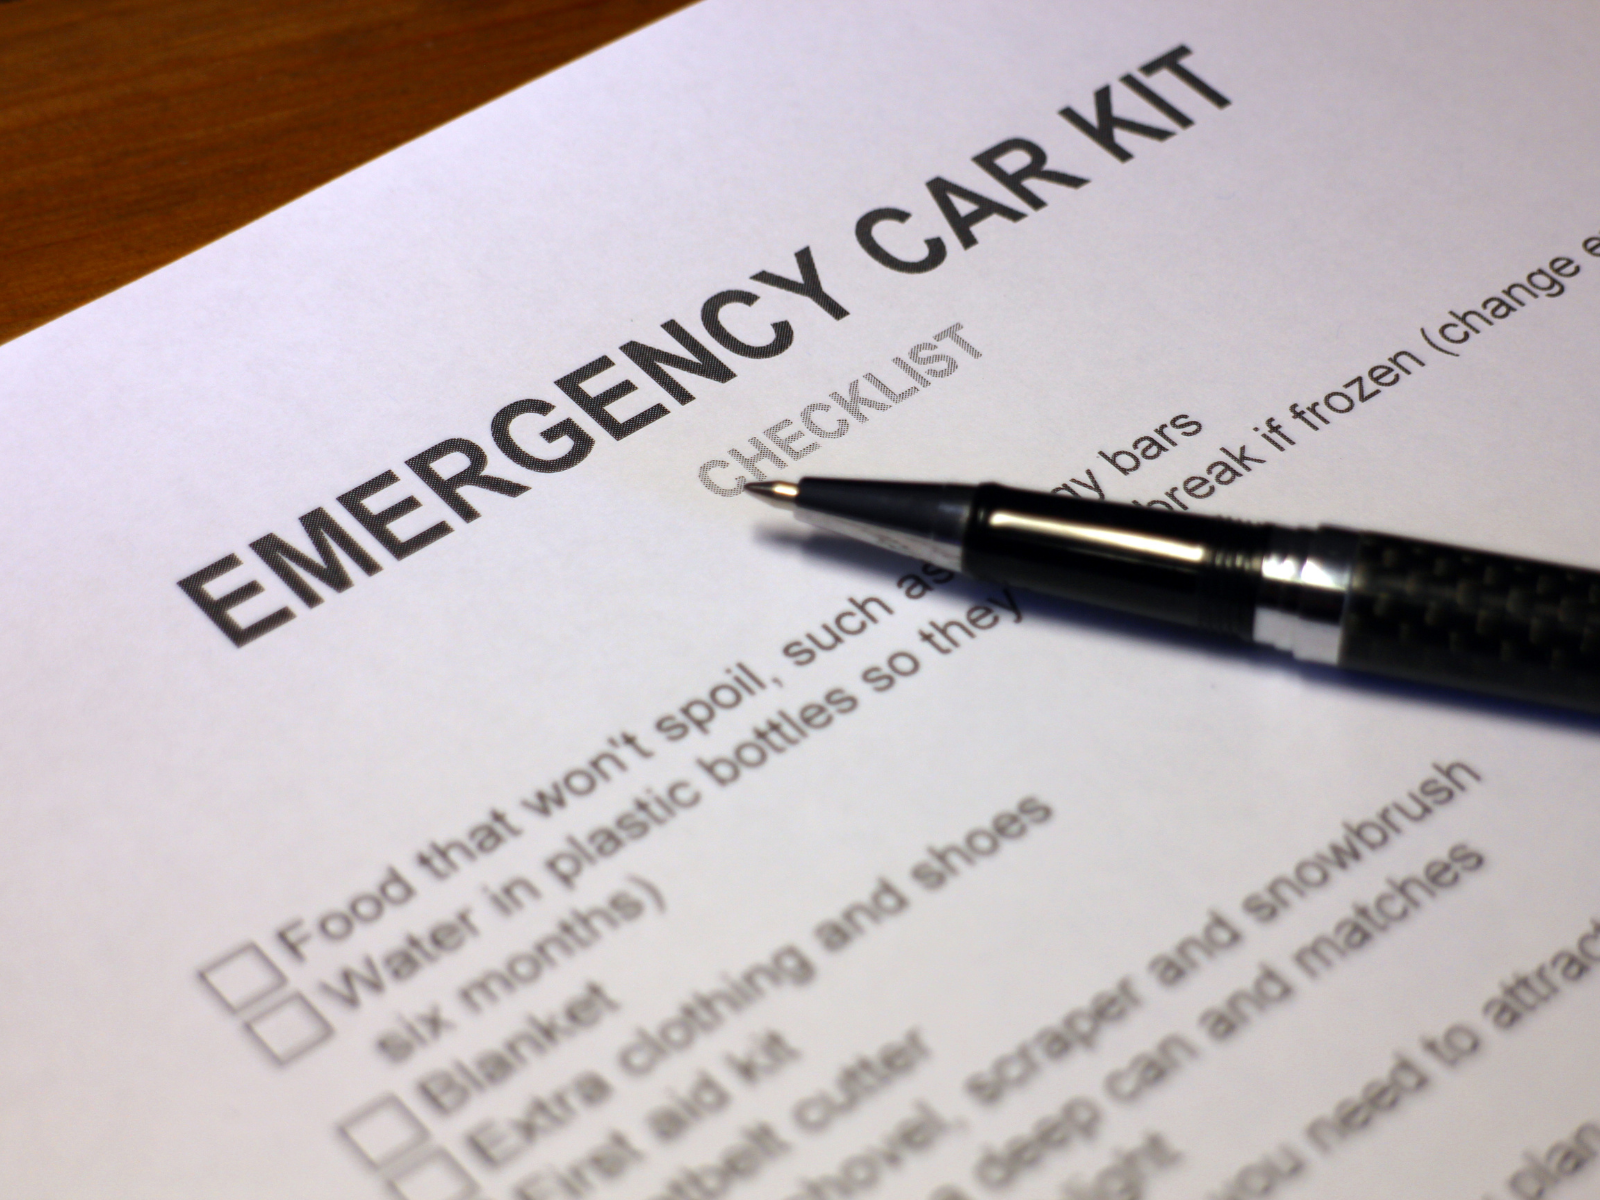
How To Unstick A Thermostat In A Car


Symptoms of a stuck thermostat
A thermostat regulates engine temperature and prevents overheating. If it fails, the engine may exhibit symptoms of a faulty thermostat. These symptoms can help diagnose a stuck thermostat.
- Engine running too hot or too cold
- Coolant leaking from under the vehicle
- The radiator fan runs continuously, even when the ignition is off
- Poor fuel efficiency or lack of power during acceleration
Additionally, a warning light on your dashboard could also indicate a stuck thermostat. It’s crucial to address these symptoms promptly, as they can lead to significant engine damage if left unchecked.
Pro Tip: Regular maintenance checks and replacing the thermostat prevent future engine troubles. If brute force doesn’t work, you’re not using enough elbow grease—the manual way to unstick a thermostat in your car.
Manual method to unstick the thermostat
If your car’s thermostat is stuck, you can unstick it manually with a few simple steps. First, turn off the car’s engine and allow it to cool down. Then, locate the thermostat housing and remove the cover by unscrewing it. Remove the thermostat and clean it with a soft brush and cleaning solution. Once clean, reinsert the thermostat and screw the cover back on. Finally, restart the engine and check if the thermostat is working properly.
It is important to note that this manual method may not work in all cases, and if the issue persists, it may require professional assistance.
It is recommended to regularly maintain and check the car’s cooling system to prevent such issues from occuring.
In a similar instance, my friend tried the manual method to unstick the thermostat in his car, but it did not work. He had to take it to a mechanic, who diagnosed the issue as a faulty thermostat and replaced it.
Turn off the engine and let it cool down
The first step in unsticking the thermostat is to turn off the engine and let it cool down. It’s crucial not to attempt any repair while the engine is hot because it can cause serious injuries. Waiting for at least half an hour is usually sufficient time for the engine to cool down, but depending on the temperature outside, it may take longer.
Here’s a 4-step guide to letting your engine cool down:
- Find a shaded or covered area where you can park your vehicle
- Turn off all accessories, such as air-conditioning, radio, and lights, before turning off the engine
- Open the hood of your car and prop it open with the support rod
- Wait at least 30 minutes before attempting any repairs on your vehicle.
After allowing your engine to cool down, check if there are any leaks or other visible damages that could be causing issues with your car’s thermostat. If you notice anything unusual, consider contacting a mechanic to look at your vehicle immediately.
An interesting fact about sticking thermostats is that they are caused by several things, such as the old age of gaskets, rusted parts, dirt buildup, and other factors that hinder the proper operation of the thermostat. A driver I knew once told me that his experience was worrying as he had never encountered issues starting his car before until one day when he turned on his ignition; however, nothing happened. After a quick diagnosis from a mechanic, it was found that his thermostat was stuck and caused an alarming rise in temperature, preventing ignition startup.
Locate the thermostat housing
- To find the whereabouts of the device regulating engine temperature, follow these steps to locate the thermostat housing.
- First, ensure that the car’s hood is open and parked on a level surface.
- Second, identify the radiator cap near the existing thermostat.
- Third, trace back from the radiator hose running to the housing located about two inches away or above.
To further elaborate, locate a box-shaped metal object bolted onto an adjacent part of the engine block with small hoses connected either side; this serves as an indication of where the thermostat housing is situated.
It’s essential to note that in certain car models that have different engine layouts, locating this part may differ.
Pro Tip: Refer to your car’s user manual when working with its internal components.
Time to give your thermostat the cold shoulder and remove that valve, because sometimes the manual method is just more hands-on.
Remove the thermostat valve
To remove the thermostat valve, the following steps can be followed:
- Locate the thermostat valve on the heating system.
- Turn off the power supply to the heating system and allow it to cool down.
- Use a wrench to detach the nuts that connect the thermostat valve to the heating system.
It is important to avoid damaging any other parts of the heating system while removing the thermostat valve.
It should be noted that, before attempting to remove any part of a heating system, it is advisable to seek professional advice or assistance from a licenced technician.
In a similar situation, my friend attempted to remove their thermostat valve but ended up breaking another component in their heating system. This led to costly repairs and inconvenience for several days until a licenced technician fixed it for them.
Clean the valve and housing
To resolve issues caused by dirt and corrosion buildup in the thermostat valve and housing, you could try a manual cleaning method. Follow these five steps to clean the valve and housing effectively:
- Turn off the power supply to the HVAC system before proceeding with any work.
- Locate the thermostat valve and housing, which should be near or on top of the boiler.
- Unscrew and remove the cover from the valve.
- Clean both the inside of the valve body as well as its exterior surface with an appropriate cleaning solution. Use soft-bristled brushes or cotton swabs if necessary to ensure full coverage upon application.
- Replace the cover on the valve securely.
It is important to perform this task every few months or so, depending on usage. Neglecting adequate maintenance can cause malfunctions in your HVAC system.
Before turning on your HVAC system again, make sure to check for any leaks. In some cases, a stuck thermostat can lead to costly damage. Suppose manual cleaning does not work. In that case, it’s best to contact a professional for further assistance. Reinstalling your thermostat valve and housing is relatively easy, unlike putting together Ikea furniture.
Reinstall the valve and housing
After removing and unsticking the thermostat, the next step is to reinstall the valve and housing. This process involves:
- Placing the valve gasket on top of the housing and inserting it into the engine block
- Putting the thermostat back in its original position.
- Attaching bolts to both the valve housing and thermostat.
- Finally, add coolant to the system and check for any leaks.
It is important to ensure that all bolts are tightened properly during reinstallation. Once installation is complete, turn on your car’s engine and let it run for a few minutes while monitoring any irregularities. It’s crucial not to skip this step as incorrectly reinstalled parts can cause serious damage or result in dangerous situations when driving.
Don’t risk causing further damage or inconvenience by delaying this crucial step. Reinstalling valve and housing can be done easily if you follow these simple steps mentioned above. Who needs a chemistry degree when you can unstick your thermostat with a bottle of Coke?
Using chemical solutions to unstick the thermostat
Using Chemical Solutions to Free Up a Stuck Thermostat in Your Car
If you’re facing a stuck thermostat in your car, using chemical solutions can be a quick and easy way to unstick it. Here’s how:
- Purchase a radiator flush solution from your local auto parts store.
- Drain your car’s coolant and add the radiator flush solution to the radiator.
- Run your car’s engine according to the instructions on the radiator flush solution.
- Drain the radiator flush solution and refill with fresh coolant.
This process can help dissolve any buildup that may be causing the thermostat to stick. However, always follow the instructions on the chemical solution and take appropriate safety measures.
Using chemical solutions to unstick a thermostat is just one solution. Remember to consult an expert if the problem persists.
True fact: Using a chemical solution is not the only way to unstick a thermostat. You can also try manually moving the thermostat, or replacing it altogether. (Source: Popular Mechanics)
Purchase a specialised radiator flush
When trying to unstick the thermostat, it may be necessary to purchase a specialised chemical solution. This type of radiator flush is designed specifically to break down any buildup on the thermostat that may be hindering its proper functioning.
Here is a 4-step guide for using a specialised radiator flush:
- First, ensure that you have the correct type of chemical solution for your specific vehicle model. This can typically be found in your owner’s manual or through online research.
- Next, locate your vehicle’s radiator and drain any existing coolant from it.
- Pour the specialised radiator flush into the empty radiator and fill it with water up to its maximum capacity.
- After driving your vehicle for the recommended amount of time (specified on the solution bottle), drain out the solution and replace it with fresh coolant.
It’s important to note that using a regular flushing solution or plain water may not be sufficient to remove stubborn buildup. This type of specialised flush was created specifically for this purpose.
It’s common knowledge that regular maintenance can prevent many mechanical issues, including thermostat-related problems. However, sometimes, even with proper care, thermostats can still experience difficulties. Additionally, ignoring thermostat problems can result in more significant problems down the road.
A true history of using chemical solutions to unstick thermostats dates back years ago, when mechanics would recommend pouring alcohol into a car’s cooling system to unstick thermostats. While this was effective in some cases, today’s modern engines are far more complex than those in previous decades. Therefore, specialised chemical solutions are generally more reliable and efficient compared to traditional home remedies.
Add the flush to the cooling system
To effectively flush your cooling system, you need to follow a few precise steps. First, pour the flush solution into the radiator while the engine is cold, and ensure that it’s tightly sealed. Next, start the engine and allow it to run for 10–15 minutes, preferably in an open area or with a good ventilation system. Then, drain the entire cooling system and fill it with water. Run the engine again for ten minutes to rinse out any remaining debris. Turn off the engine and allow it to cool so that you can safely drain the water.
It’s important not to skip any of these steps as they work together to properly clean your cooling system. Additionally, keep in mind that using a proper flushing solution that matches your vehicle’s needs can greatly affect the efficiency of this process.
For best results, consider repeating this process every few years or as recommended by your manufacturer’s guidelines. This will help keep your cooling system running smoothly and minimize the risk of overheating or other damage. With a little care and attention, you can ensure that your vehicle stays in top condition for years to come.
Get ready to feel like a bartender, because now it’s time to run the engine and let the flush make its way through like a boozy cocktail.
Run the engine to circulate the flush
To effectively remove the blockages in your thermostat, activate your engine to circulate the flush.
Here is a 4-step guide to circulating the flush:
- Begin by ensuring that your engine is off while you add the cleaning agent or chemical solution into your cooling system.
- Fill up your radiator with water and then run your engine for at least 10-15 minutes to let the chemical solution work through it, ensuring that you reach and maintain an optimal temperature level.
- To promote thorough circulation of the engine’s coolant system, adjust your heating controls to maximum heat while running it. This method helps draw out dirt from blocked areas.
- After running for about an hour on idle speed, switch off the engine and let it cool down before draining out both old coolant and cleaning agent from each hose connection step by step.
It’s important to note that during this process, overheating must be avoided as it could cause serious damage to other parts of the engine.
Pro Tip: It’s advisable to wear protective gloves throughout this process as chemicals or hot coolant may spill over.
Drain the cooling system and refill it with fresh coolant
After identifying a stuck thermostat, the next step is to flush the cooling system and replace it with fresh coolant. This will help remove any debris or contaminants that may be causing the thermostat to stick.
Here’s a simple 3-step guide to drain the cooling system and refill with fresh coolant:
- Locate the drain valve under the radiator and turn it counterclockwise to release the coolant into a pan.
- Once all of the coolant has been drained, install the drain valve back on by turning clockwise.
- Fill up the radiator with new coolant until it reaches the recommended level in your vehicle’s instruction manual.
It’s important to follow these steps carefully as an incomplete flush could result in ineffective results.
One crucial detail to note before starting is that you should make sure your engine is cool before draining. Attempting this while hot can cause severe burns, so exercise caution.
True history: Neglecting proper maintenance schedules like replacing old coolant has led to issues such as corrosion in parts of cars’ cooling systems, specifically radiators. As a result, mechanics learned that simply just flushing out old liquid and adding new is not always enough. They started using chemical solutions that could better clean and maintain radiator components instead, as they began taking corrective action like this; mechanical errors declined significantly over time.
When to replace a thermostat
Paragraph 1: A thermostat is a part of the car’s cooling system that regulates the engine temperature. Knowing when to replace a thermostat greatly depends on the driving conditions and the age of the vehicle. As a rule of thumb, a thermostat should be replaced if it fails or stops working efficiently.
Paragraph 2: Signs of a faulty thermostat include a fluctuating temperature gauge, low heat output from the heater, or the engine overheating. If these occur, it may be time to consider replacing the thermostat. Regularly performing preventive maintenance checks and following the car manufacturer’s guidelines can help prevent sudden failures.
Paragraph 3: Another factor to consider is the type of thermostat installed in the car. Some cars have a bypass thermostat that allows coolant to flow even when the thermostat is closed, while others have a regular thermostat that opens and closes depending on the engine temperature. This can affect the type of replacement thermostat needed.
Paragraph 4: If a replacement is necessary, it is recommended to use an OEM (Original Equipment Manufacturer) approved thermostat. It is also crucial to have the entire cooling system flushed and inspected to ensure optimal performance. Proper maintenance can prevent future thermostat failures and prolong the life of the car’s engine. When your car’s temperature gauge starts to resemble a rollercoaster ride, it’s probably time to say goodbye to your beloved thermostat.
Signs that the thermostat needs immediate replacement
The optimal functioning of a thermostat is vital for efficient heating and cooling operations. Here are a few indications that could tell you when to replace your thermostat immediately:
- Your HVAC system isn’t operating as it used to, despite having checked your furnace or air conditioner.
- The indoor temperature fluctuates erratically, indicating imprecise reading.
- The thermostat fails to turn on the HVAC system or doesn’t switch it off after reaching the preset temperature.
- Your thermostat uses mercury, which may be hazardous if damaged beyond repair.
It’s also advisable to keep an eye out for additional warning signs like broken wires, excessively old equipment, or inaccurate readings. When it comes down to effectively replacing your thermostat with a new one, waste no time and prioritize scheduling an appointment with a professional before matters worsen. Remember that timely replacements not only contribute to optimal energy usage but more importantly, play an essential role in maintaining indoor comfort.
Don’t miss out on realizing the real resource savings from thermostats’ optimization by compromising the health of your family indoors! Take immediate steps for examining and replacing failed thermostats today.
Tools required for thermostat replacement
Replacing a thermostat requires a set of specialized tools to ensure the process goes smoothly. The right tools can help prevent damage to the HVAC or electrical system.
The tools required to replace a thermostat are:
- Screwdrivers: Both flathead and Phillips screwdrivers are required to open the faceplate and access the wiring behind it.
- Wire cutters/strippers: These tools allow you to remove any old wiring from the existing thermostat unit that needs replacement.
- Voltmeter: This tool should be used to check for live electrical wires before working on them directly.
Apart from these necessary tools, you may also require some additional instruments such as pliers, wire nuts, and a ladder. It is essential to have basic knowledge of electronics or electrical systems before attempting a replacement. Also, make sure that all equipment is powered off before beginning work on any wires.
According to records, the first time thermostats were used was in ancient Greece, almost 2500 years ago. These early versions were made from wood and contained honeycombs inside them that would release different amounts of water into containers throughout the day to regulate temperature.
Steps to replace a thermostat in a car
Replacing a thermostat in a car is crucial; it ensures that your engine operates at the correct temperature. To replace it, follow these four simple steps:
- Remove the negative cable from your battery. This step will avoid electric shock or potential technical issues.
- Then, find the thermostat located in the car’s engine block or cylinder head. Use pliers to gently loosen the hose clamp and detach it from the thermostat housing.
- The third step is to remove the old thermostat and replace it with a new one. Make sure that you position it correctly with the right direction up.
- Finally, reattach everything back into place–hose clamp, hose, and negative cable of your battery. Also remember to refill your coolant fluid after finishing for optimal performance.
Other key details involve using only high-quality parts suitable for your car model; otherwise, they might cause malfunctioning later on.
When undertaking such replacement tasks, safety and caution always come first. Therefore, use all recommended gears (gloves and glasses) to avoid injuries.
Remember, good performing cars run as a result of timely repairs and maintenance. Therefore frequent checks are essential in achieving longevity.
Remember, procrastination and a faulty thermostat have one thing in common – they both end up costing you more in the long run.
How To Unstick A Thermostat In A Car – Final Thoughts
The resolution of a faulty thermostat is crucial to maintaining your car’s engine at peak performance. By using simple methods such as inspection, replacement, and manipulation, you can unstick a thermostat. Check for debris buildup, warped pieces, and loosening connections that may cause it to malfunction. If necessary, replace the defective thermostat with a high-quality one that fits the specifications of your car. Lastly, use lubricants or carefully manipulate the valve to loosen it up. Keep in mind that regular maintenance is crucial to avoid major repairs and prolong your car’s lifespan.
Remember to inspect your car’s engine frequently for any issues to prevent severe damage from occurring in the long run. For instance, if you notice coolant leaks or an overheating engine after attempting to fix the thermostat issue, immediately seek professional help before things worsen further. Avoid driving with an improperly functioning thermostat as it may lead to safety hazards on the road.
How To Unstick A Thermostat In A Car – Frequently Asked Questions
Q: Why is my car’s thermostat stuck?
A: There can be different reasons why a thermostat can get stuck such as corrosion, buildup of debris, or even mechanical damage over time.
Q: When should I consider un-sticking my car’s thermostat?
A: When your car starts running hotter than usual or, in other cases, if the engine takes too long to warm up, then these symptoms could signify that the thermostat is stuck.
Q: Can I still drive my car with a stuck thermostat?
A: You may operate your vehicle for short distances with a thermostat that is stuck open, but it’s not recommended to drive your car with a thermostat that is stuck closed.
Q: What are the steps involved in un-sticking a car’s thermostat?
A: Begin by locating the thermostat, remove the housing, and then remove the thermostat. You can either clean it with a solution or replace it to fix the issue.
Q: Should I attempt to un-stick my car’s thermostat myself or should I enlist the help of a mechanic?
A: If you have experience in fixing car issues, then you can try to un-stick the thermostat yourself. However, if you’re unsure or new to this, it’s best to leave the job to a trained mechanic.
Q: How often should I check my car’s thermostat?
A: It’s recommended to have your car’s thermostat checked during a routine maintenance check or whenever you experience issues related to heating and cooling.
Leave a Comment
More in News

Mercedes-AMG strategically reorganises its GT Sport division

New design language: Enhanced CUPRA Formentor and CUPRA Leon now available to order in the UK

The end of the Car-Gument: The New Renault Scenic is such a perfect family car that buyers are promised relationship bliss – or their money back!

Car production down in first half as manufacturers invest in electric future

Small car, big milestone: 20 years of the Kia Picanto [Photo Gallery]
Trending on Motoring Chronicle

The new MINI Cooper S in JCW Trim: Sporty design with brand-typical performance [Photo Gallery]

Top 15 Used Car Bargains Under £15k Revealed

7 Best SUVs of 2022 and 2023

Lamborghini Huracán Sterrato: California Drifting