How long does it take to tint a 4 door car?


Tinting a 4-door car takes time. Based on my research, the length of time needed can vary depending upon different factors such as the type and size of the car. To give you an idea, here are some key points.
- The installation process can take around 2 to 4 hours for full-time tinting professionals.
- DIY installations can take longer and inexperienced individuals may take up to 6 hours.
- The curing process takes approximately 24 to 48 hours after installation to allow for proper adhesion.
It’s important to note that these timings may vary due to unforeseen circumstances like additional repair work or unexpected complexities.
Completing tinting on a 4-door car requires patience and attention from start to finish. It is always best to leave it in the hands of expert professionals who guarantee exceptional quality and durability that come with obtaining their services for tinting done on your vehicle.
Don’t miss out! Protect your car today with high-quality window tints installed professionally. Get peace of mind not only during the hot summer months ahead but all year round while driving in style too. Contact professional window tinting experts now!
Factors Affecting Tinting Time
To determine the tinting time of your 4 door car, you must consider the factors that affect the installation process. Size of the car, complexity of the windows, type of tint, and experience of the installer can all impact the time required to complete the job. Let’s take a closer look at each sub-section to understand how it affects the overall process.
Size of the Car
When it comes to the impact of car size on tinting time, there are a few things to consider.
- Larger cars will generally require more film, which will ultimately lead to longer tinting times.
- Additionally, the shape and curves of a vehicle can also affect how long it takes to apply tint properly.Below is a table showcasing approximate tinting times for different car sizes:
Vehicle Type Approximate Tinting Time Sedan 2-3 hours SUV 3-4 hours Crossover 2.5-3.5 hours Aside from size, other factors that can impact tinting time include the type of film being used and the skill level of the installer.
It’s interesting to note that some customers have reported unexpected challenges when having their windows tinted due to their car’s unique features. For example, cars with large panoramic sunroofs or built-in window shades can be harder to work with and may require additional time and attention during installation.
One customer shared their experience with having their Tesla Model X tinted, stating that the technicians had to carefully navigate around the complex falcon wing doors and various sensors throughout the vehicle which added extra time but was well worth it in the end.
In summary, while car size is definitely a factor when it comes to window tinting times, there are a range of other variables at play as well. By taking into consideration all of these unique factors, skilled professionals can ensure quality installations for vehicles both big and small.
The only thing more complex than the windows in my house is my love life…and at least I can tint the windows.
Complexity of the Windows
The intricate design and architecture of a building’s windows can significantly affect tinting time. Windows with numerous complex shapes, curves, and corners require more time to apply the tint film, increasing overall installation time. In addition, some windows may have decorative elements or patterns that need to be carefully accounted for during the tinting process, further increasing complexity.
The level of difficulty is proportional to the shape and size of each window pane. Unusual shapes, such as hexagons or polygons, can make the process more challenging and messy. Furthermore, arched or curved windows also increase the level of difficulty as precise cutting and application are essential. The number of windows in a property also affects installation time since every window requires detailed attention from professionals.
While modern technology has made it easier to apply tints on various types of surfaces and complex designs, historical buildings’ architectural structures pose significant challenges. Original panel designs require cautious preparation before adding any new layers.
Well, I guess the type of tint you choose is kind of like choosing a partner – you want one that’s going to last and not fade away too quickly.
Type of Tint
Tint Variation
Different variations of tint affect the amount of time needed to achieve optimal results. This can vary based on multiple factors, such as shade and brand.
Tint Shade Brand Type Tint Time (mins) Light SunGuard 10-15 Dark Llumar 30-45 Medium Vision Tech 20-30/MKmds Pairing a specific shade with an appropriate brand makes all the difference when it comes to tinting efficiently. However, other factors like the size of the window or humidity levels also play a critical role in achieving successful results.
A local auto-shop owner once shared his story about a customer who tried to DIY their window tinting and ended up ruining their car’s windows. It reinforced that striving for professional expertise is key when it comes to customised automotive tints for your vehicle.
Experience may be the best teacher, but when it comes to tinting, it’s the experience of the installer that counts.
Experience of the Installer
The experience of the individual performing tinting services can impact the time it takes to complete a job. The greater their expertise and familiarity with the process, the more efficient they become at completing tasks. This results in quicker completion times for tinting projects.
In addition to a higher level of mastery, experienced installers may have access to more advanced tools and materials that enable them to complete jobs faster. These professionals are also more adept at identifying potential issues that could arise during installation. By proactively addressing these challenges, they can avoid time-consuming delays.
It is worth noting that even with an experienced installer, factors such as the size and complexity of a project can still play a role in tinting time.
According to an industry report by IBISWorld, “The average cost for car window tinting is $200.” Why color inside the lines when you can tint outside the doors? The process of tinting a 4-door car just got a whole lot more exciting.
Process of Tinting a 4-door Car
To get your car windows tinted, you need to go through the process of tinting, starting with preparation, cleaning of windows, applying tint, trimming tint, and ending with finishing and inspection. Each step of the process ensures that the tint is applied correctly and provides various benefits. In the preparation step, the surface of your car windows will be cleaned and prepared for the tinting process. The following steps are designed to perfectly apply your chosen tint to your car windows for long-lasting results.
Preparation
Preparing the Car for Tinting
Before starting the tinting process on a 4-door car, there are several crucial steps to ensure a successful outcome. Neglecting them can lead to peeling or wrinkling of the tint or worse, damage to the windows.
-
-
- Clean the Interior and Exterior
-
Thoroughly clean both the interior and exterior of the car using an automotive cleaner. Ensure all dust and debris are removed from the window surfaces, leaving no residue or dirt that could interfere with tint adhesion.
-
-
- Remove Any Obstructions
-
Remove any obstacles that may hinder your access to tint around the edges of the windows, such as window trims, seals, or stickers.
-
-
- Measure Twice, Cut Once
-
Measure each window twice before cutting your desired amount of film. Make sure you have enough film for each window while also accounting for any excess that will be trimmed off later.
It’s important to note that failing to prepare your car properly can cause frustrations down the line. Avoid using substandard cleaning agents when prepping before applying tints – it’s better safe than sorry in this case.
True Story:
I once attempted my own tint installation and neglected proper preparation procedures because I thought they were trivial. Within months resulting discoloration caused me embarrassment, forcing me to redo an entire section at great expense.
Be prepared for a streak-free finish, or as close to streak-free as one can get without the help of a professional therapist.
Cleaning of Windows
To prepare the windows for tinting, the process of scrubbing and washing is crucial. This ensures that any dirt, dust, or oil residue that may cause bubbles or imperfections are removed from the surface of the windows. A deep cleaning should be done to ensure proper adhesion of the tint film.
-
-
- Start by spraying a generous amount of window cleaner on the inside and outside of each window.
- Use a microfiber cloth to wipe off any debris, such as dust, dirt or dead insects.
- Apply more cleaning solution if needed on areas that require additional attention.
- When dealing with tough grime or stains apply isopropyl alcohol in dilution depending upon instructions given in their package label.
- Wipe off all surfaces with a clean, dry towel.
-
Ensure only professional-grade automotive glass cleaners are used for cleaning car windows as household or office-grade cleaners may not be appropriate for this purpose due to their effectiveness. The cleaner’s PH should also be considered when selecting one as an acidic cleaner can ruin car paint and corrode metal underpinnings over time.
Suggestion:
To prevent scratches on delicate tints from wiper blades during rainy season use rain repellant solutions i.e., Rain-X on windshields for water to slide down directly without allowing growth of water droplets so you don’t need wipers anymore or replace wiper blades with silicone/teflon coated variants that provide smooth operation on glass surfaces while being gentle enough not to scratch properly maintained window surfaces.
Get ready to feel like a spy in your own car, because once you start applying tint, you’ll be incognito in no time.
Applying Tint
An Overview of Tinting a 4-door Car
Tinting not only changes the aesthetics of your car but also protects you from harmful UV rays. Here’s how to approach tinting in an informative manner.
A Brief Guide to Applying Tint
-
-
- Step 1: Start by cleaning the windows with soapy water and a microfiber cloth. Remove dirt, dust, and grime allowing for easy application.
- Step 2: Precisely measure the dimensions of each window and cut a tint film accordingly. Place it on the inside of the window and use a squeegee to remove any air bubbles.
- Step 3: Let the tint dry for at least 24 hours before rolling down or cleaning your windows.
-
Additional Tips to Consider
-
-
- After applying tint, avoid using harsh chemicals or ammonia-based cleaners on your windows as they might damage it.
- Remember that different states have different laws regarding how dark you can tint your car’s windows.
-
Don’t Miss Out on Tinting Your Car!
Tinting is crucial because it not only enhances privacy but also protects you from heat and ultraviolet radiation. Ensure that when considering getting your windows tinted, take into account legal regulations for safe driving. Don’t hesitate—tint your car today!
Trimming tint is like a proper haircut for your car, if only it was as simple as a buzz cut.
Trimming Tint
Once the tint installation is complete on a 4-door car, the process of trimming becomes necessary. Trimming tint involves cutting off any excess film from the edges of the windows to make it look professional.
Here is a 4-step guide to trimming tint:
-
-
- Measure and mark where to cut with a knife or blade
- Cut along the edges of the film carefully and precisely
- Peel off any excess tint left behind using adhesive remover
- Finish by cleaning the window thoroughly and removing any residue left over
-
It’s essential to keep safety measures like gloves and goggles during trimming because of sharp objects involved in it.
It’s important to note that even though trimming may seem like a simple task, small mistakes can result in an unprofessional appearance of your car’s windows. So paying attention will ensure better results.
During trimming, always use high-quality tools for a more precise cut. Poor quality knives or blades can cause uneven cuts giving an aesthetically displeasing look.
Once I was trimming my car’s tint, and I accidentally slipped with my knife. It resulted in an uneven cut requiring me to remove and redo part of the tint, causing delays and producing extra material costs. That experience taught me that caution is necessary while dealing with sharp objects like knives while enhancing my focus on detail.
Before you drive off into the sunset, make sure your tint job doesn’t make your car look like it’s wearing a pair of cheap sunglasses.
Finishing and Inspection
After the application of tinting film, the car undergoes a series of meticulous inspections and finishes to ensure its quality and appearance.
-
-
- An inspection is carried out to examine if there are any bubbles or gaps between the tinting film and window. Any imperfections found will be corrected during the finishing process.
- The edges of the tinting film will be trimmed to fit perfectly against the window edges, providing seamless integration with other parts of the car.
- The interior surfaces of windows will be cleaned carefully so that they look crystal clear after installation.
- Finally, before delivering the vehicle back to its owner, a thorough final inspection is performed by trained technicians.
-
Notably, all procedures for ‘Quality Control & Inspection’ are strictly followed at each stage.
It is said that in early times, tinted windows were only considered as aesthetics factor by wealthy car owners. However, later on, it was discovered that having tinted windows can provide several benefits such as reducing heat buildup inside the car and maintaining privacy inside.
How long does it take to tint a 4 door car? – Frequently Asked Questions
1. How long does it take to tint a 4 door car?
It typically takes around 2 to 4 hours to tint a 4 door car, depending on the type of tint and the complexity of the windows.
2. Can I wait for my car while it’s being tinted?
Yes, you can wait for your car while it’s being tinted, but it’s best to check with the tinting shop beforehand to make sure they have a waiting area available.
3. Is it safe to drive my car immediately after tinting?
No, it’s recommended to wait at least 24-48 hours before driving your car after tinting to allow the tint to fully cure and adhere to the windows.
4. Will the tint on my car fade over time?
While all tint will eventually experience some degree of fading, high-quality tint from reputable brands should last for many years with proper care and maintenance.
5. Can I wash my car immediately after tinting?
No, you should wait at least 24-48 hours before washing your car after tinting to allow the tint to fully cure and adhere to the windows.
6. Is it illegal to tint my car windows too dark?
Yes, it’s illegal to tint car windows beyond a certain darkness level in most states. It’s important to check the laws in your specific state before getting your car windows tinted.
-
Leave a Comment
2 Comments
Leave a Comment
More in News

Mercedes-AMG strategically reorganises its GT Sport division

New design language: Enhanced CUPRA Formentor and CUPRA Leon now available to order in the UK

The end of the Car-Gument: The New Renault Scenic is such a perfect family car that buyers are promised relationship bliss – or their money back!
Car production down in first half as manufacturers invest in electric future
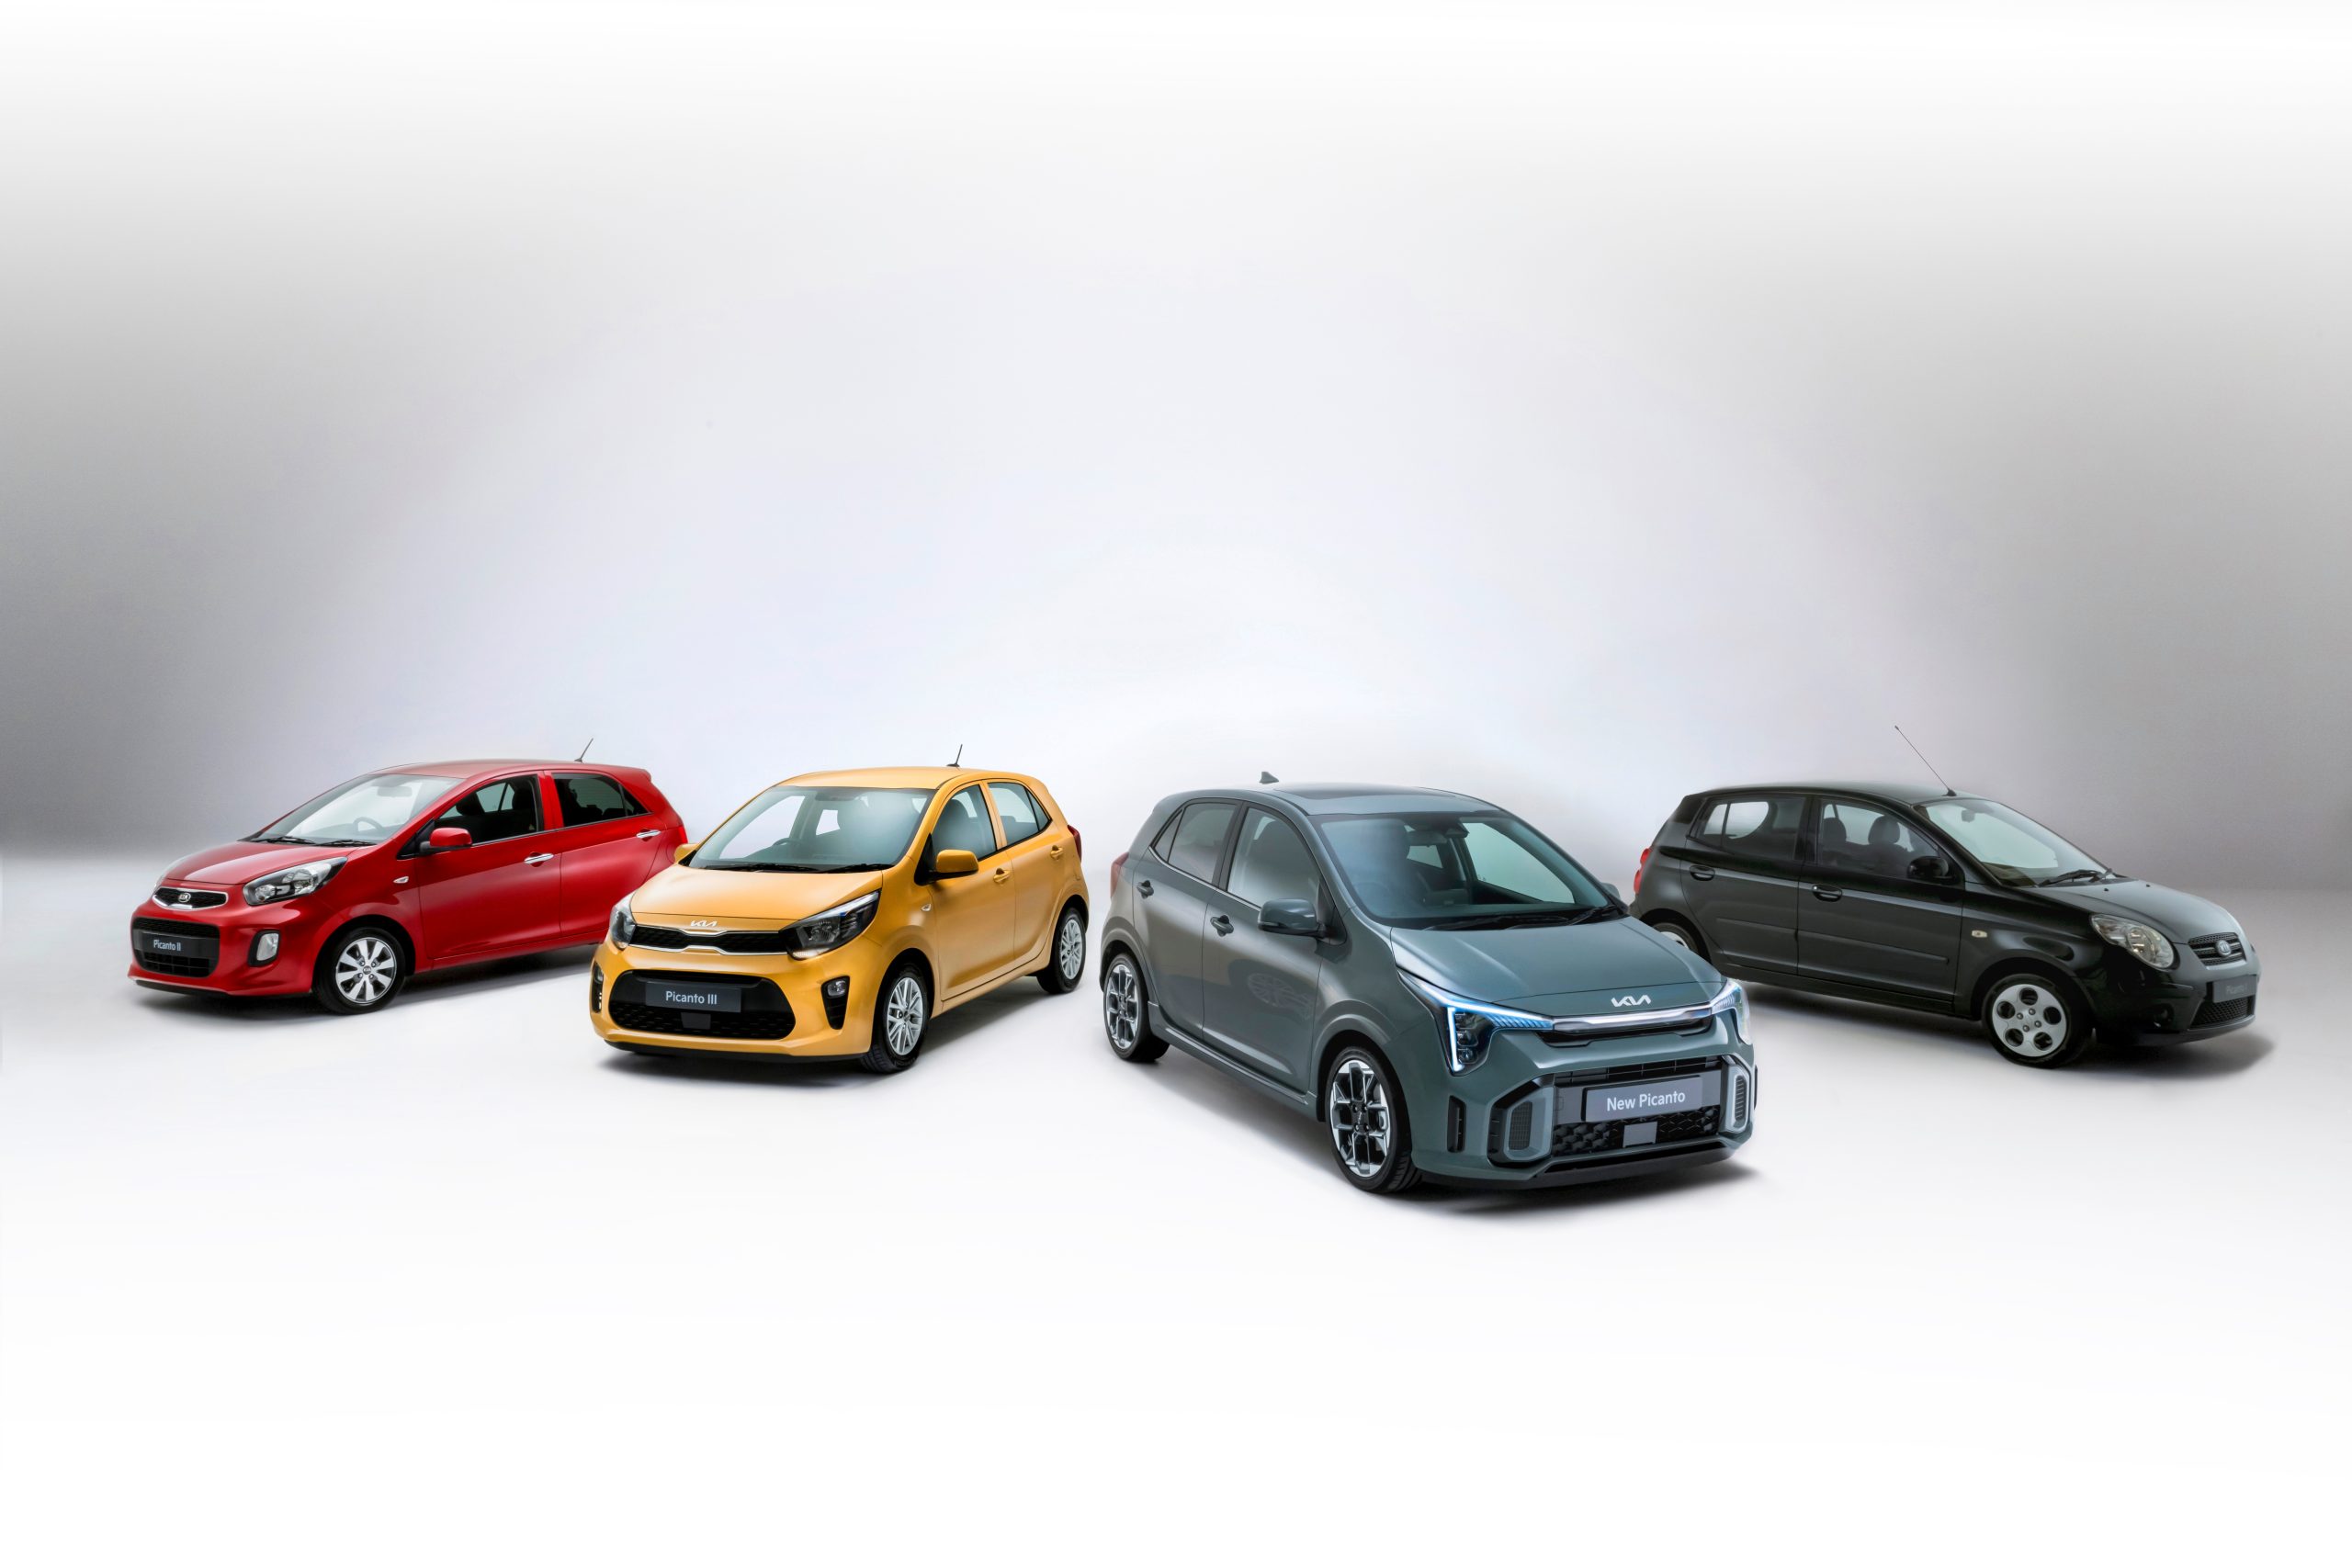
Small car, big milestone: 20 years of the Kia Picanto [Photo Gallery]
Trending on Motoring Chronicle
How to remove paint scuff from car

How Long Are Graco Car Seats Good For
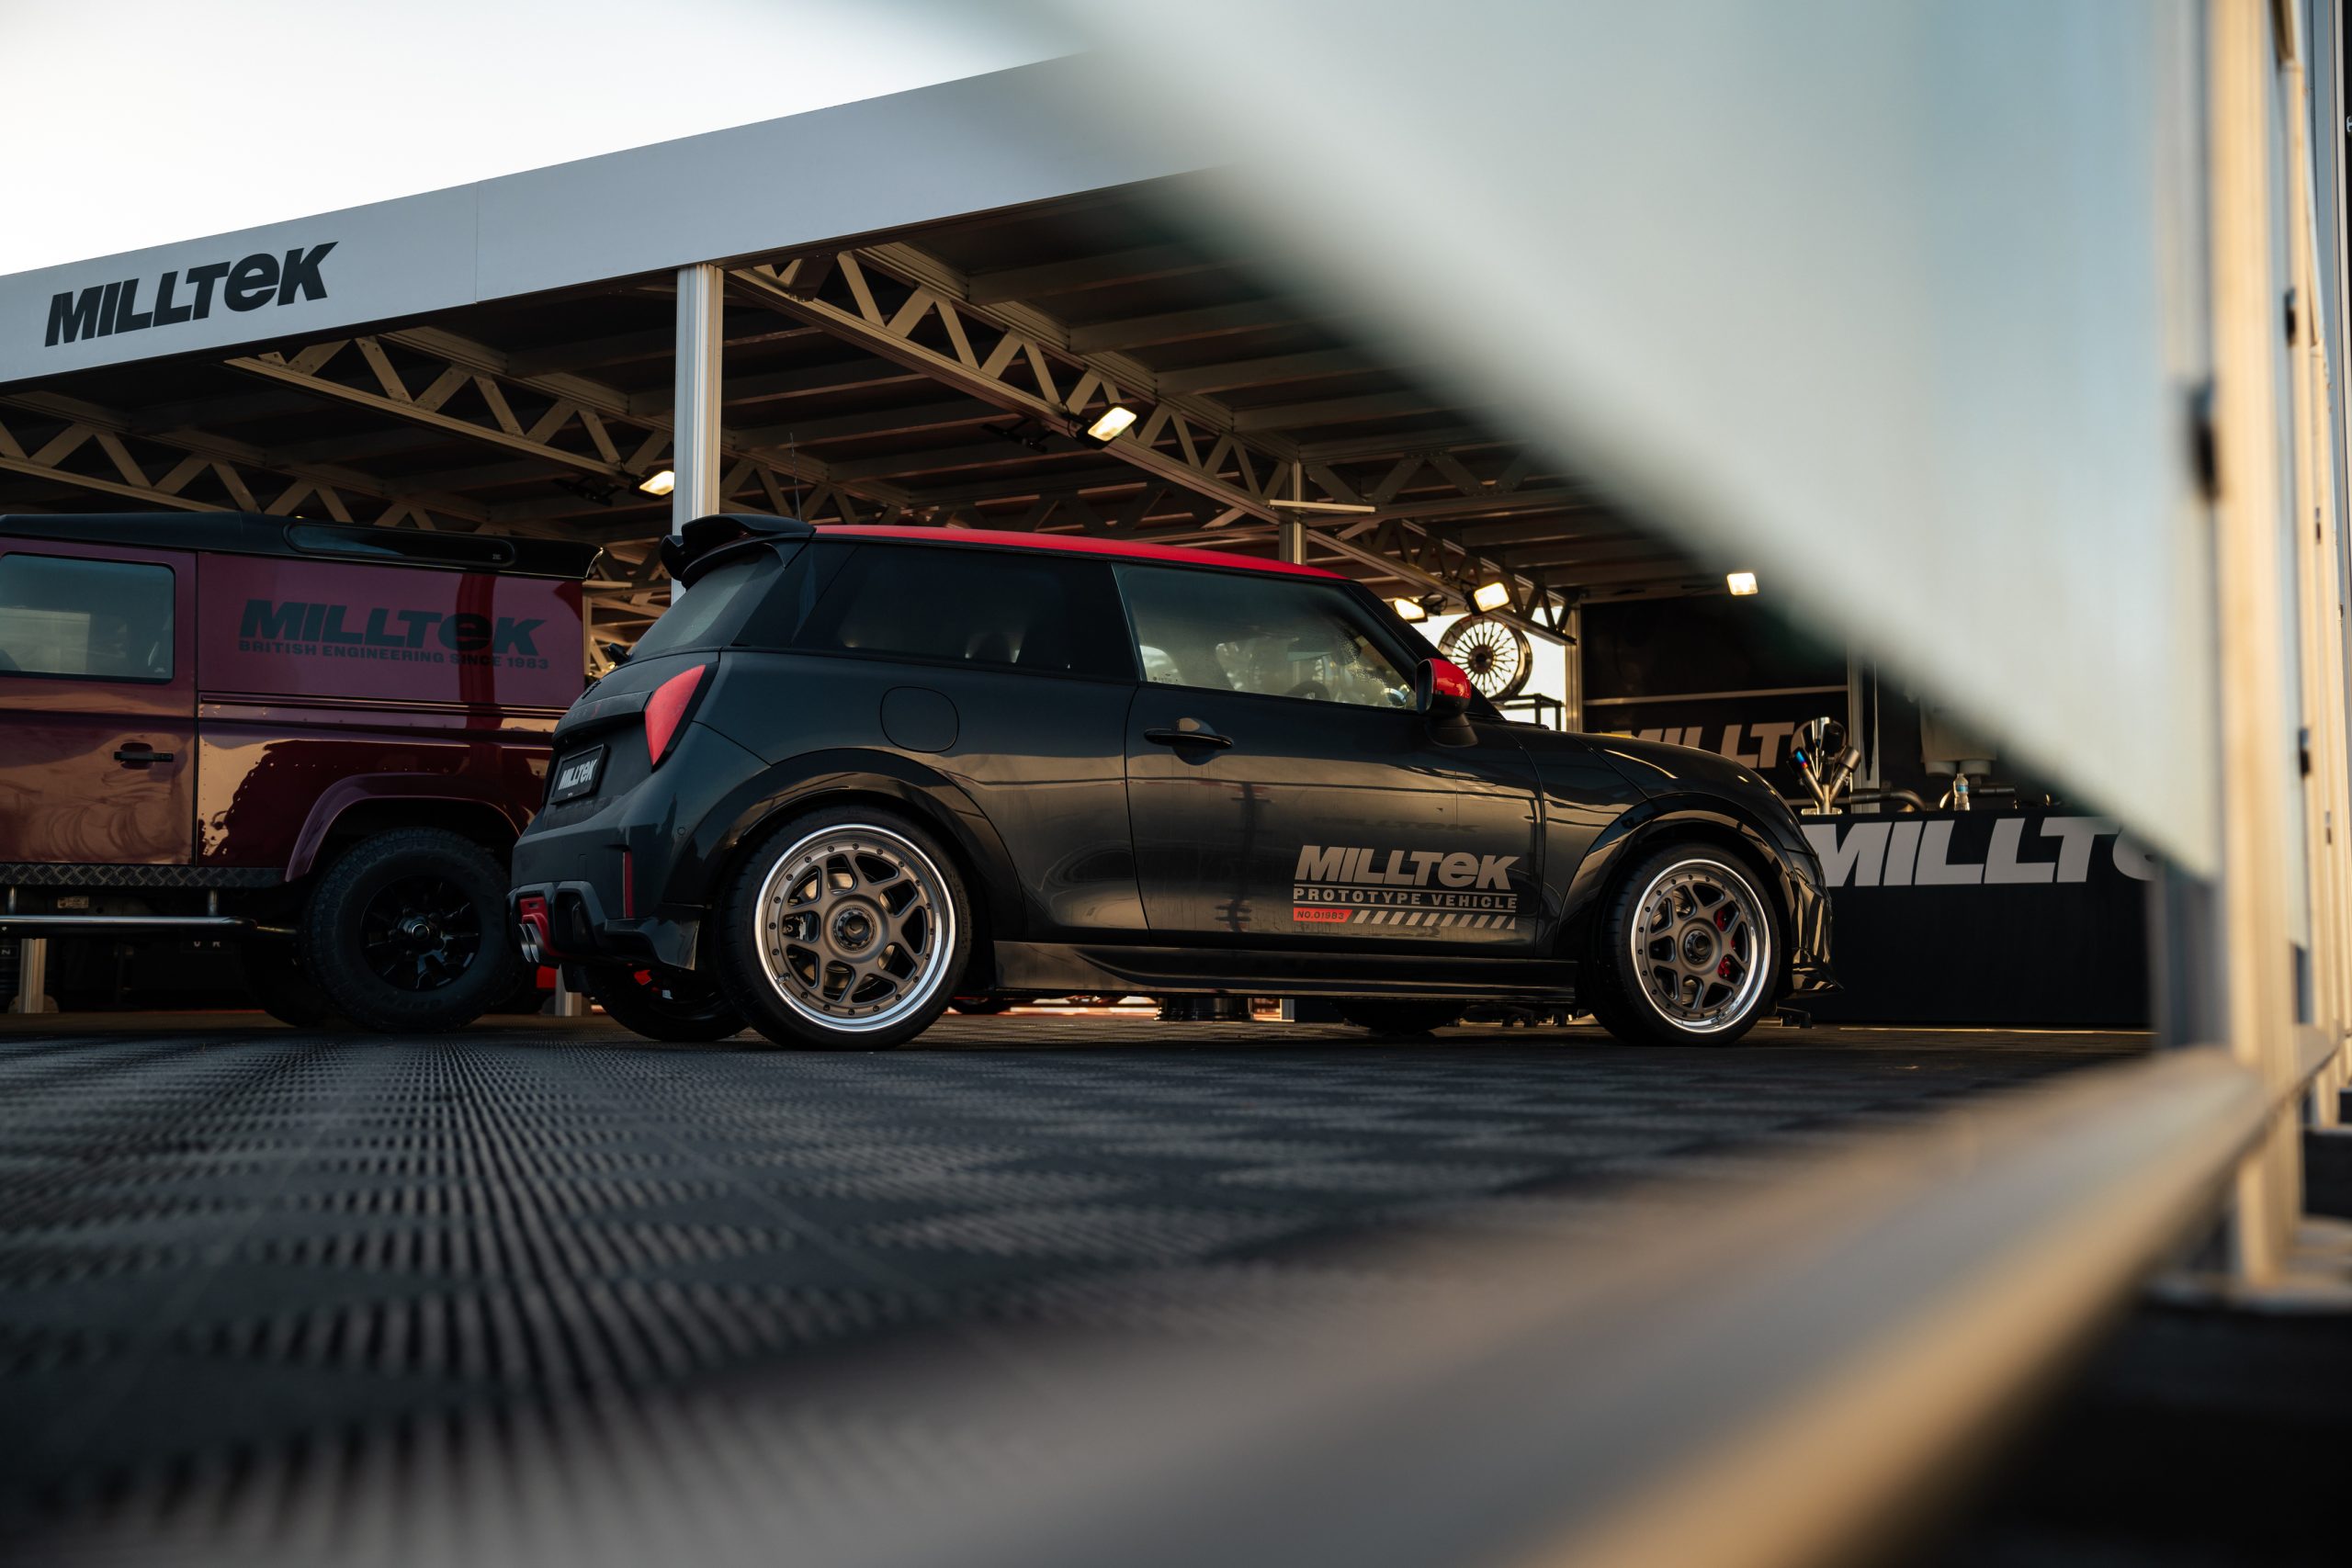
Milltek Sport launches new products for the latest Mini Cooper S, Porsche 991 GT3 RS and classic Land Rover Defender at Goodwood Festival of Speed
The MINI Countryman SE ALL4 [Photo Gallery]
[…] It is crucial to keep in mind that success with this method is greatly dependent on having an appropriate type of screwdriver. Additionally, some cars may require different methods or tools for unlocking their doors. […]
[…] seeping into a car is often caused by leaking door seals, cracked windows or window gaskets, clogged sunroof drains, or damaged weather stripping. […]