Essential Steps To Safely Clean Your Engine Bay
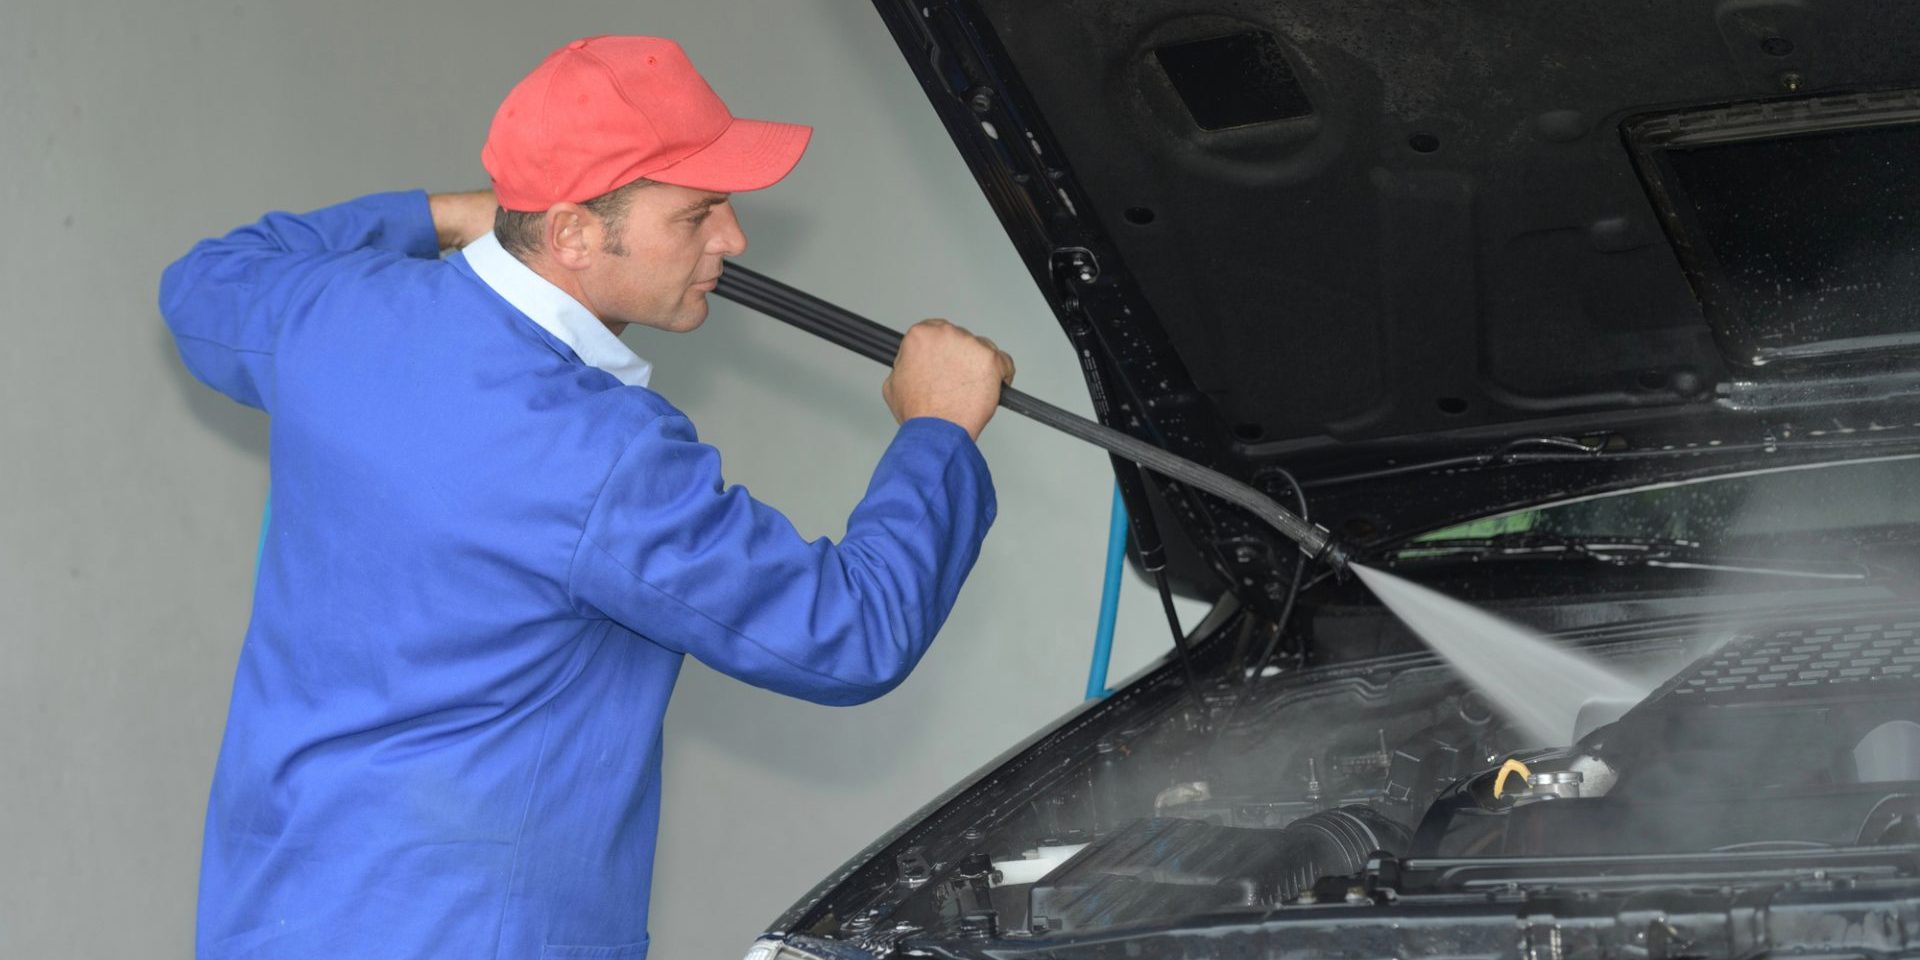
Keeping the engine bay clean is not just a matter of cosmetic appeal; it is a significant aspect of vehicle maintenance that can potentially increase resale value. Over time, the engine bay accumulates dirt, grease, and debris which can obscure leaks, hinder performance, and complicate basic servicing tasks. A regularly cleaned engine bay allows for easier diagnosis of engine problems, helps prevent the build-up of flammable materials, and prolongs the life of engine components.
The process starts with appropriate preparation to avoid damage to sensitive engine parts. Waterproofing certain components and gathering the right tools and cleaning agents are crucial steps. The cleaning process itself involves precise steps, from gently removing loose dirt and debris to applying cleaners and thorough scrubbing, which help break down and remove built-up grime. Finally, careful rinsing and drying methods are applied to ensure no cleaning residues are left behind, which could lead to corrosion or other issues.
Key Takeaways
- Regular cleaning improves engine performance and vehicle value.
- Proper preparation prevents potential damage while cleaning.
- Detailed cleaning and drying extend engine component lifespan.
Preparation for Cleaning
The key to a successful engine bay cleaning lies in thorough preparation, gearing up with the right protective equipment, and gathering all essential cleaning tools.
Safety Precautions
Safety should be the primary concern before starting the cleaning process. It is crucial to let the engine cool down completely to avoid burns. Individuals should wear safety glasses to protect their eyes from degreasers and grime, while durable gloves can guard against chemicals and sharp engine components. A mask should be worn to prevent inhalation of dust and chemical sprays. To prevent short-circuits or electrical damage, disconnect the battery and cover electrical components, such as the alternator and ECU, with plastic bags.
Tools and Materials
Essential tools and materials include:
- Safety Equipment: Glasses, gloves, and mask
- Cleaning Agents: Degreaser and car soap
- Brushes and Applicators: A variety of brushes to scrub different areas and a scrub brush for tough grime
- Water Source: A hose or pressure washer set to a gentle stream
- Vacuum Cleaner: A wet/dry shop vacuum ready for operation
- Absorbent Material: Towels and absorbent pads for drying and spill management
- Protective Covers: Plastic bags and tape for covering sensitive areas
- Wiping Tools: Cleaning wipes for finishing touches
Initial Cleaning Steps
Before diving into the cleaning process, it’s crucial to address significant contaminants and safeguard the engine’s sensitive parts.
Dealing with Major Contaminants
Commence by removing any large debris, such as leaves and twigs, from the engine bay. This can be done manually or with the aid of a vacuum or leaf blower. Once the larger items are cleared, use a garden hose set to a mild stream to rinse away loose dirt and sand. A brush can be utilized to loosen any stubborn grime, preparing the engine bay for a deeper cleanse.
Protecting Sensitive Components
Before proceeding with more in-depth cleaning, it’s necessary to guard the engine bay’s vulnerable electrical components. These include the alternator, distributor cap, spark plugs, and fuse box. Shield these parts with plastic garbage bags secured with electrical tape to avoid water damage. This precaution allows the use of liquids for cleaning without risking electrical issues.
Deep Cleaning the Engine Bay
A thorough deep cleaning of an engine bay involves two critical stages: applying proper cleaning agents to break down grime and using the right tools to agitate and lift the dirt away from the engine components.
Applying Cleaners and Degreasers
To begin, engine degreasers should be applied to the engine bay, working from the bottom up to prevent drip marks. Engine cleaners are typically dispensed from a spray bottle or foam cannon for even coverage. Allow the degreaser to sit for the time recommended by the product manufacturer but avoid letting it dry, as this can lead to difficult-to-remove residue. For areas with sensitive components, a milder solution of soapy water may be preferable to prevent damage.
List of Supplies for Applying Cleaners and Degreasers:
- Engine degreaser
- Spray bottle or foam cannon
- Soapy water
Scrubbing and Agitation
After the degreaser has settled, use a variety of brushes and detailing brushes to agitate the area. Detailing brushes come in different sizes and should be used to fit various crevices and corners effectively. For particularly tough spots, a toothbrush can provide additional precision. Agitation is a vital part of the cleaning process; it helps to lift the grease and dirt, making it easier to rinse away. Once the dirt is loosened, wipe the area with a microfiber cloth, which traps contaminants without leaving behind fibers or causing scratches.
Tools for Effective Scrubbing:
- Detailing brushes (various sizes)
- Toothbrush (for precision)
- Microfiber cloth (for wiping)
Rinsing and Drying
Proper rinsing techniques and efficient drying methods are essential for safely cleaning your engine bay, ensuring the elimination of dirt and prevention of water spots without damaging any components.
Rinsing Techniques
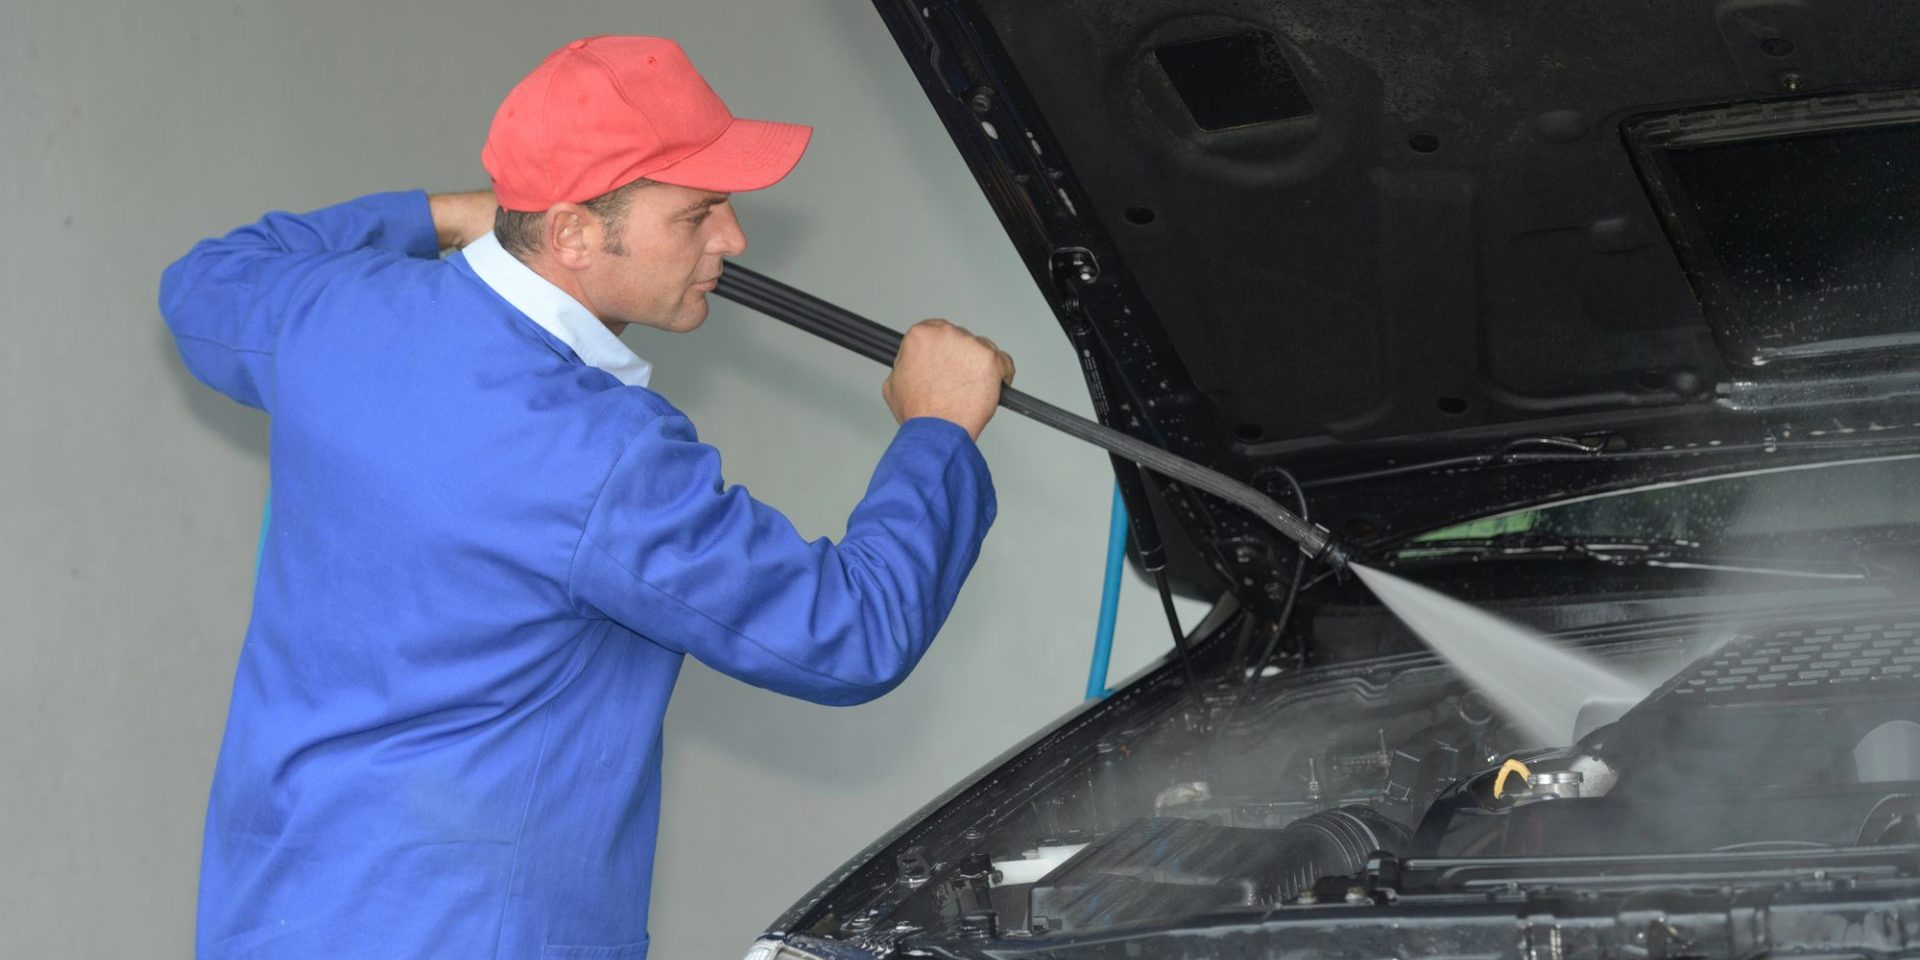
When preparing to rinse the engine bay, it is important to use cold water to prevent any thermal shock to engine components. A garden hose is usually recommended over high-pressure systems for its gentle stream. If a pressure washer is used, it should be done so with care, keeping a safe distance from sensitive parts to avoid forcing water into electrical components. The steps for rinsing involve:
- Removing loose debris: Clear out leaves and twigs before introducing any moisture.
- Moistening the engine bay: Lightly spray the entire area with water to soak and soften caked-on dirt.
- Applying low water pressure: Use a hose on a gentle setting or use a spray bottle to soak areas that need more attention.
Efficient Drying Methods
Once the engine bay has been thoroughly rinsed, removing all the moisture is critical to prevent corrosion and electrical issues. Effective drying can be achieved by:
- Microfiber Towels: Gently dabbing and wiping surfaces with microfiber towels helps absorb moisture without leaving lint or scratches.
- Compressed Air: Using an air compressor or a can of compressed air to blow water out of tight spaces and off of components can ensure a more complete dry.
- Natural Air Drying: If possible, leave the hood open in a secure, sunny location to allow the remaining moisture to evaporate.
Each of these methods assists in leaving the engine bay dry and clean, ready for further detailing or inspection.
Finishing Touches
After cleaning the engine bay, it’s critical to conduct a final inspection for any issues and to apply products that protect and enhance the engine’s appearance.
Checking for Issues
Once the engine bay is clean, thoroughly inspect it for any signs of wear, such as leaks, corrosion, or rust. Leaks can often be detected by spotting fluids on the engine surface or beneath the vehicle. Discoloration or flaking may indicate corrosion or rust. These should be addressed promptly to avoid further damage. Use a bright light to increase visibility during the inspection process.
Detailing and Protecting
Detail the engine bay by using a shop vacuum to remove any lingering debris, carefully reaching all nooks with a suitable attachment. A microfiber cloth is the tool of choice for wiping surfaces, ensuring a scratch-free finish. To maintain the clean engine bay and potentially improve resale value, regularly apply products like wax or paint sealant that are suitable for under-hood materials. This step can leave a lasting impression on potential buyers, showing a well-maintained vehicle.

